The WordPress Media Library provides everything we need regarding the media content. However, there are certain limitations to the media library.
This article will cover the 2 common limitations and ways to get around them.
Limitation #1: WordPress Maximum Upload File Size Limit
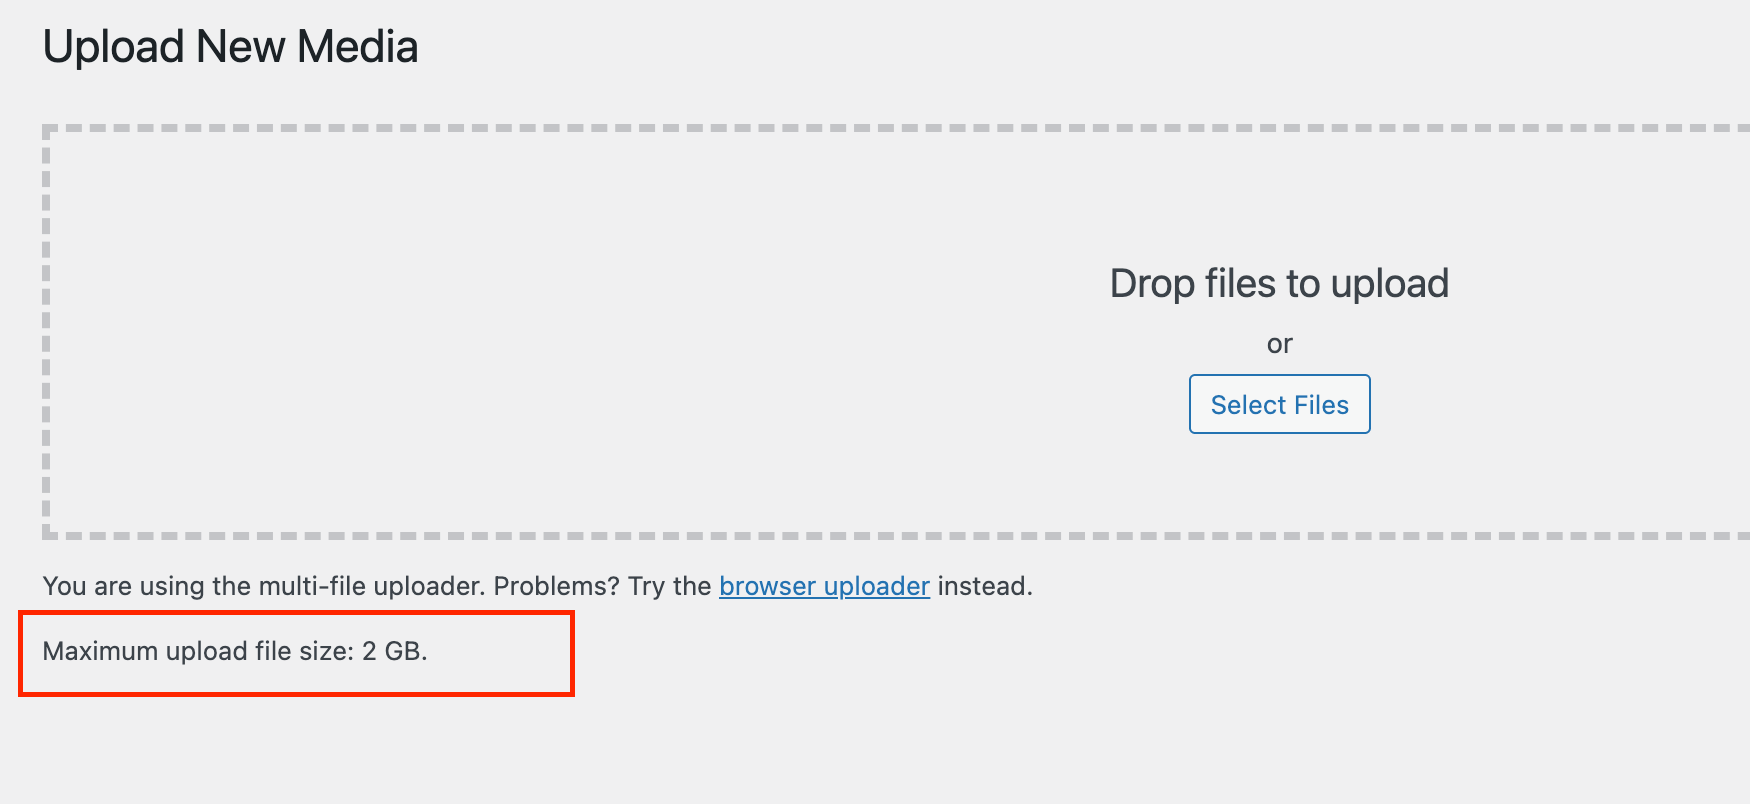
There is a limit to the file size you can upload.
These limitations are there because a large content upload will such as a high-resolution and non-optimized image can result in slower loading times.
The maximum file size is written below, when you try to upload a new media.
How Do I Increase the WordPress Media Library Upload File Size?
Here are four ways to increase the maximum upload file size in WordPress.
1.) Editing the .htaccess File
The .htaccess file is a configuration file that comes with WordPress. The file is in the root directory.
Here is how you adjust your website’s memory limit through .htaccess files.
a.) Login to your hosting account, for example, Hostinger, to access the file manager.
b.) Open the .htaccess file
php_value upload_max_filesize 256M
php_value post_max_size 256M
php_value max_execution_time 300
php_value max_input_time 300
c.) Change the upload_max_filesize value to what you require and save your changes.
2.) Increase the WordPress Media Library File Size Limit From hPanel
This option is exclusively for Hostinger users.
a.) Login to your hosting account and go to Websites –> Dashboard –> File Manager.
b.) In the left column click on the Advanced –> Configuration –> PHP Options.

c.) Scroll down to the uploadMaxFileSize field and pick the highest value from the dropdown.
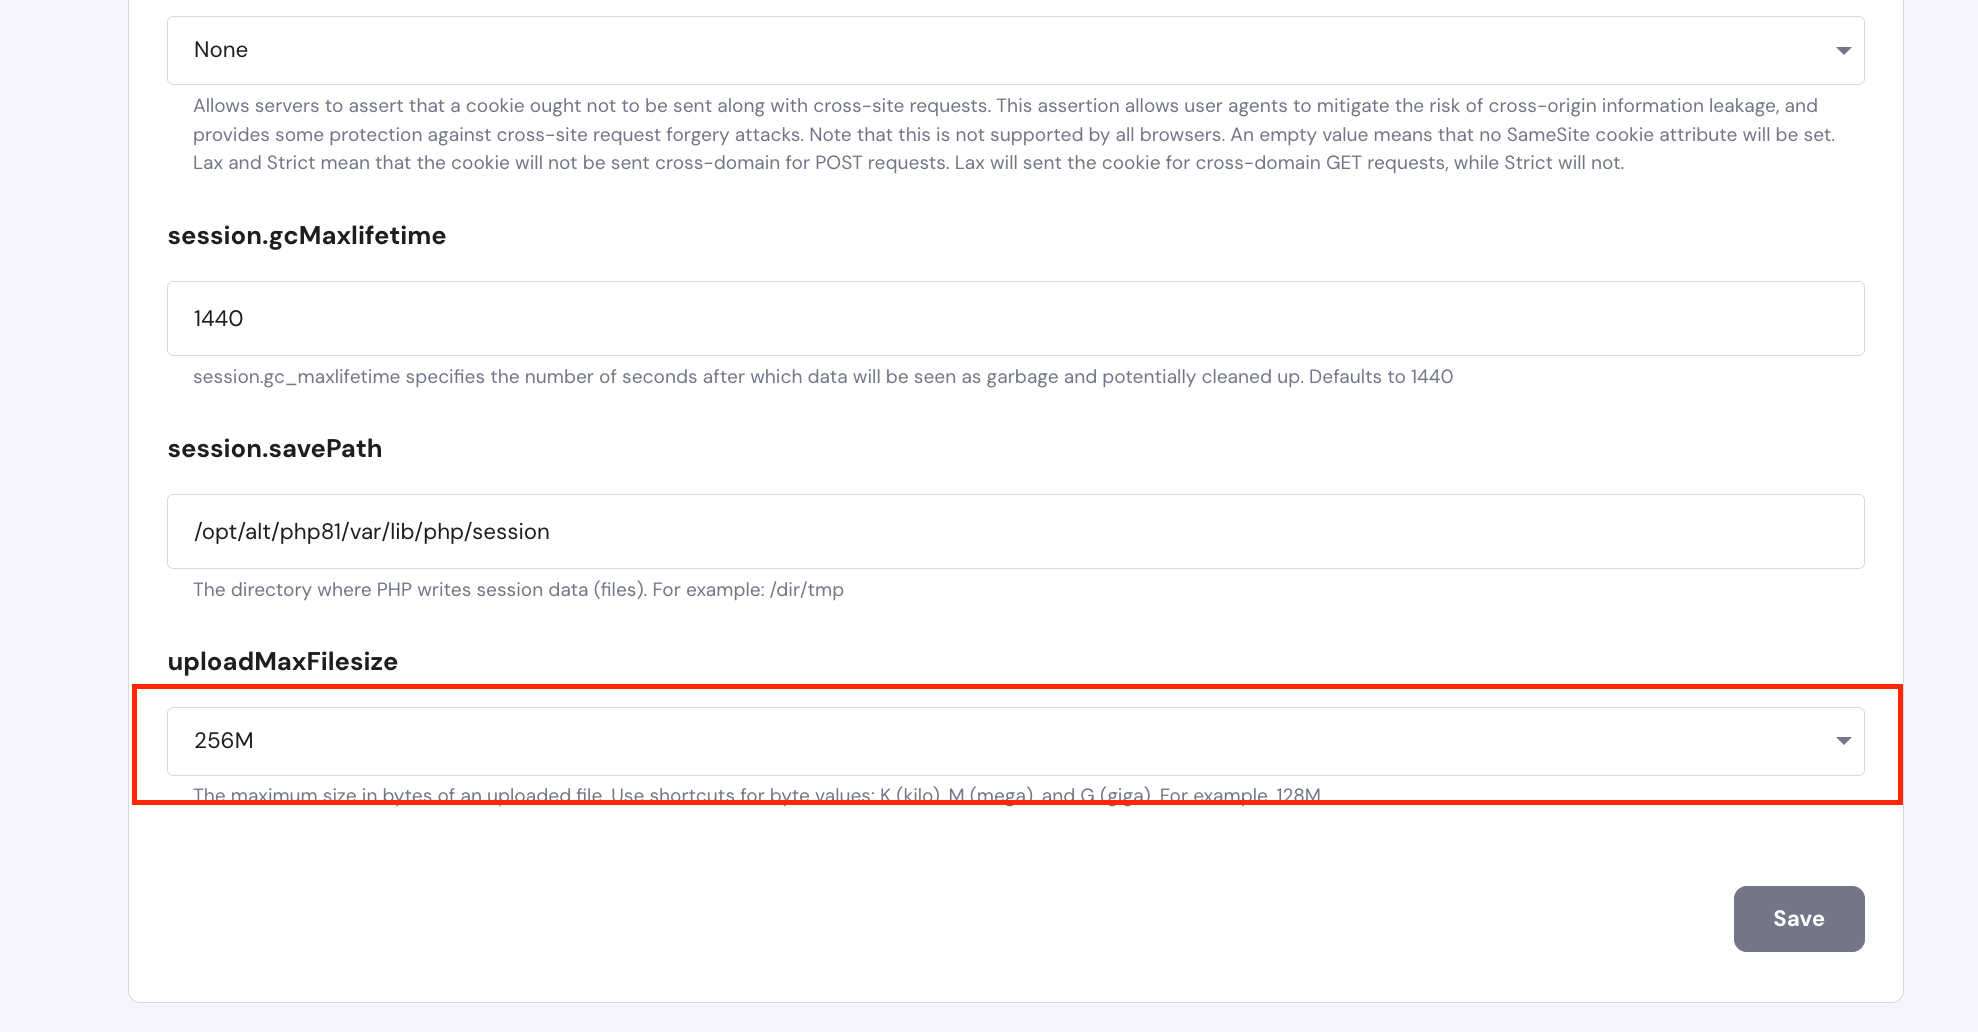
d.) Save your changes
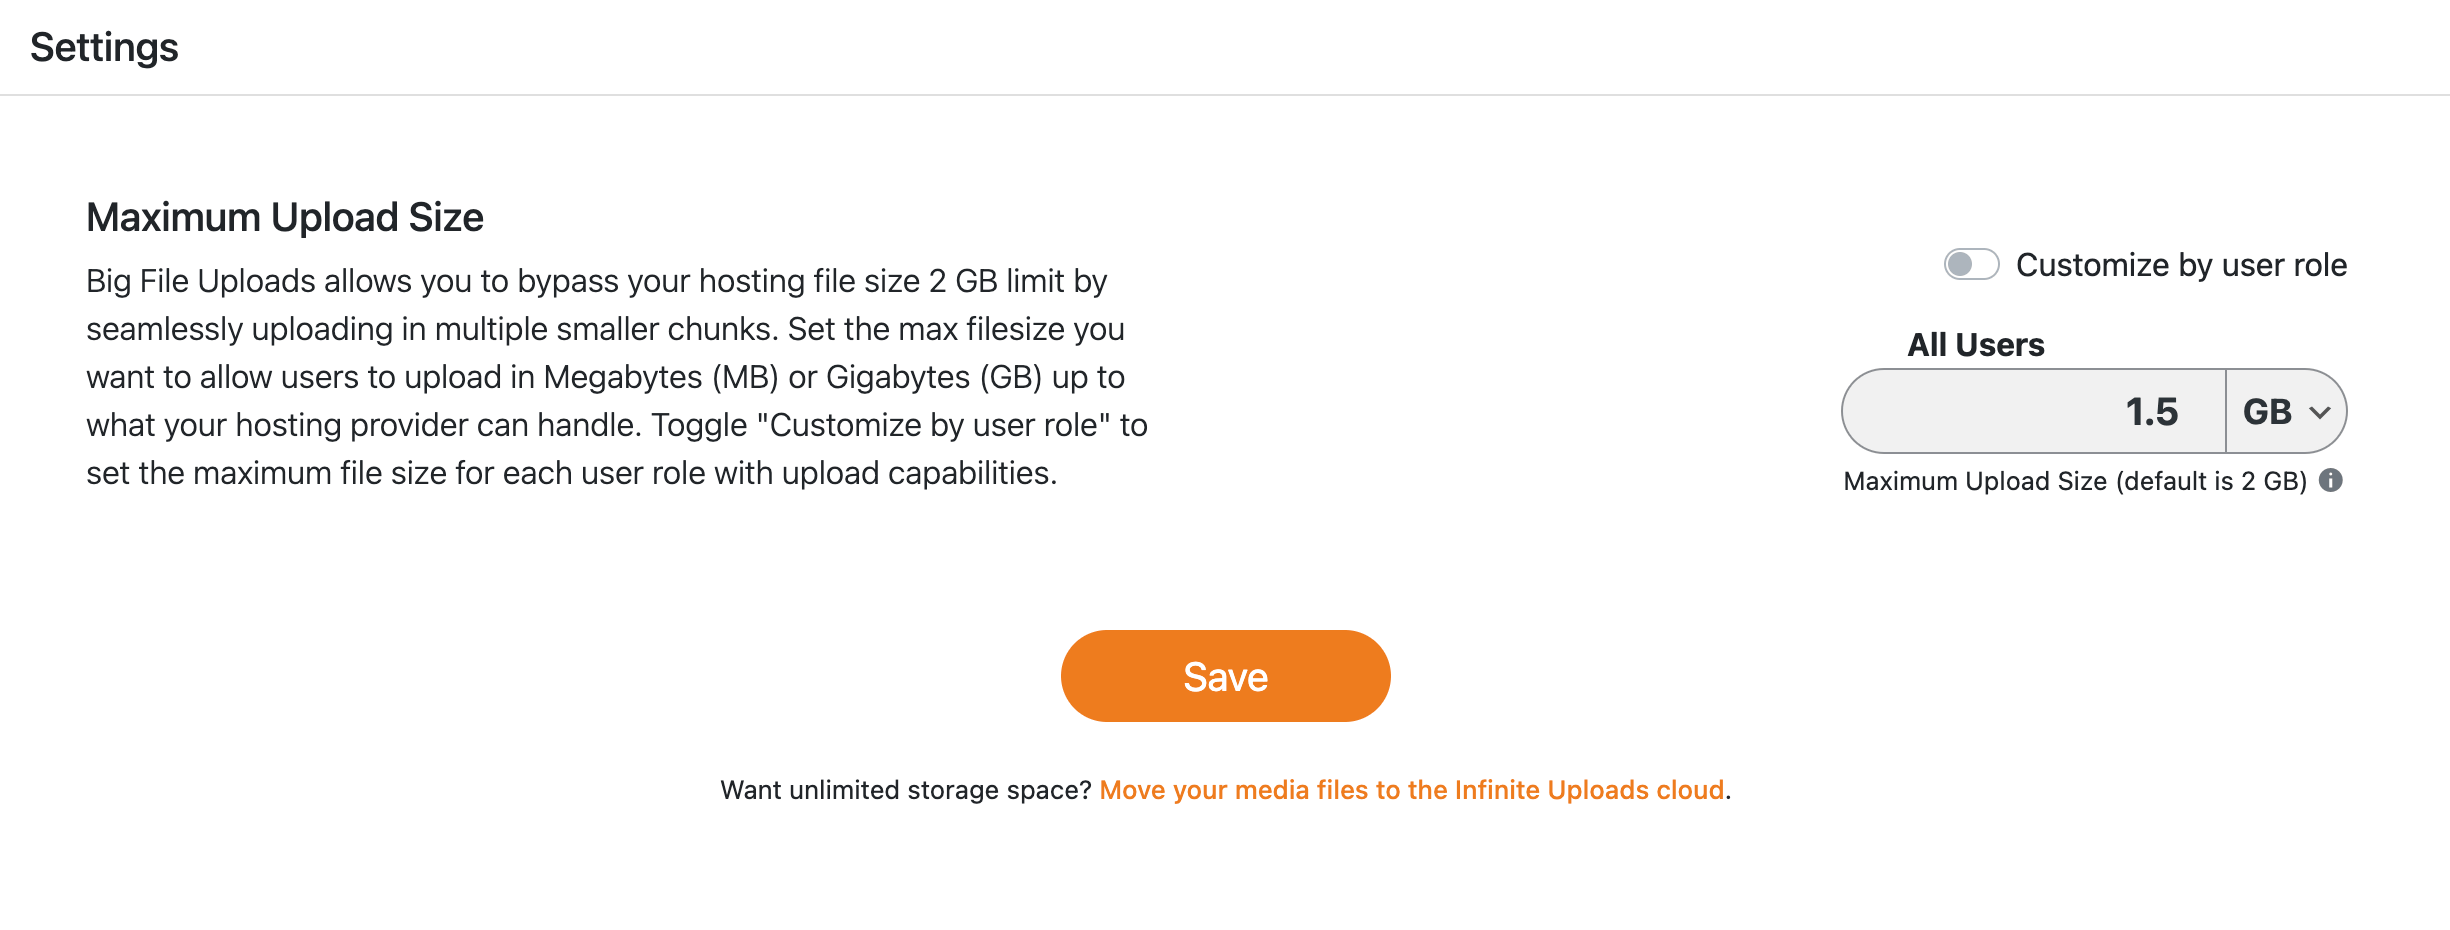
3.) Install a Plugin to Increase WordPress Media Library Upload Limit
An easy way to increase the size is by using a plugin. It is a great option for if you are not familiar with the technicalities of web development or if messing with the core files make you feel uneasy.
Install a WordPress plugin and with that you can easily raise the upload limit.
Here is a step-by-step guide on using a plugin to increase the limit.
a.) Login to your WordPress dashboard and go to Plugins –> Add New.
b.) Search for Big File Uploads plugin. Install and activate it. But before that, make sure that your version of WordPress is up-to-date and the plugin is compatible with the latest version.
c.) After installing and activating the plugin navigate to Settings –> Big File Uploads.
d.) Save the changes.
4.) Ask Customer Support
Contact your hosting provider and ask them to increase the upload file size limit. Hostinger plan comes equipped with a huge upload limit, so you won’t have to do anything on your part to increase the size.
Limitation #2: File Type Restriction
Similar to size upload size restriction, there is also a file type restriction.
Not all file types can be uploaded via the WordPress media library. There is a restriction on certain file types for security reasons.
If you need to upload a specific file type that is not allowed, you can use a plugin or upload it via the file manager.
How to Upload to the WordPress Media Library Using the File Manager?
Uploading media via the file manager is a straightforward process. Here are step-by-step instructions:
- Login to your hosting account to access the file manager.
- From there, click on Websites –> Manage –> File Manager
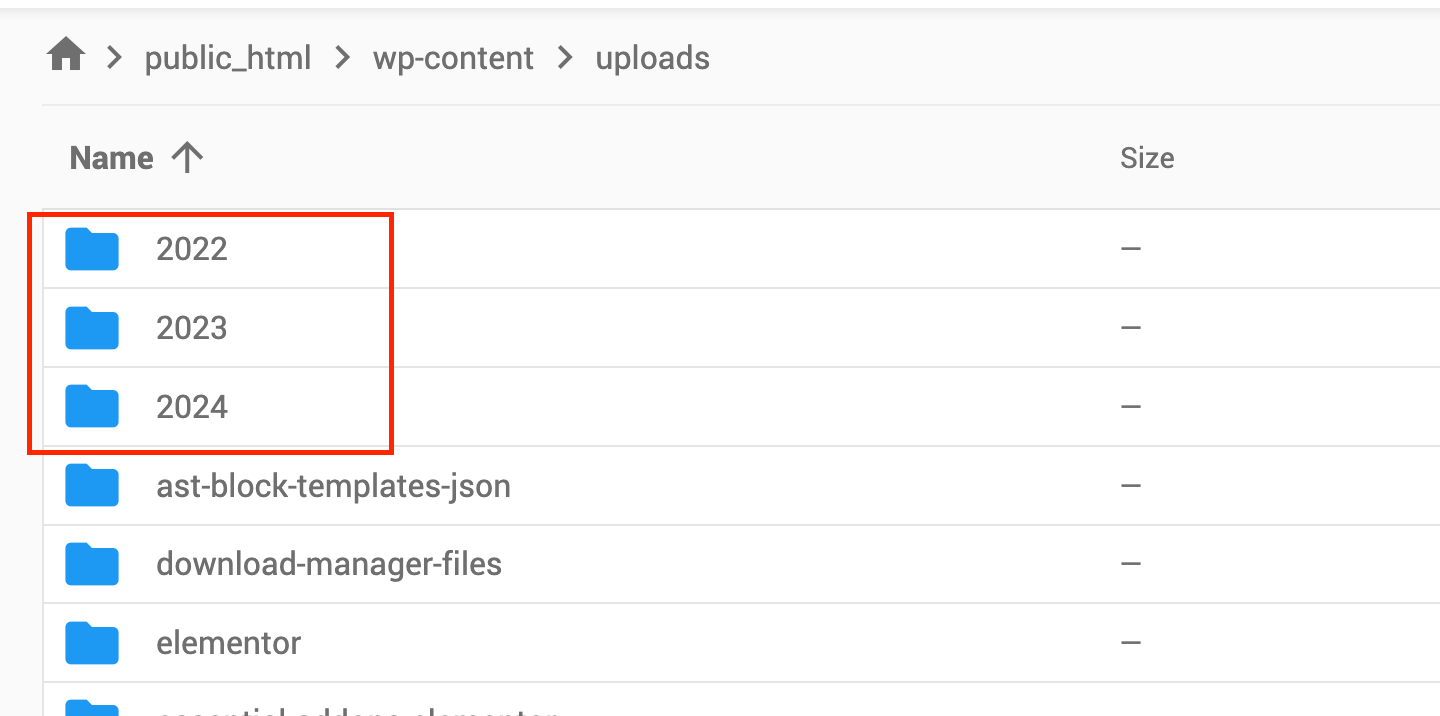
- Go to the folder named public_html.
- Go to wp-content –> upload. All the media is further organized into folders starting with the year and then the months.
- Click on the new file button to upload a new media.
How to Upload to the WordPress Media Library Using a Plugin?
There are different plugins to remove the file restriction on the WordPress media. I would recommend using the Enhance Media Library plugin. Here are the steps you need to take to upload media using this plugin.
- Login to your WordPress dashboard.
- Go to Plugins –> Add New and search for Enhance Media Library.
- Make sure the plugin is compatible with your WordPress version.
- Install and activate the plugin.
- Go to the plugin settings and include the file type you want to upload to WordPress.
Conclusion
The WordPress media library has never failed me. The above two restrictions are the only limitations I have ever come across. Some web developers may experience other forms of roadblocks. But thanks to the flexibility WordPress offers there is always a work-around.