Do you clean WordPress media library by deleting unused images, PDFs, and other files? It is something that you should do at least once a month.
Even if these unused images are not visible on any page or post, they can still harm the site’s performance. For example by:
- Taking up storage space on the server.
- Slowing down the site’s database performance.
- Increasing the backup size.
- Slowing down the site speed.
If these terms sound confusing, don’t worry. I will explain everything step-by-step by PERFORMING A REAL-WORLD EXAMPLE using my website.
Let’s begin with understanding why you should clean the WordPress media library.
Why Clean WordPress Media Library?
As promised, I am sharing my research after performing an ACTUAL TEST CASE.
On my website, I uploaded tons of large, high-quality images. 128 images, to be precise, with a massive size of 1.96 GB.
Remember that these images are not visible on any WordPress page or post. I wanted to perform a before and after comparison.
Here is what I have discovered. Having tons of unused images in the media library can affect the following areas:
1.) Server Disc Usage
Server disc usage refers to the website’s storage space. It depends on the hosting package you have chosen. Your hosting company provides this space.
I am using the Hostinger WordPress starter package, and I have a storage space of 100 GB.
Before and After Comparison
Here is a before and after comparison of my server disc usage.
Before uploading images:
My storage space usage was low because there were fewer files.
After uploading images:
The unused media took up a significant amount of server disc space.

2.) WordPress Backup Size
The backup file size increases if there are many unused images in the media library.
These unused images could:
- Increase the time and resources required for taking a backup.
- Increase the time it takes to download the backup zip file on your local computer.
- Make it difficult to move the site to another server.
Before and After Comparison
After deleting the unused images, the backup was size reduced. Here is a before and after comparison.
Before uploading images:
The backup file was smaller with fewer images.
After uploading images:
The extra unused images increased the size of the backup zip file.

3.) Duplicate Images Generated by WordPress on Upload
Did you know that WordPress creates 4 images for every image you upload? It does it to make appropriate image sizes for different devices and screen resolutions.
WordPress generating images for different screen sizes may seem helpful. Unfortunately, these images do not appear on your website. Why? Because they are not required.
They sit on your hosting account, consuming the storage space. If you make a backup of your site, these duplicate images will take up a lot of space.
The worst part is that you don’t see these images in the media library. You only see the original one that you uploaded.
So, how can you find and delete them to free up space on your hosting account? Well, for this:
- You need to access your hosting account.
- Go to the file manager.
- Search for the images folder.
- Search for duplicate images that may take up unnecessary space and delete them.

How to Clean WordPress Media Library?
Here are the steps you should follow to clean WordPress media library.
- Take a backup of your website.
- Perform a manual inspection and delete the unused images. You can also install a WordPress plugin to speed things up. The plugin will list all idle images, including the duplicates.
- Review your site after you clean the media library.
Step 1: Take a Backup of Your Website
Before making any changes, you must backup your WordPress site. It is a vital process, so please do not forget. With a backup you can restore your website to its previous state if something goes wrong.
There are two ways to take a backup of your WordPress website.
- Using the WPvivid Plugin:You can install the Migration, Backup, Staging – WPvivid from the WordPress admin area. Once installed, go to the plugin settings, find the backup option, and backup your website.
- Using Hostinger BackupsAnother way to take a backup is from the hosting provider’s control panel. Here is a complete guide explaining how to backup your site using Hostinger.
Both options will allow you to restore your site if anything goes wrong.
Step 2: Decide How to Clean WordPress Media Library
There are two ways to clean the WordPress media library. Let’s explore both options.
Method #1: Performing a Manual Inspection
A manual inspection requires reviewing each image in the media library and checking it with every post or page. The comparison is necessary to filter out unused images.
There are two ways to perform a manual inspection.
- The list mode.
- The grid mode.
How Do I Check for Unused Images in List Mode?
Here is a step-by-step guide on how to perform a manual inspection in list mode.
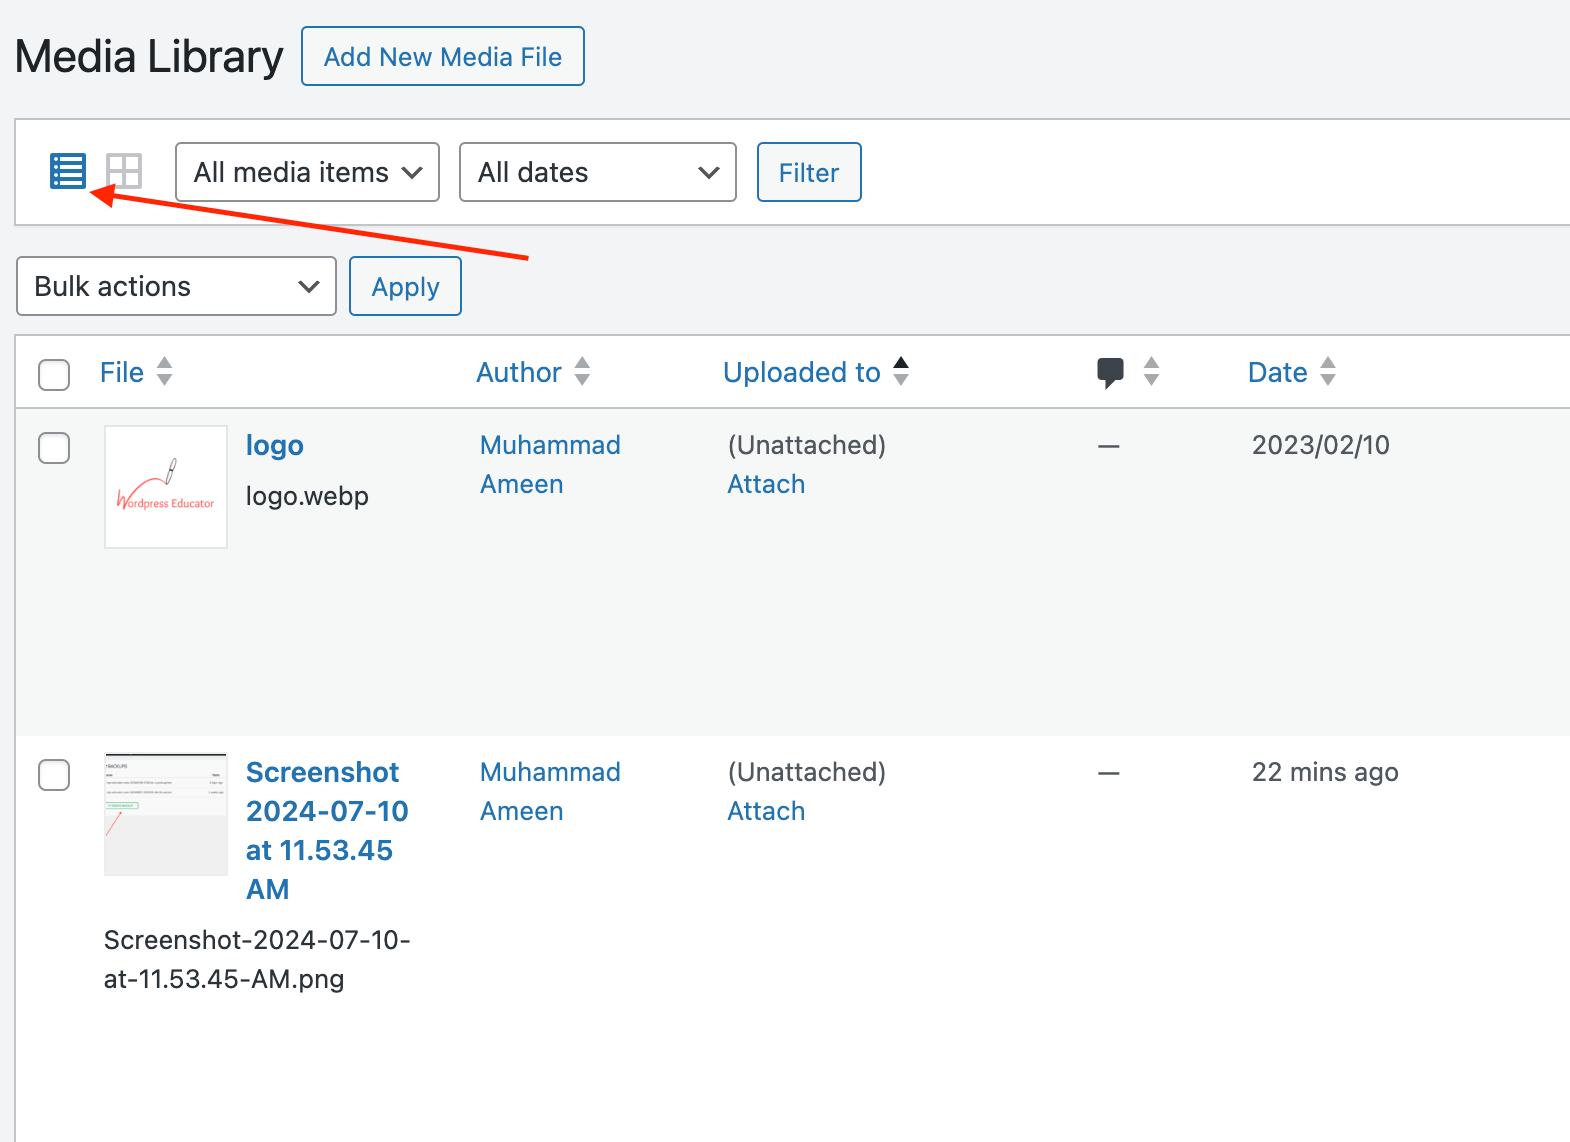
1.) Go to Media —> Library and select the list mode icon.
2.) Click on the Uploaded to column to arrange the list in ascending order. In this way, it will show the unused images in the list first.
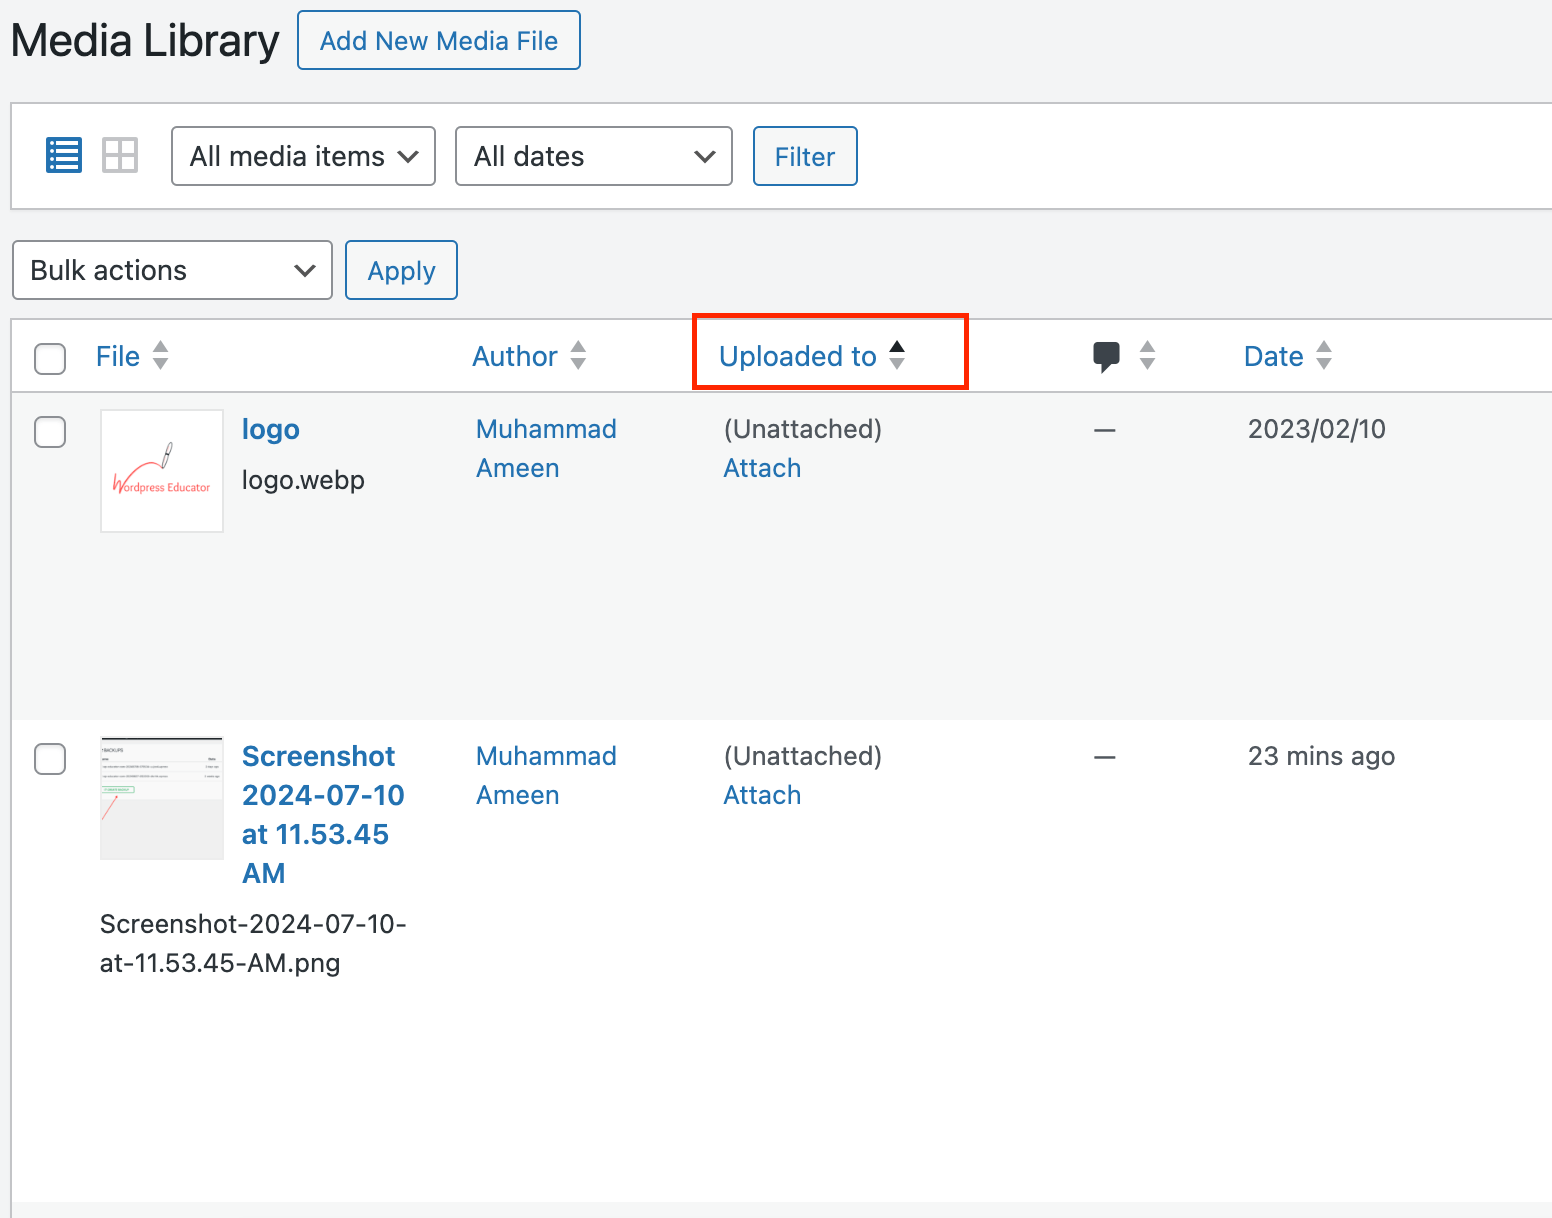
3.) Select the checkbox and delete the unused images.

How Do I Check for Unused Images in Grid Mode?
Here is a step-by-step guide on how to perform a manual inspection in grid mode.
1.) Go to Media —> Library and select the grid mode icon.
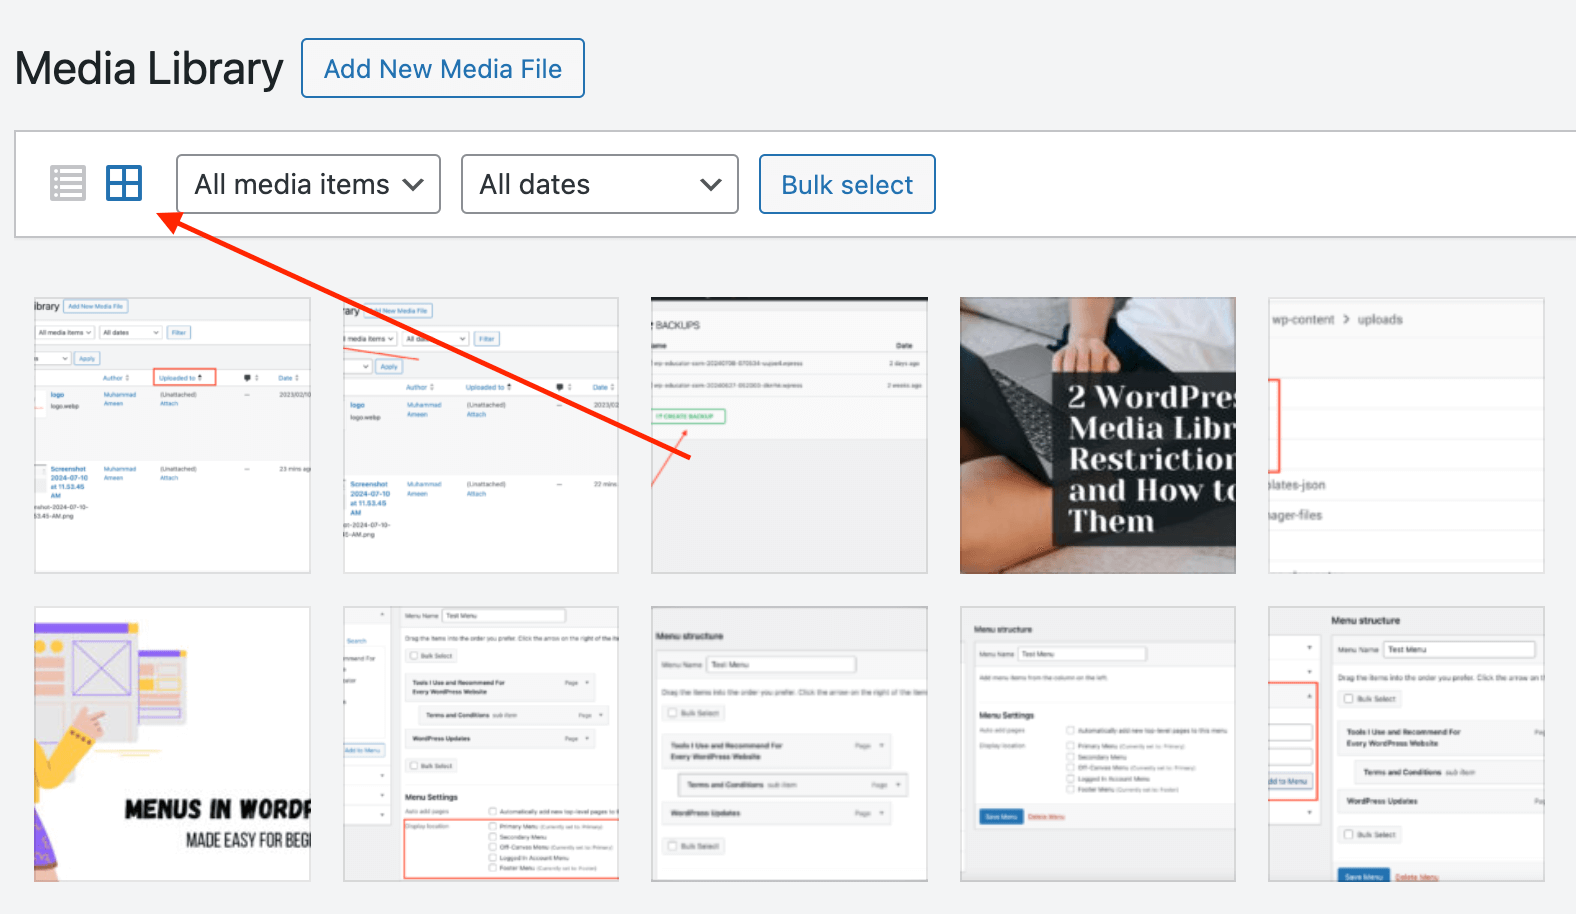
2.) Select an image. It will open an attachment details pop-up. At the bottom click the Edit more details link. It will open the image in edit mode.

3.) Look for the Uploaded to section in the right column to see if the image is attached to any posts or pages.

4.) If there is no Uploaded to section, then the image is not in any post or page. You can then delete it from your media library to free up space.
By following these steps, you can identify and remove unused images from your site.
Method #2: Install a WordPress Plugin to Find Unused and Duplicate Images
By using the WPvivid plugin, which I described in step 1, you can find both unused and duplicate images.
I tested different plugins, and this is the easiest one to use. It will scan your media library and the entire media path on your hosting account. After running a scan, it will list unused and duplicate images on your site.
Here’s a simple guide to using the plugin:
1.) Install and Activate the WPvivid Plugin.
Go to your WordPress dashboard, then go to Plugins → Add New. Search for WPVivid, and install, and activate it.

2.) Run the Image Cleaner.
Once activated, go to the Image Cleaner option within the WPvivid plugin. Run a scan to find all unused and duplicate images.
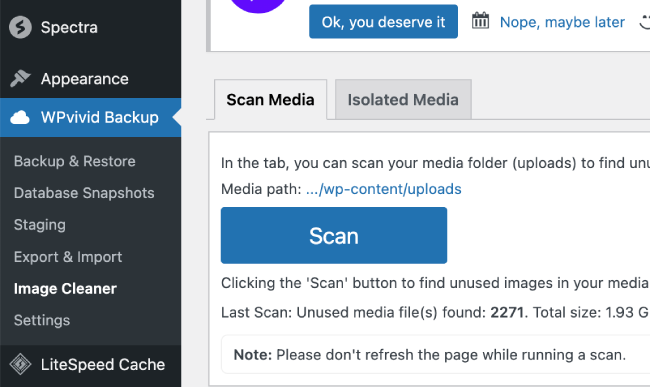
3.) Review the Results.
After the scan, WPvivid will give you a list of images that are not used or are duplicates. Go through the list carefully, and if you’re sure an image isn’t needed, delete it to free up space.

Important Reminder:
Make sure you have a backup of your site. Sometimes the plugin may not behave as expected. The plugin might mark an image selected as background as unused. With a backup, you can recover anything that gets deleted by mistake. It’s always better to be safe than sorry.
Step 3: Check Your Site After You Clean WordPress Media Library
You must review your website after cleaning the WordPress media library.
1.) Clear cache
Perform a thorough check of your website after deleting unused images. Clear your website cache and browser cache, and review your site. Make sure that there are no broken images.
2.) Look for missing background images.
The WPvivid plugin does the work as expected. Unfortunately, it does not accurately check background images and will mark it as unused.
3.) Download the backup
Download a backup of your website. In this way, you can retrieve and upload images deleted accidentally.
Conclusion
Make it a habit to clean the WordPress media library of unused images. Frequently cleaning out your WordPress media library will help improve site performance. By following these steps, you can maintain a well-organized and efficient website.

