Blog posts in WordPress are one of the main methods to show content on a website. If you are a blogger, then without a doubt, WordPress posts are your primary method of content creation and sharing.
Therefore, it is vital to know everything about creating posts. I am an experienced web developer and blogger. I often find new ways to take my WordPress posts to the next level, and in this WordPress post guide, I will share everything I know.
That is why I have named this article the WordPress post guide 101: Covering the basics and more. Please note, that I am not going to talk about any particular WordPress plugin for blog posts. However, I will recommend a few plugins, especially a WordPress duplicate post plugin, so stay tuned.
What are Blog Posts in WordPress?
Posts play a significant role in creating dynamic and frequently updated content on WordPress websites. They are an essential part of blogging, news publishing, and content-driven websites. They allow you to share your thoughts, expertise, and news with your audience in a structured and organized manner.
6 Major Features of Blog Posts in WordPress
At first glance, a WordPress post may resemble a Word document. However, it is so much more.
Here are six major features of WordPress posts.
All of these features can be accessed directly in the post. You can see them in the right column available in the tab labelled “Post”
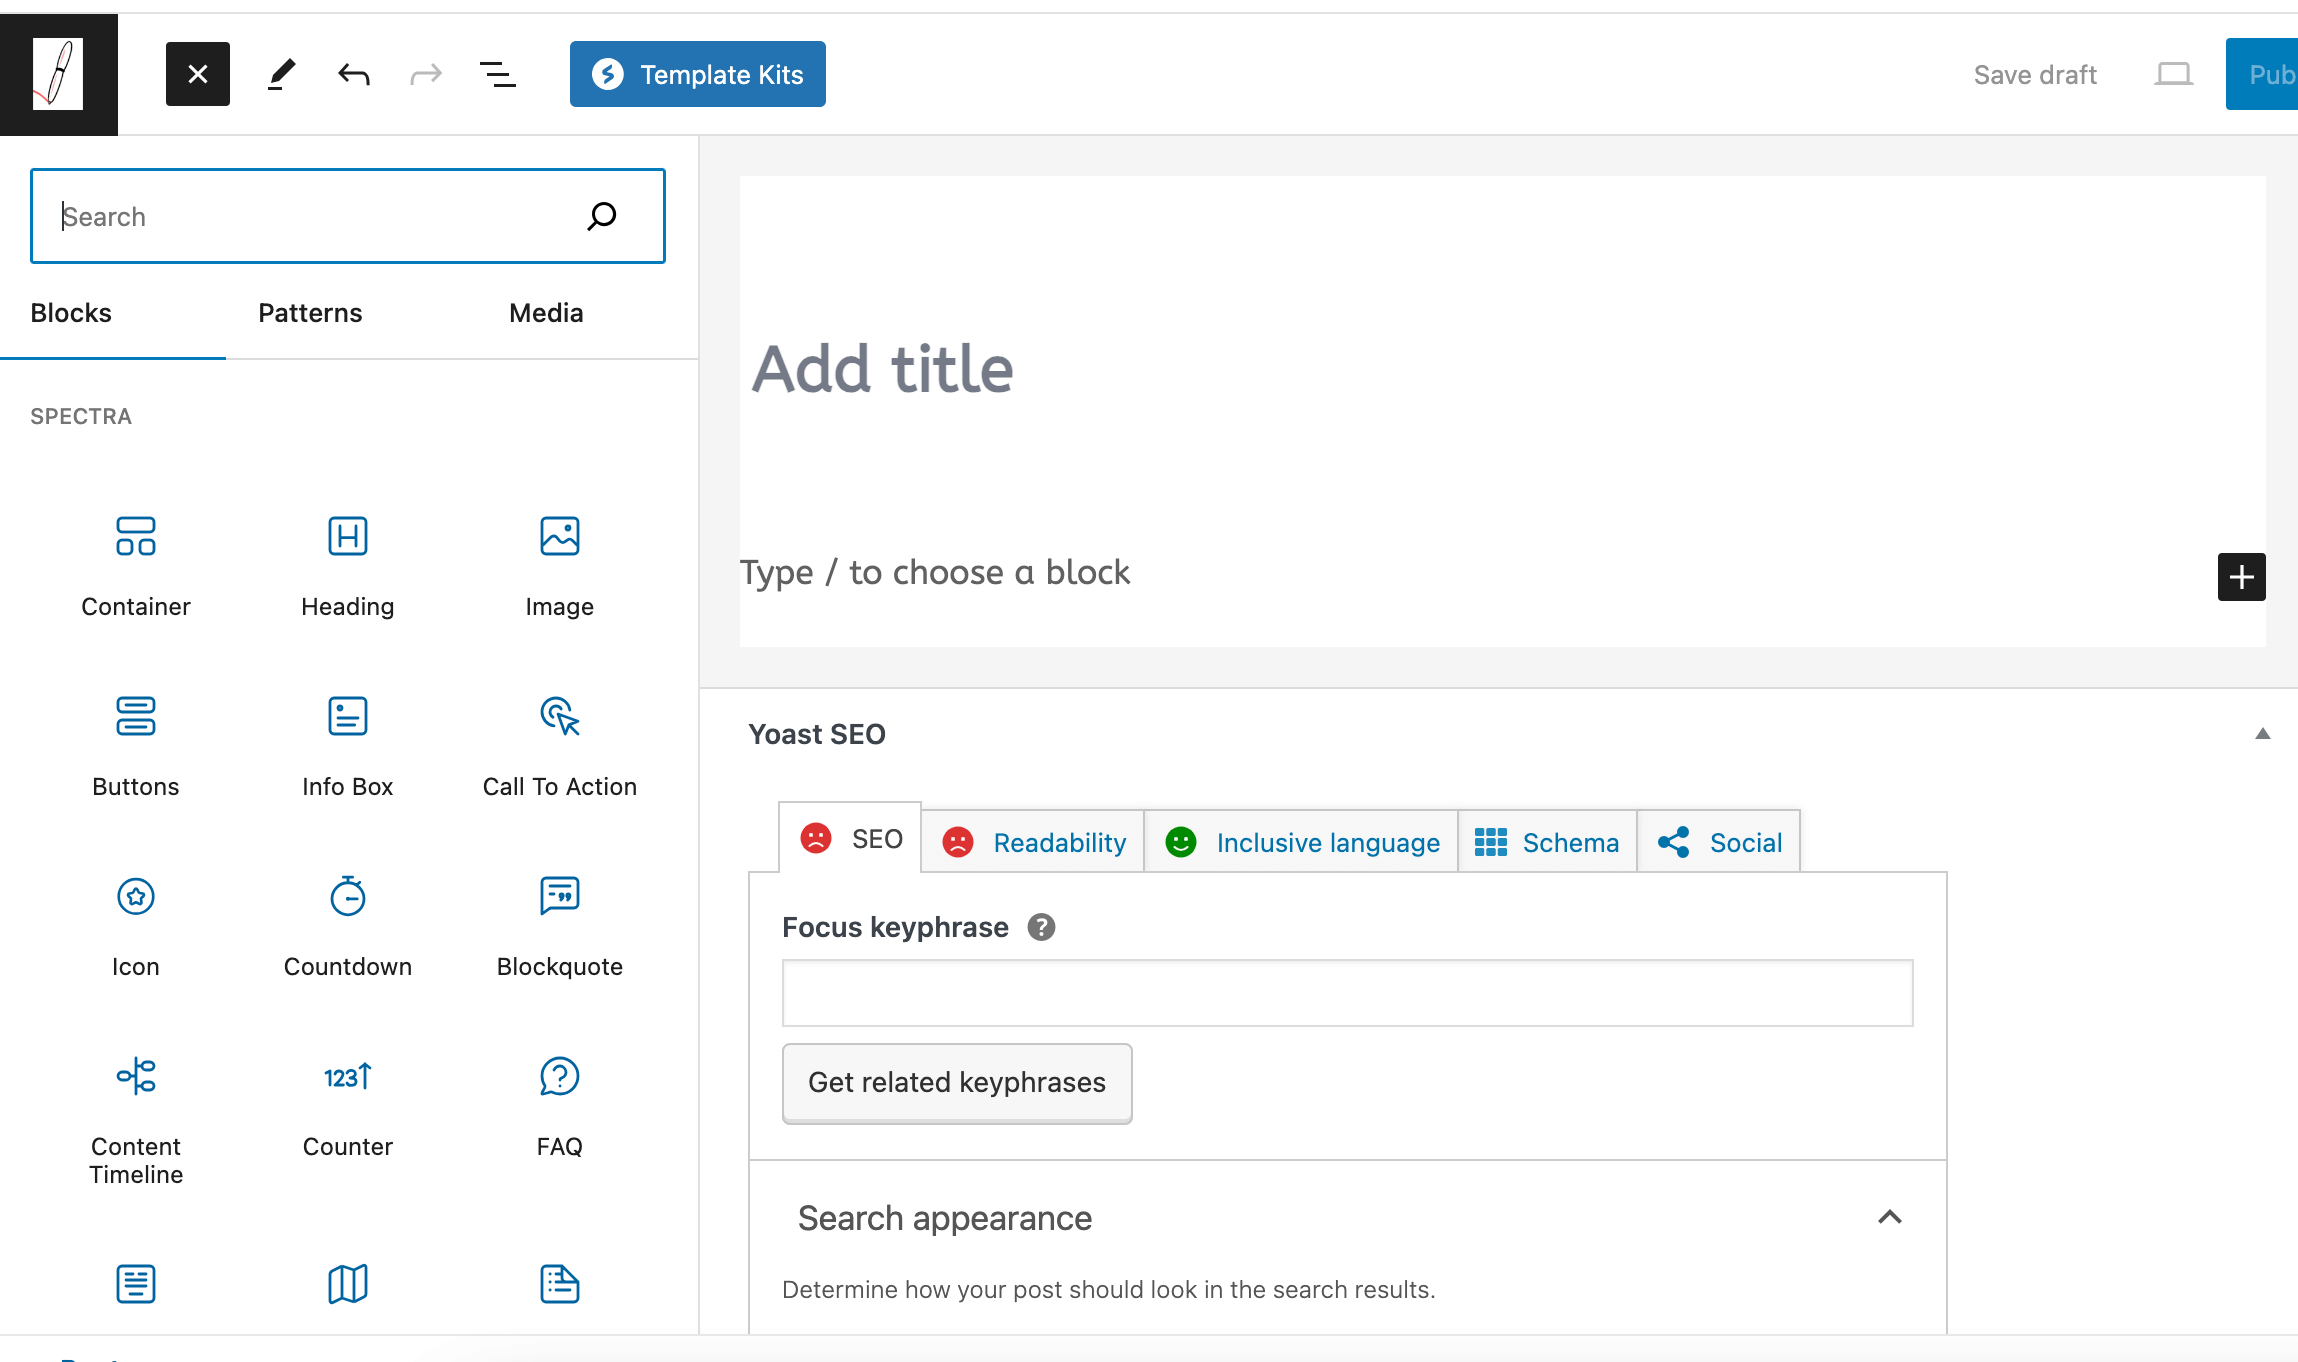
1.) Content
Each post has a title and a main body. In the main body of the WordPress post, you can add text, images, videos, and other media. All of this is doable with the help of blocks.
WordPress blocks are components available with the Gutenberg editor. The purpose of WordPress blocks is to create and edit elements in a WordPress post or page.
The Gutenberg page builder is a full site editor for WordPress. Numerous web designers and developers use the Gutenberg block editor to create a complete website from scratch. Click on the Plus icon in the top left column to access the various blocks.
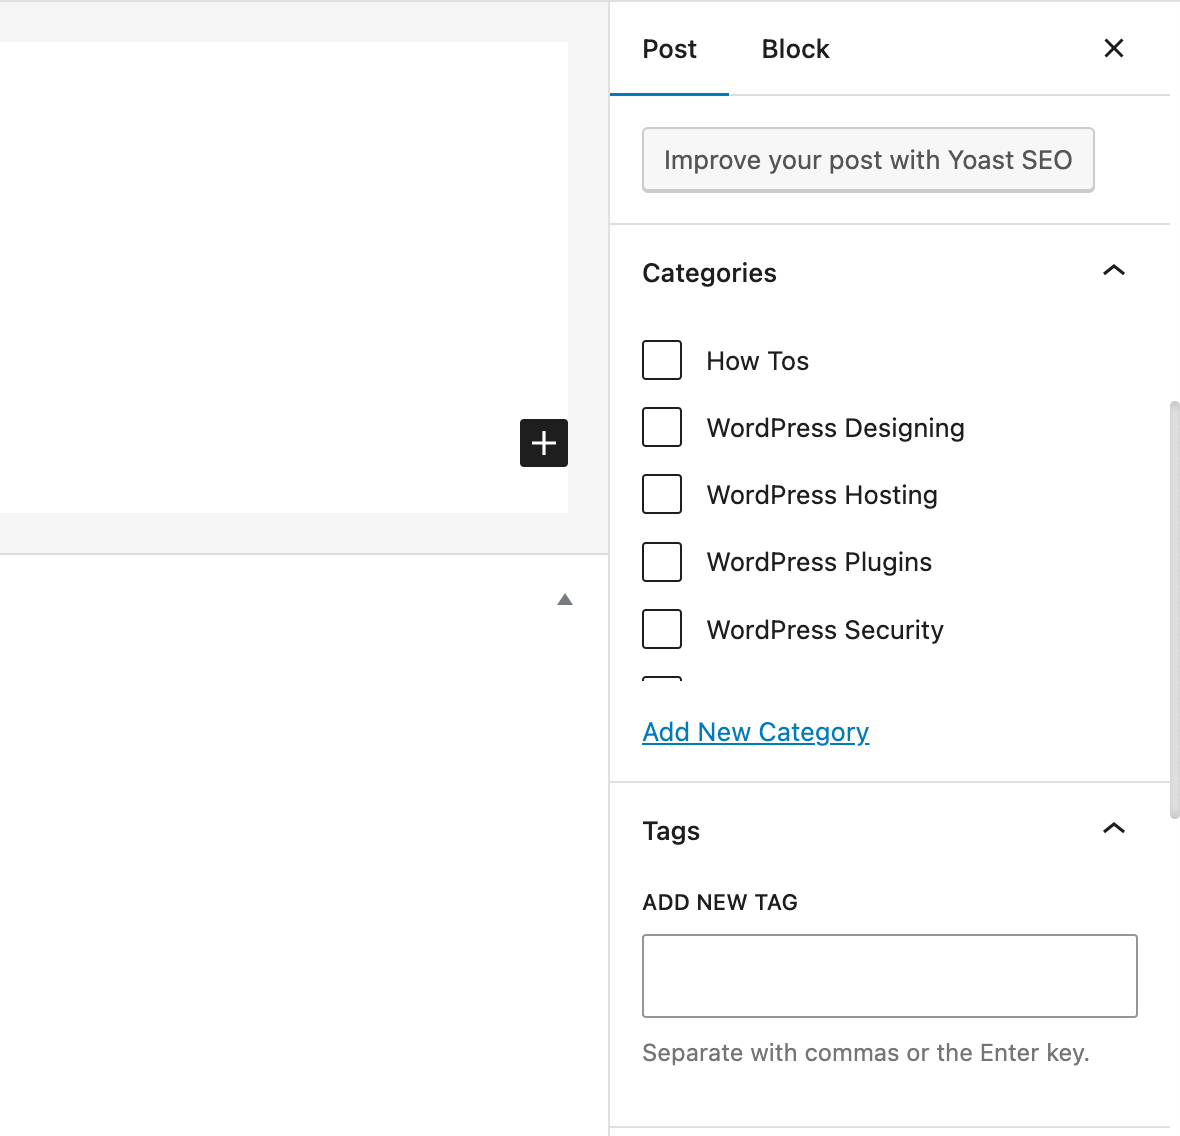
2.) Categories and Tags
WordPress understands the importance of organization and navigation, and for this reason, it offers two functionalities:
- Categories
- Tags
Blog post categories represent broad topics or sections. For example, the category can be video games, which can include sub-categories like Playstation, Xbox, etc.
Tags are more specific keywords or descriptors. Think of them as unique hashtags. Taking video games as an example, which is a broad category, the tag is a precise description of the post. Examples of tags can be Spiderman, Spiderman into the Multiverse, etc.
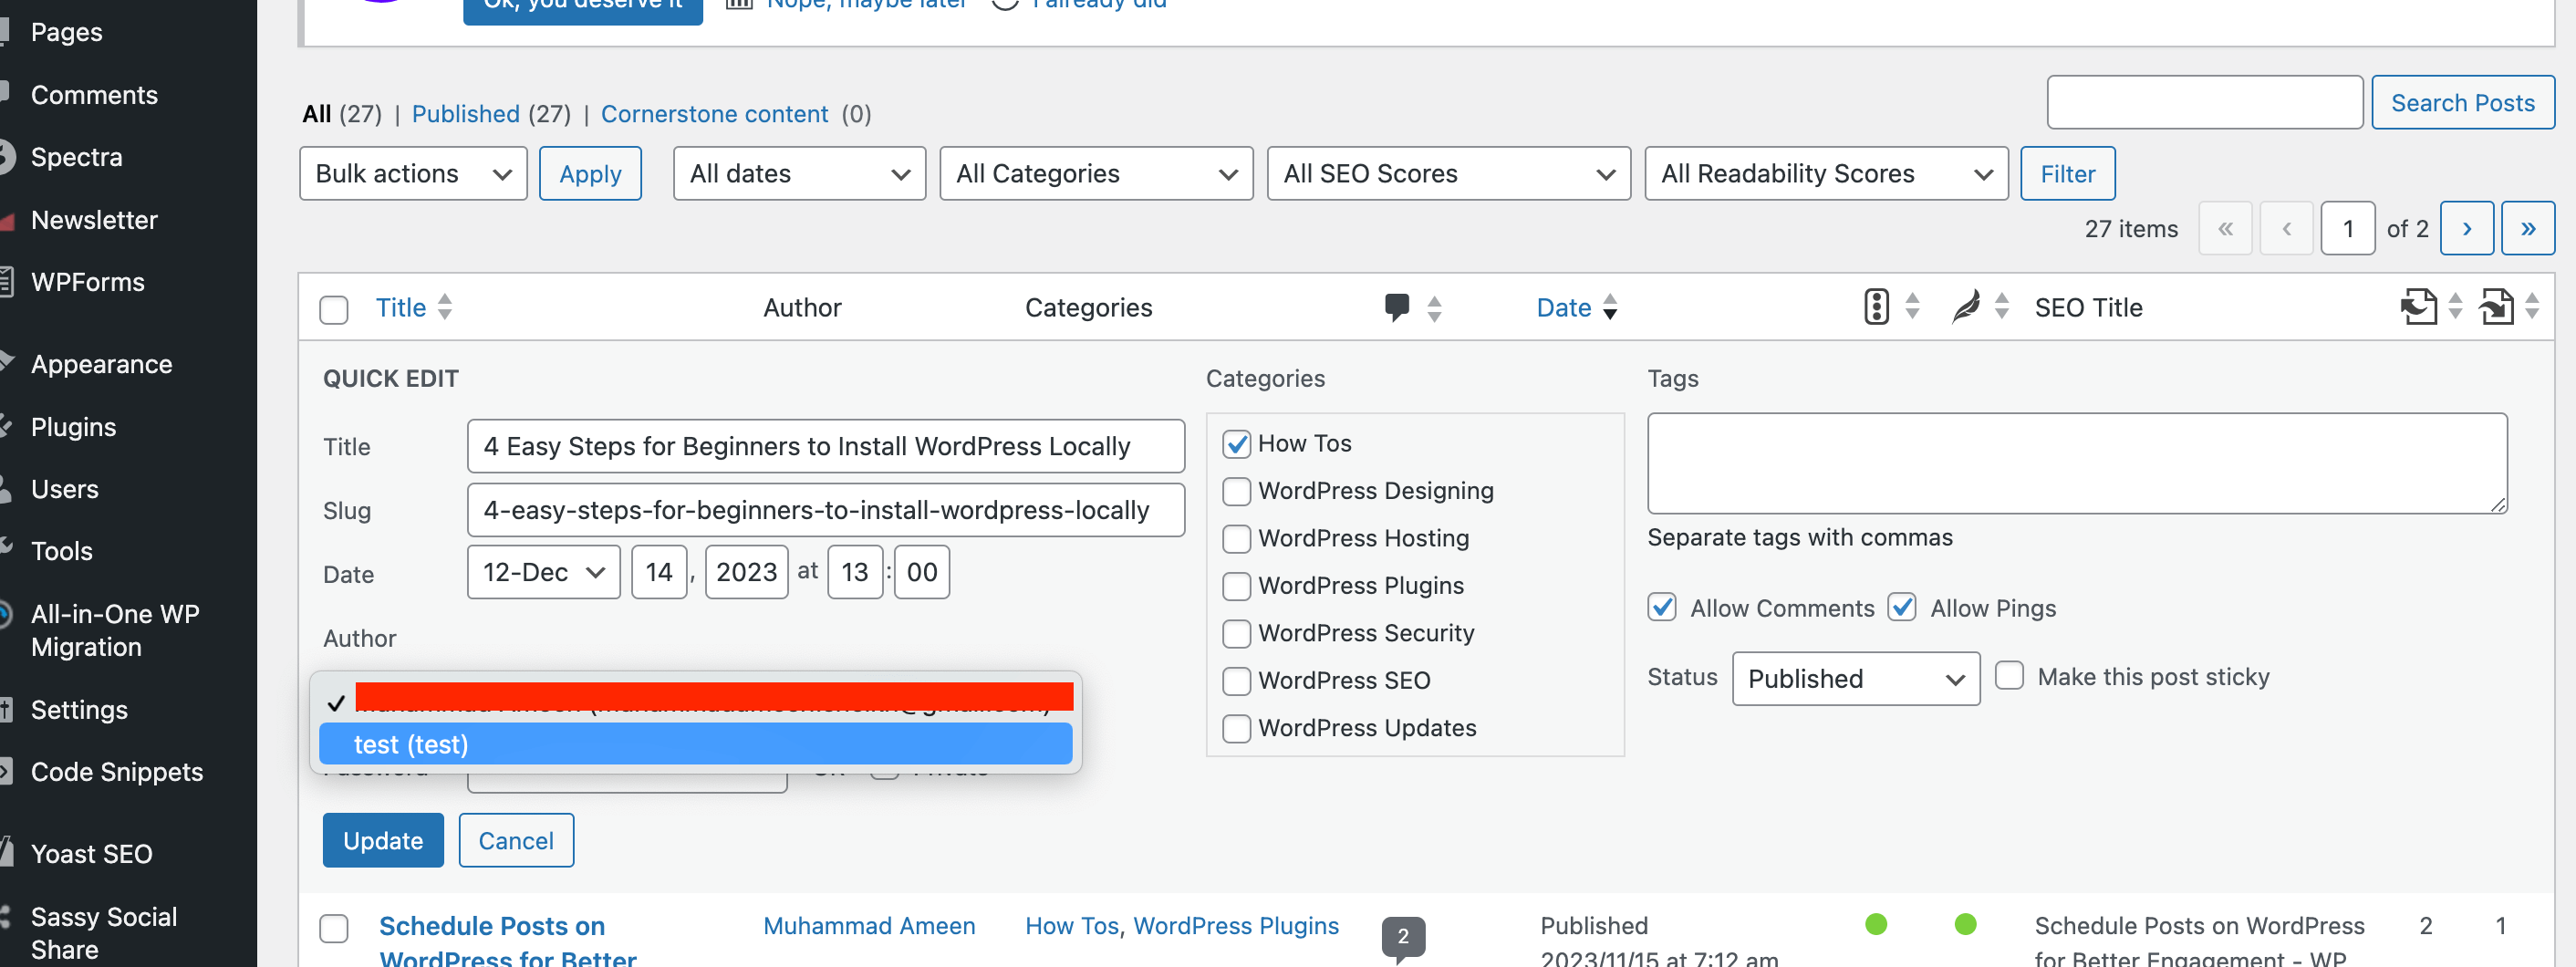
3.) Author
Each post has an author which is the admin user creating the WordPress post. However, there are two ways you can change the author.
1.) You can set the author in the post-summary block.
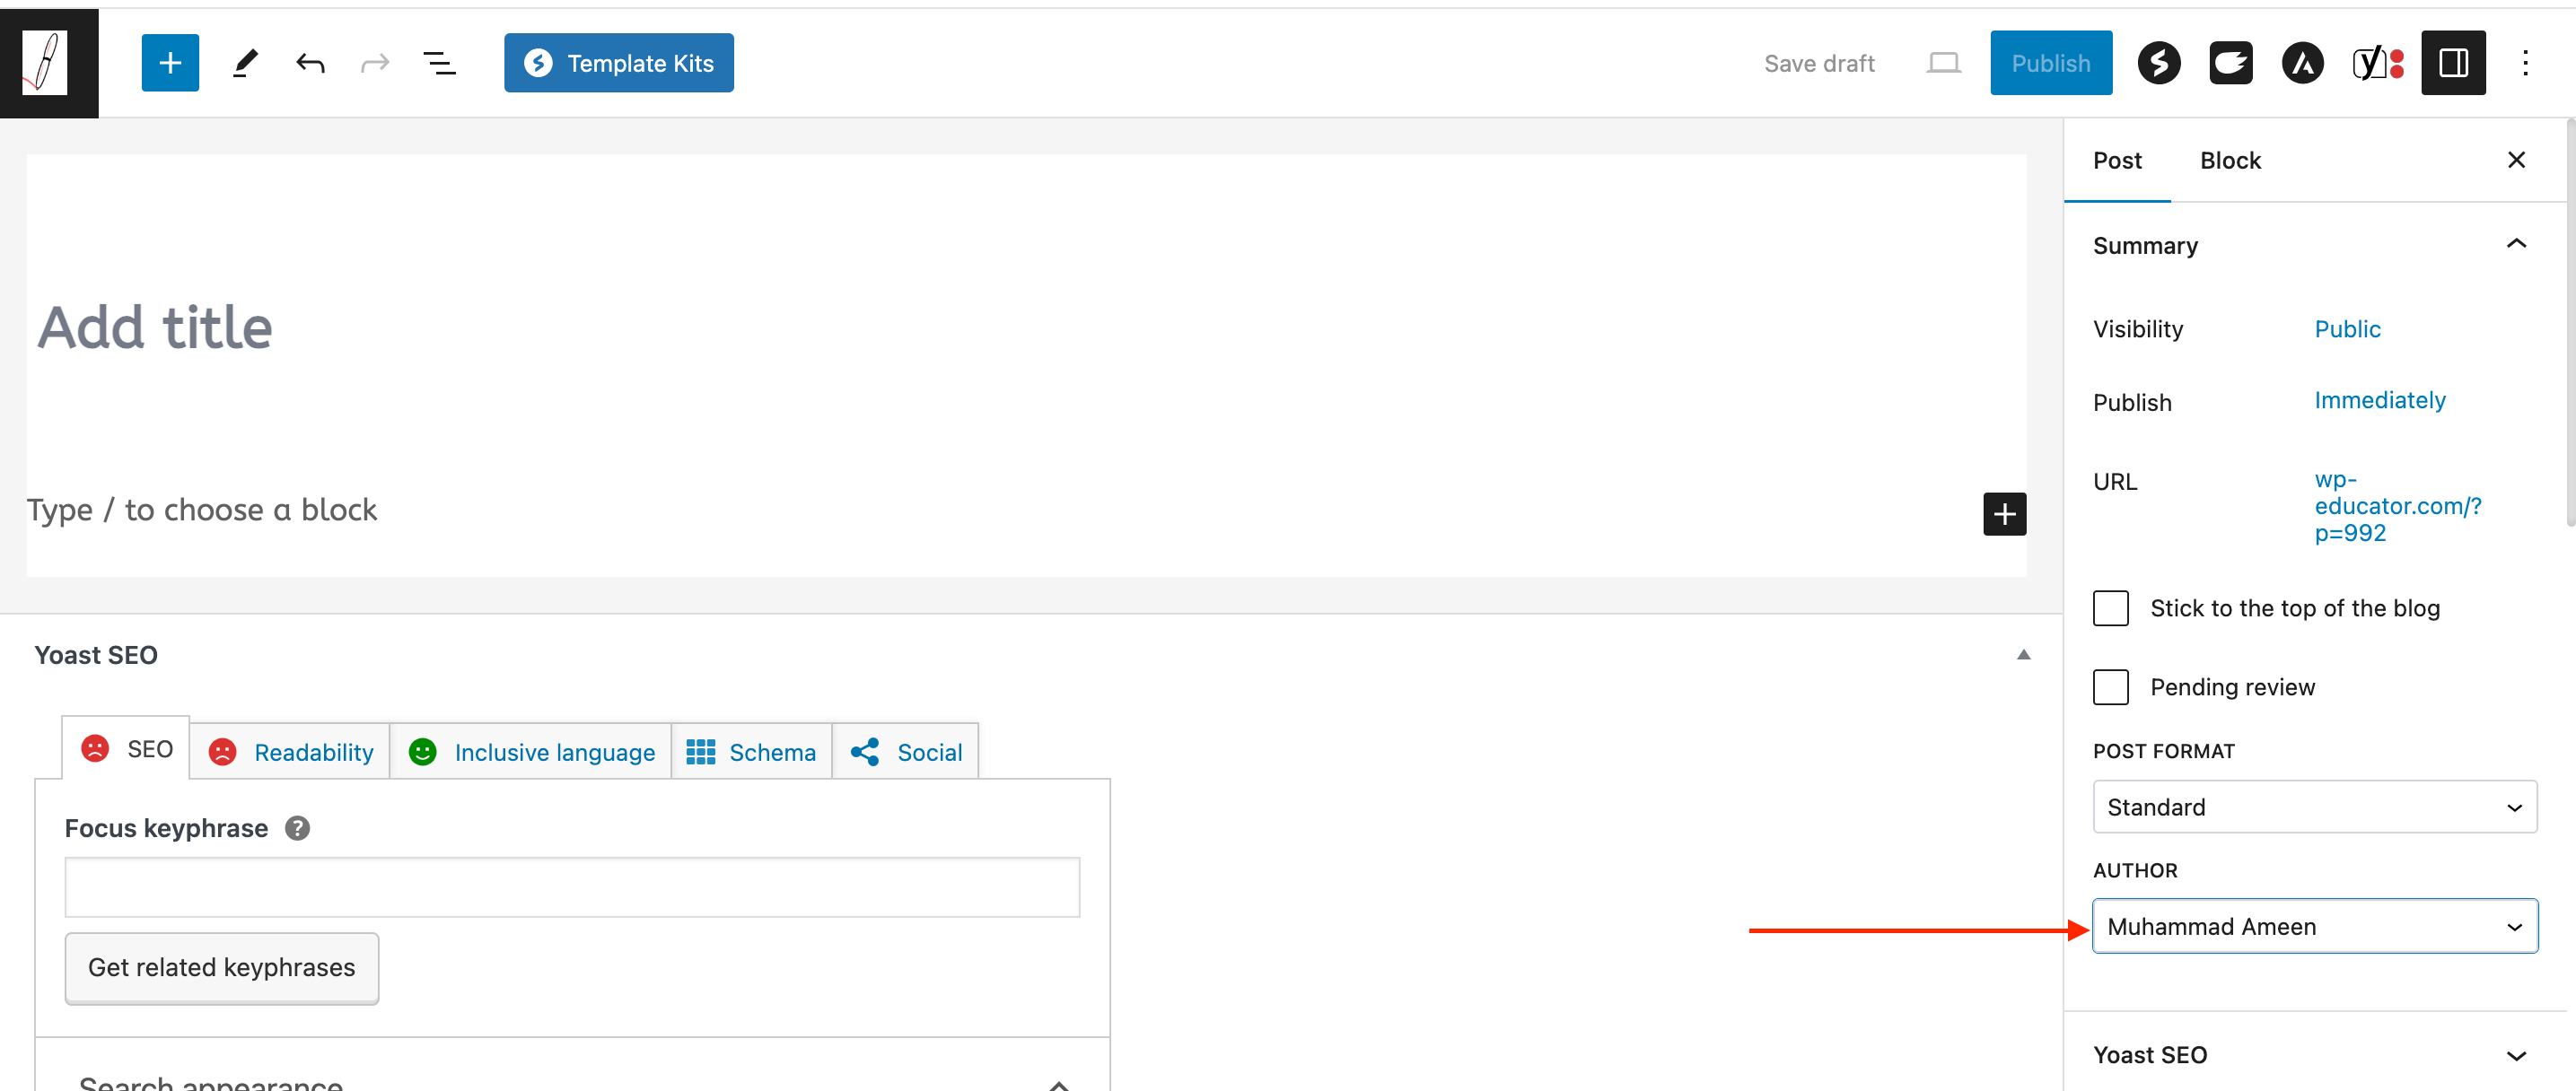
2.) You can change it using the quick edit functionality. This feature is available on the WordPress post dashboard. Move your mouse over the post, and a small navigation will appear below. Click on the quick edit link, and there will be an author dropdown menu. From there, you choose the author for this post. It will only appear if there is more than one WordPress administrator or a user with the editor role.
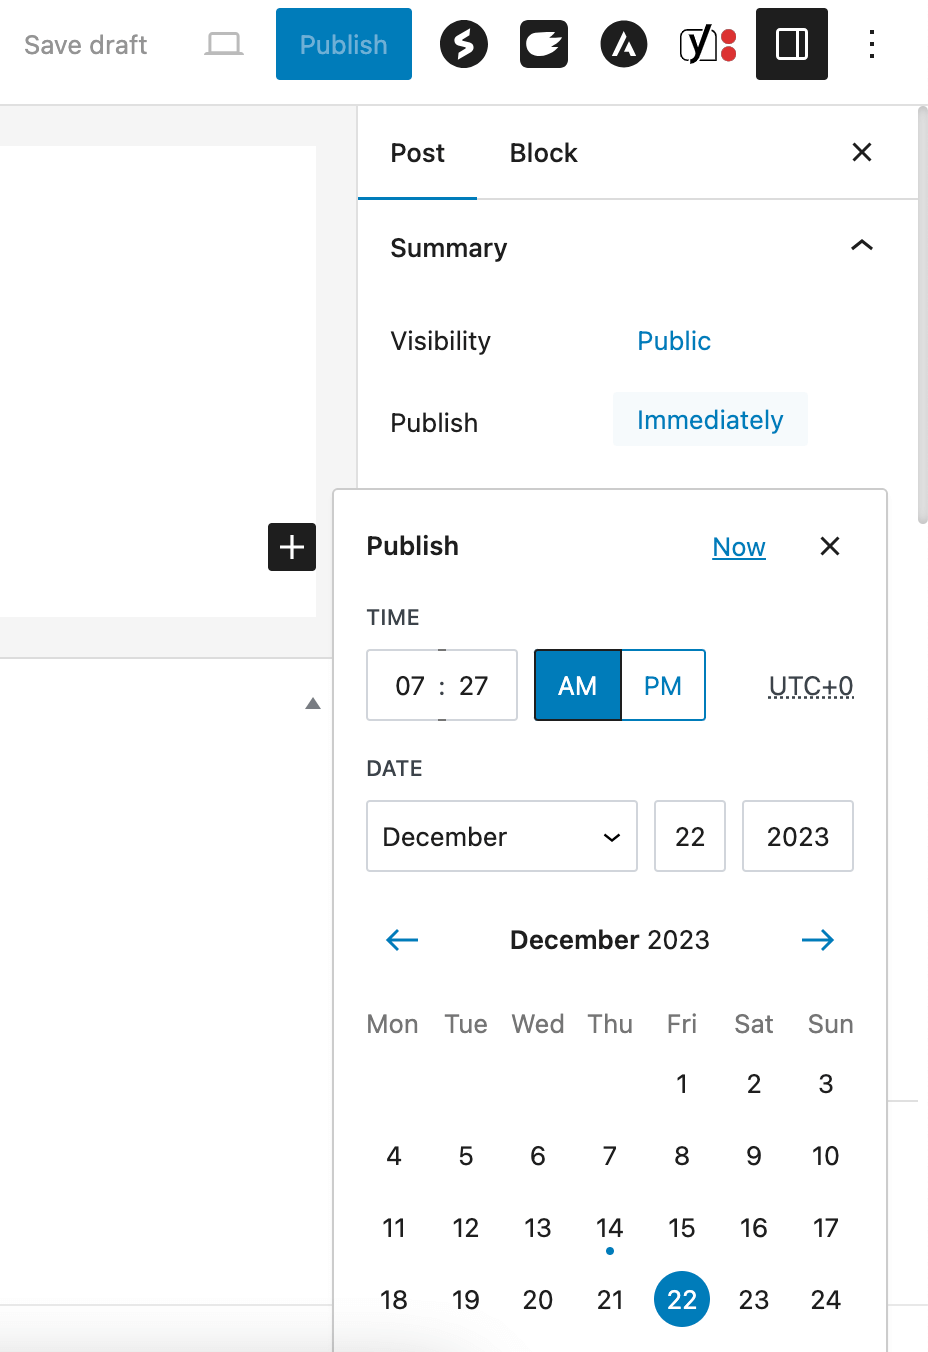
4.) Publication Date
The publication date indicates when the post was initially published or last updated. You can also schedule posts for better engagement if you wish to publish them in the future or at a specific time.
5.) Comments
By default, posts allow visitors to leave comments, which leads to discussion on your website. You have the option to enable or disable comments on individual posts.
Another cool feature is the manual approval of comments. I have enabled this feature to protect my blog from spam comments, and I am so glad I did it.
When I began my WordPress blog, I received a tsunami of spam comments. How did I know they were spam? All of the remarks written:
- Were irrelevant
- Were in a different language
- Included content to other sites, usually gambling
Thankfully, the moderation feature protected my site from spam comment attacks.

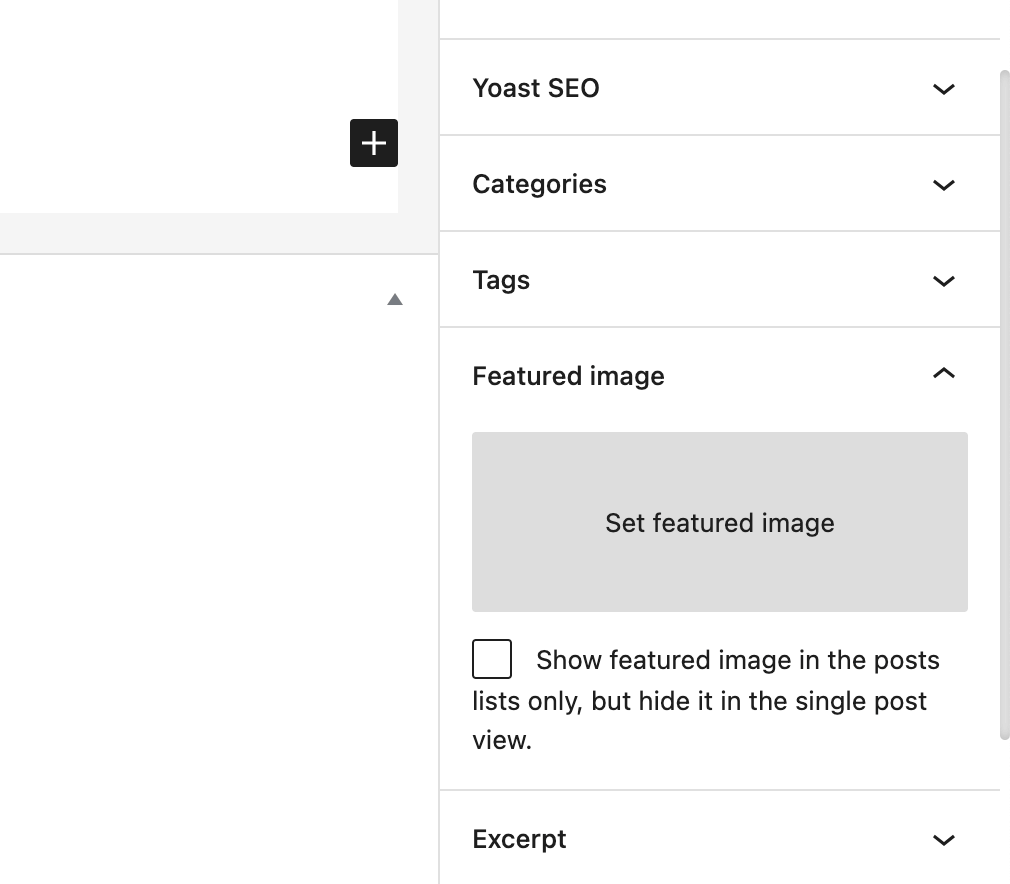
6.) Featured Image
A post can include a featured image, which serves as the primary visual representation of the content. The featured image appears in the link preview when you share the post on social media platforms or in newsletters.
Depending on the theme and plugins you have on your website, you may get access to extra functionality. Some of these functionalities may not be visible. You can access them using the screen options.
There is one feature that is still missing in WordPress. I consider it a major feature, and hopefully, WordPress will release it shortly. It is to duplicate a post in WordPress.
How to Create a Blog Post in WordPress Using the Gutenberg Editor?
Creating a blog post in WordPress is a straightforward process. Here’s a step-by-step guide with images to help you create a post:
Step 1: Login to WordPress
Go to your WordPress admin URL and log in with your username and password.
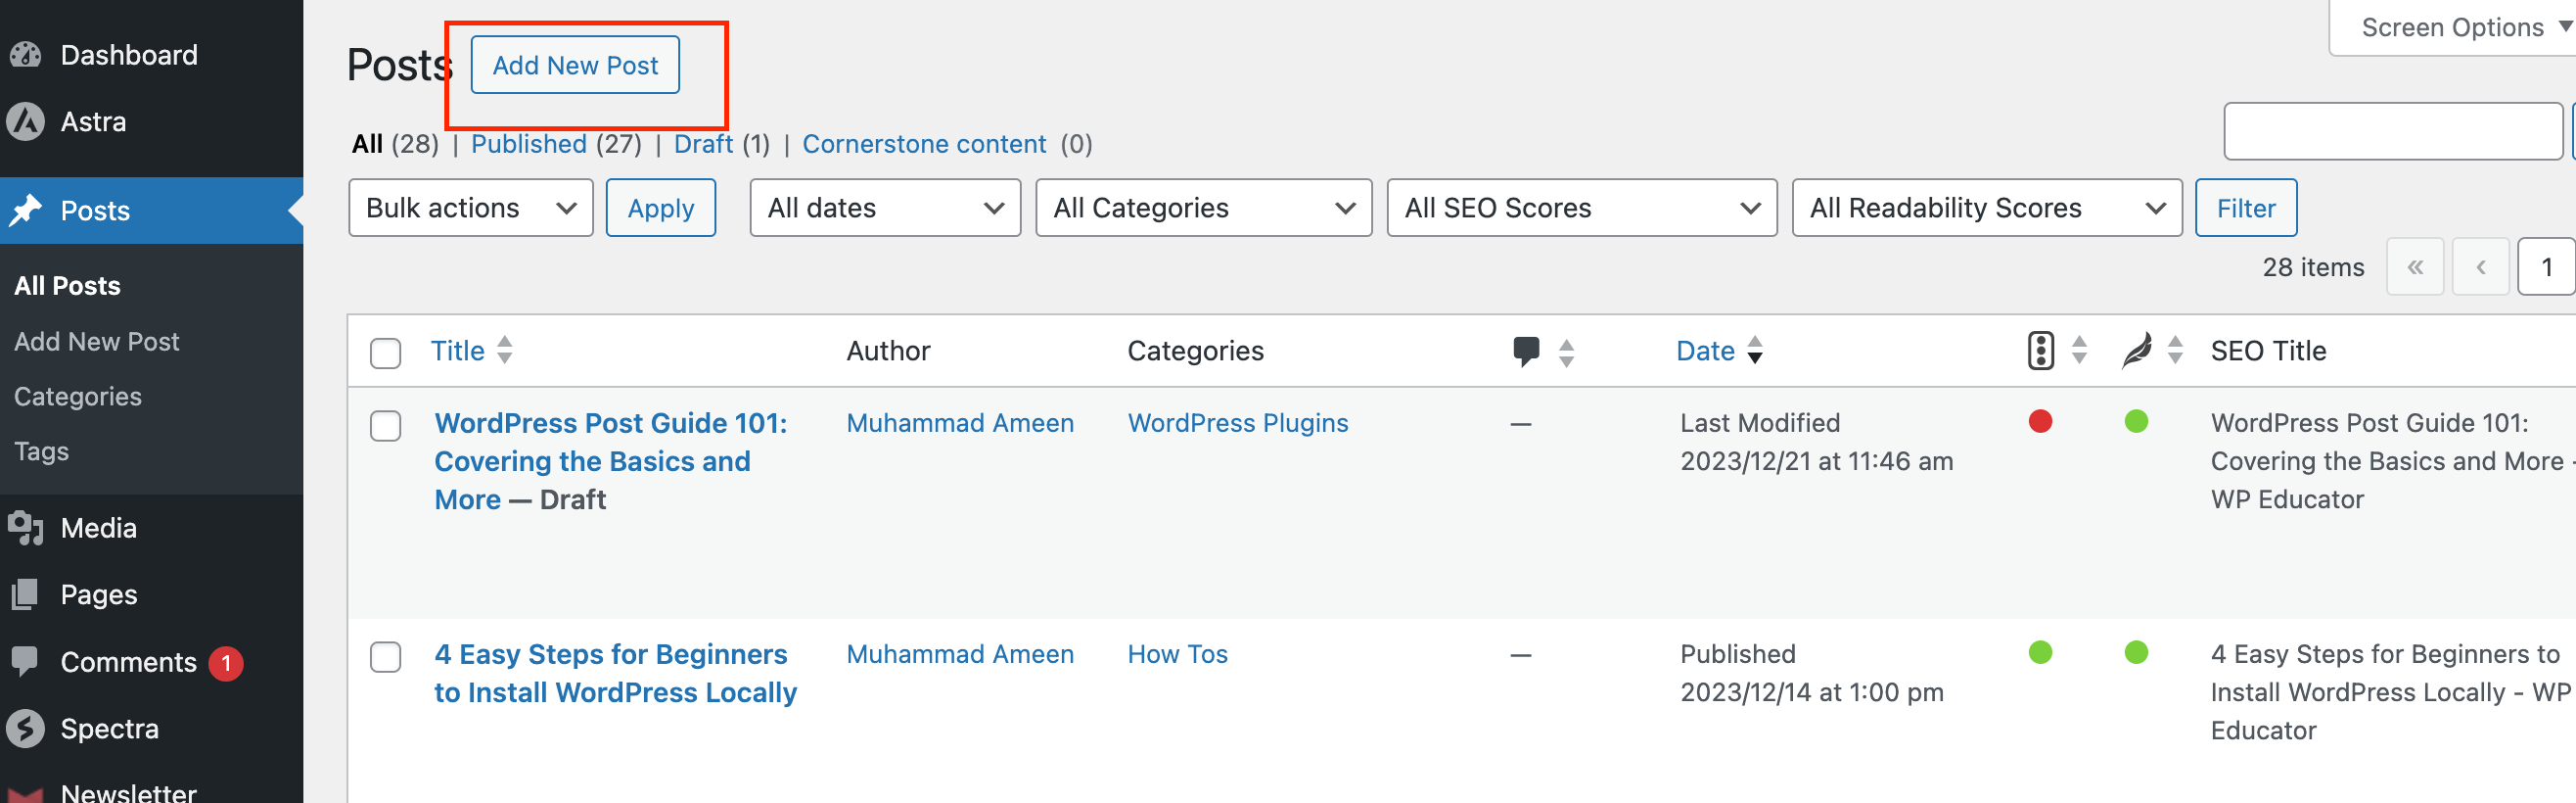
Step 2: Access the “Posts” Section
In the left-hand menu, click on “Posts.” It will take you to the Posts screen, which displays all your existing posts.
Step 3: Add a New Post
To create a new post, click the “Add New” button near the top of the Posts screen.
Step 4: Create a Catchy Title
In the post editor, you’ll see a field at the top where you can enter the post title. You can use the Monster Insight Headline Analyzer to create a catchy title.
Step 5: Style and Format Your Content
After you have written your blog post, the next step is to style and format your content. You can do this by:
- Adding images and infographics.
- Adding interactive charts.
- Style your text and headings, and apply custom CSS styles.
You can switch between the Visual Editor (WYSIWYG) and Text Editor (HTML) modes. These options are tabs in the text editor add-on. This feature is helpful if you want to add custom HTML and CSS.
Step 6: Tags and Category
Before publishing your post, assign it to a category or write meaningful tags. You will find options to label your post with tags and categories on the right side of the post editor. You can make new tags and categories in the post editor without exiting the page.
I never use tags for my posts; however, I always assign them to categories.
Blog post categories are a great way to organize posts in the WordPress admin and your website. Your visitors will know which category this post belongs to and can search a category to discover more posts.
Step 7: Set a Featured Image
You can set one for your post by clicking the “Set featured image” link in the Featured Image section on the right column. Whenever you share a link to your post, this featured image will represent it. Without this, the link preview will display a broken image.
Step 8: Preview and Publish
To preview how your post will look before publishing, click on the “Preview” button located in the Publish meta box on the right. Once satisfied with the post, click the “Publish” button to make it live on your website.
How To Add Blog Posts to Pages in WordPress?
Many websites show posts on pages, and you can do it also. If you want to show recent WordPress posts on any page, you need to edit the page directly in the Gutenberg editor.
You may see numerous tutorials and suggestions on how to add a recent post sidebar. However, using the sidebar widget is not the answer because we want to know how to add blog posts to pages in WordPress.
The sidebar widget will show a list of recent posts on individual posts, not on pages. So, if anyone suggests using the sidebar widget, don’t waste your time. However, if you want to know how to add posts to the sidebar widget, skip to the next section.
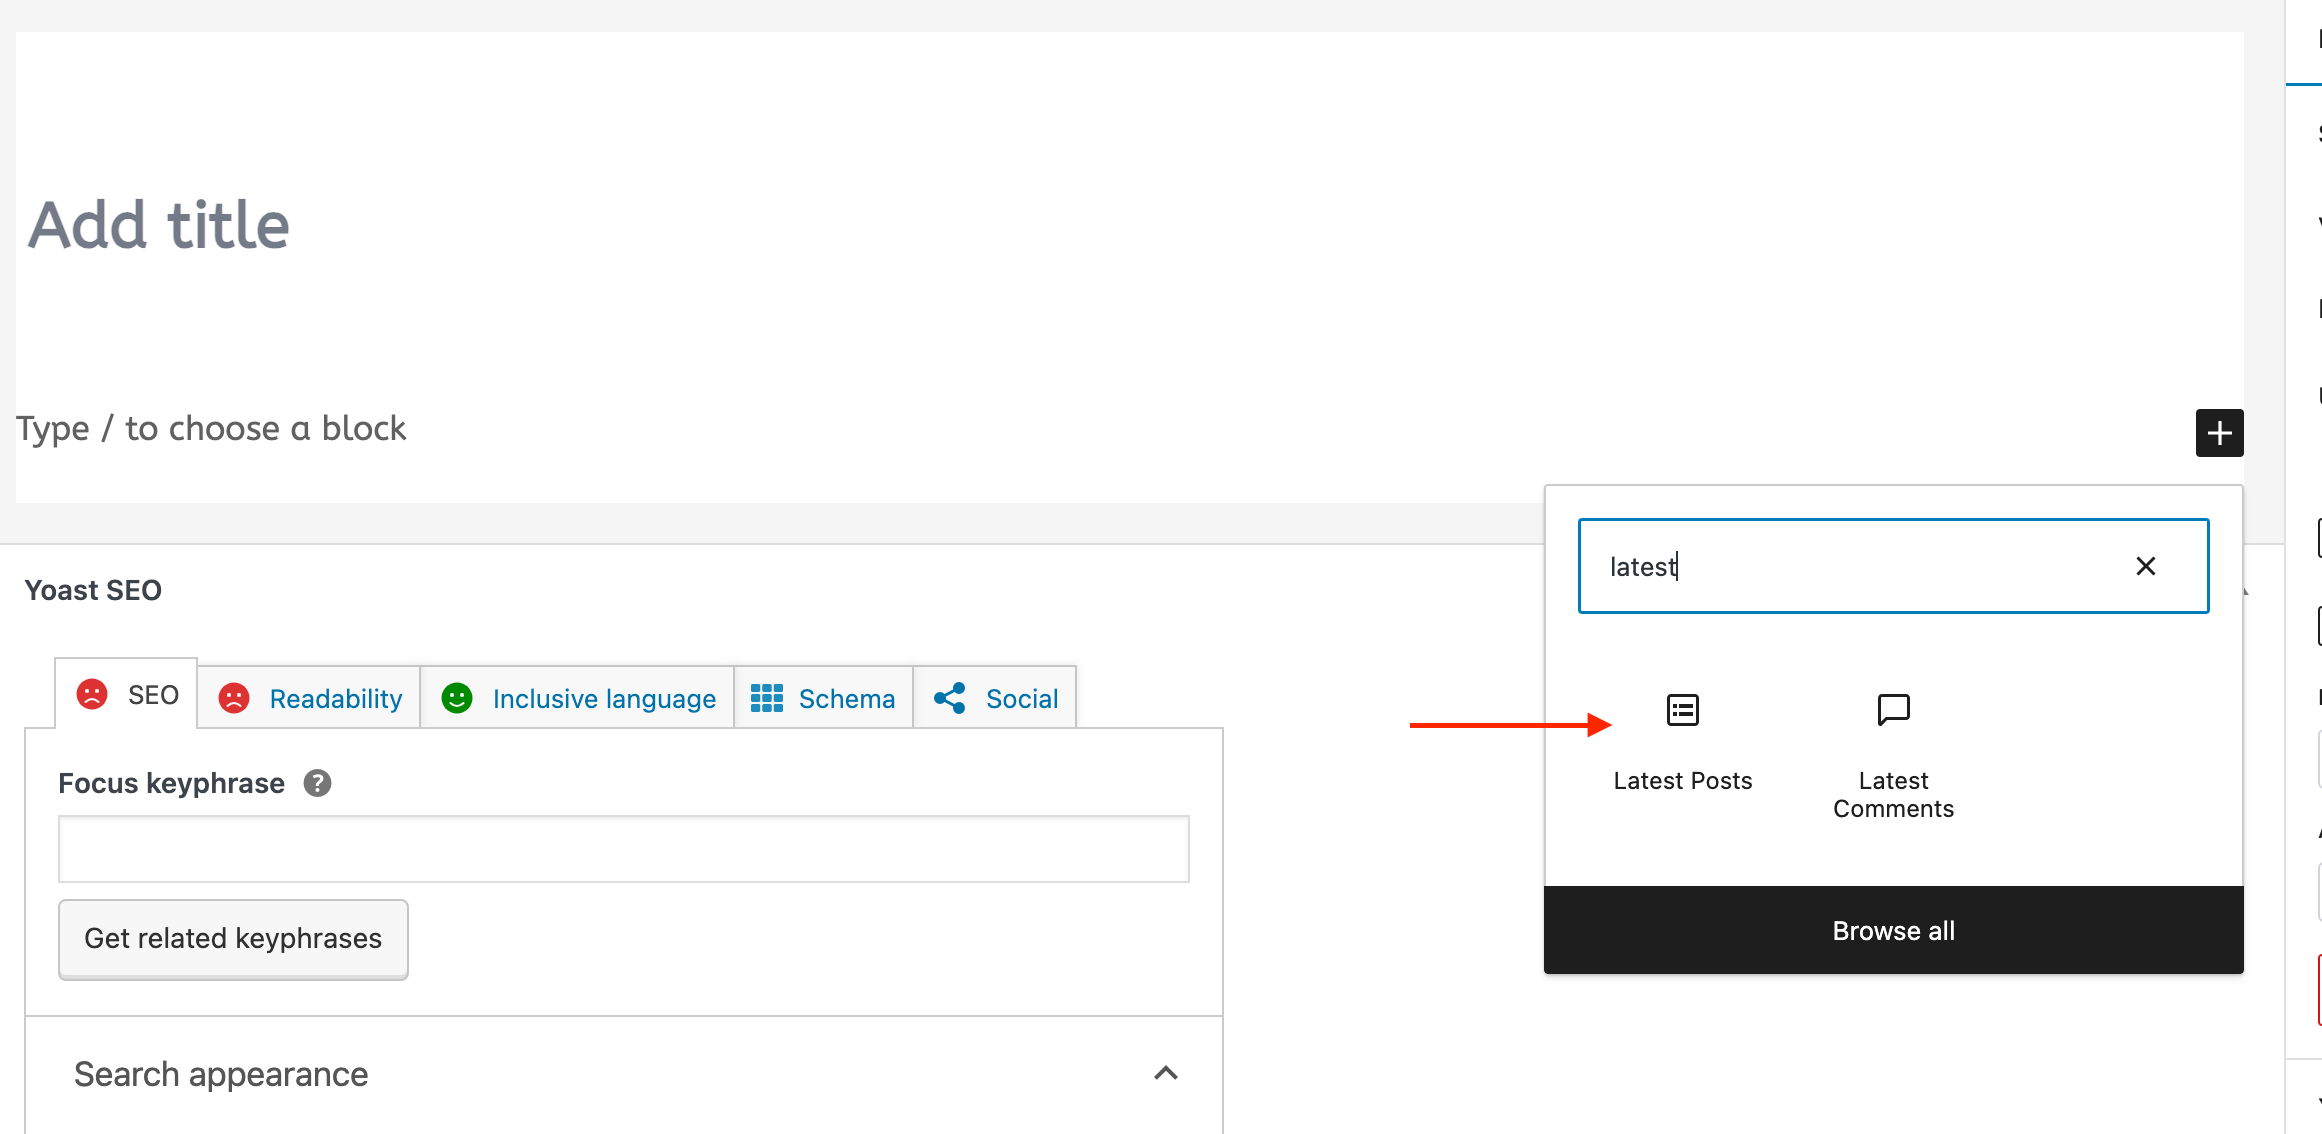
If you are eager to learn how to blog posts to pages in WordPress, follow these steps.
- Edit the page where you want to add the recent posts section.
- Search for “Latest Posts” in the addons and drag-and-drop the recent post addon where you want the posts to appear.
- Play around with the settings.
- Save the changes and view the page on the front end to see a list of the recently published WordPress posts.
How to Display Recent Posts in a WordPress Sidebar Widget?
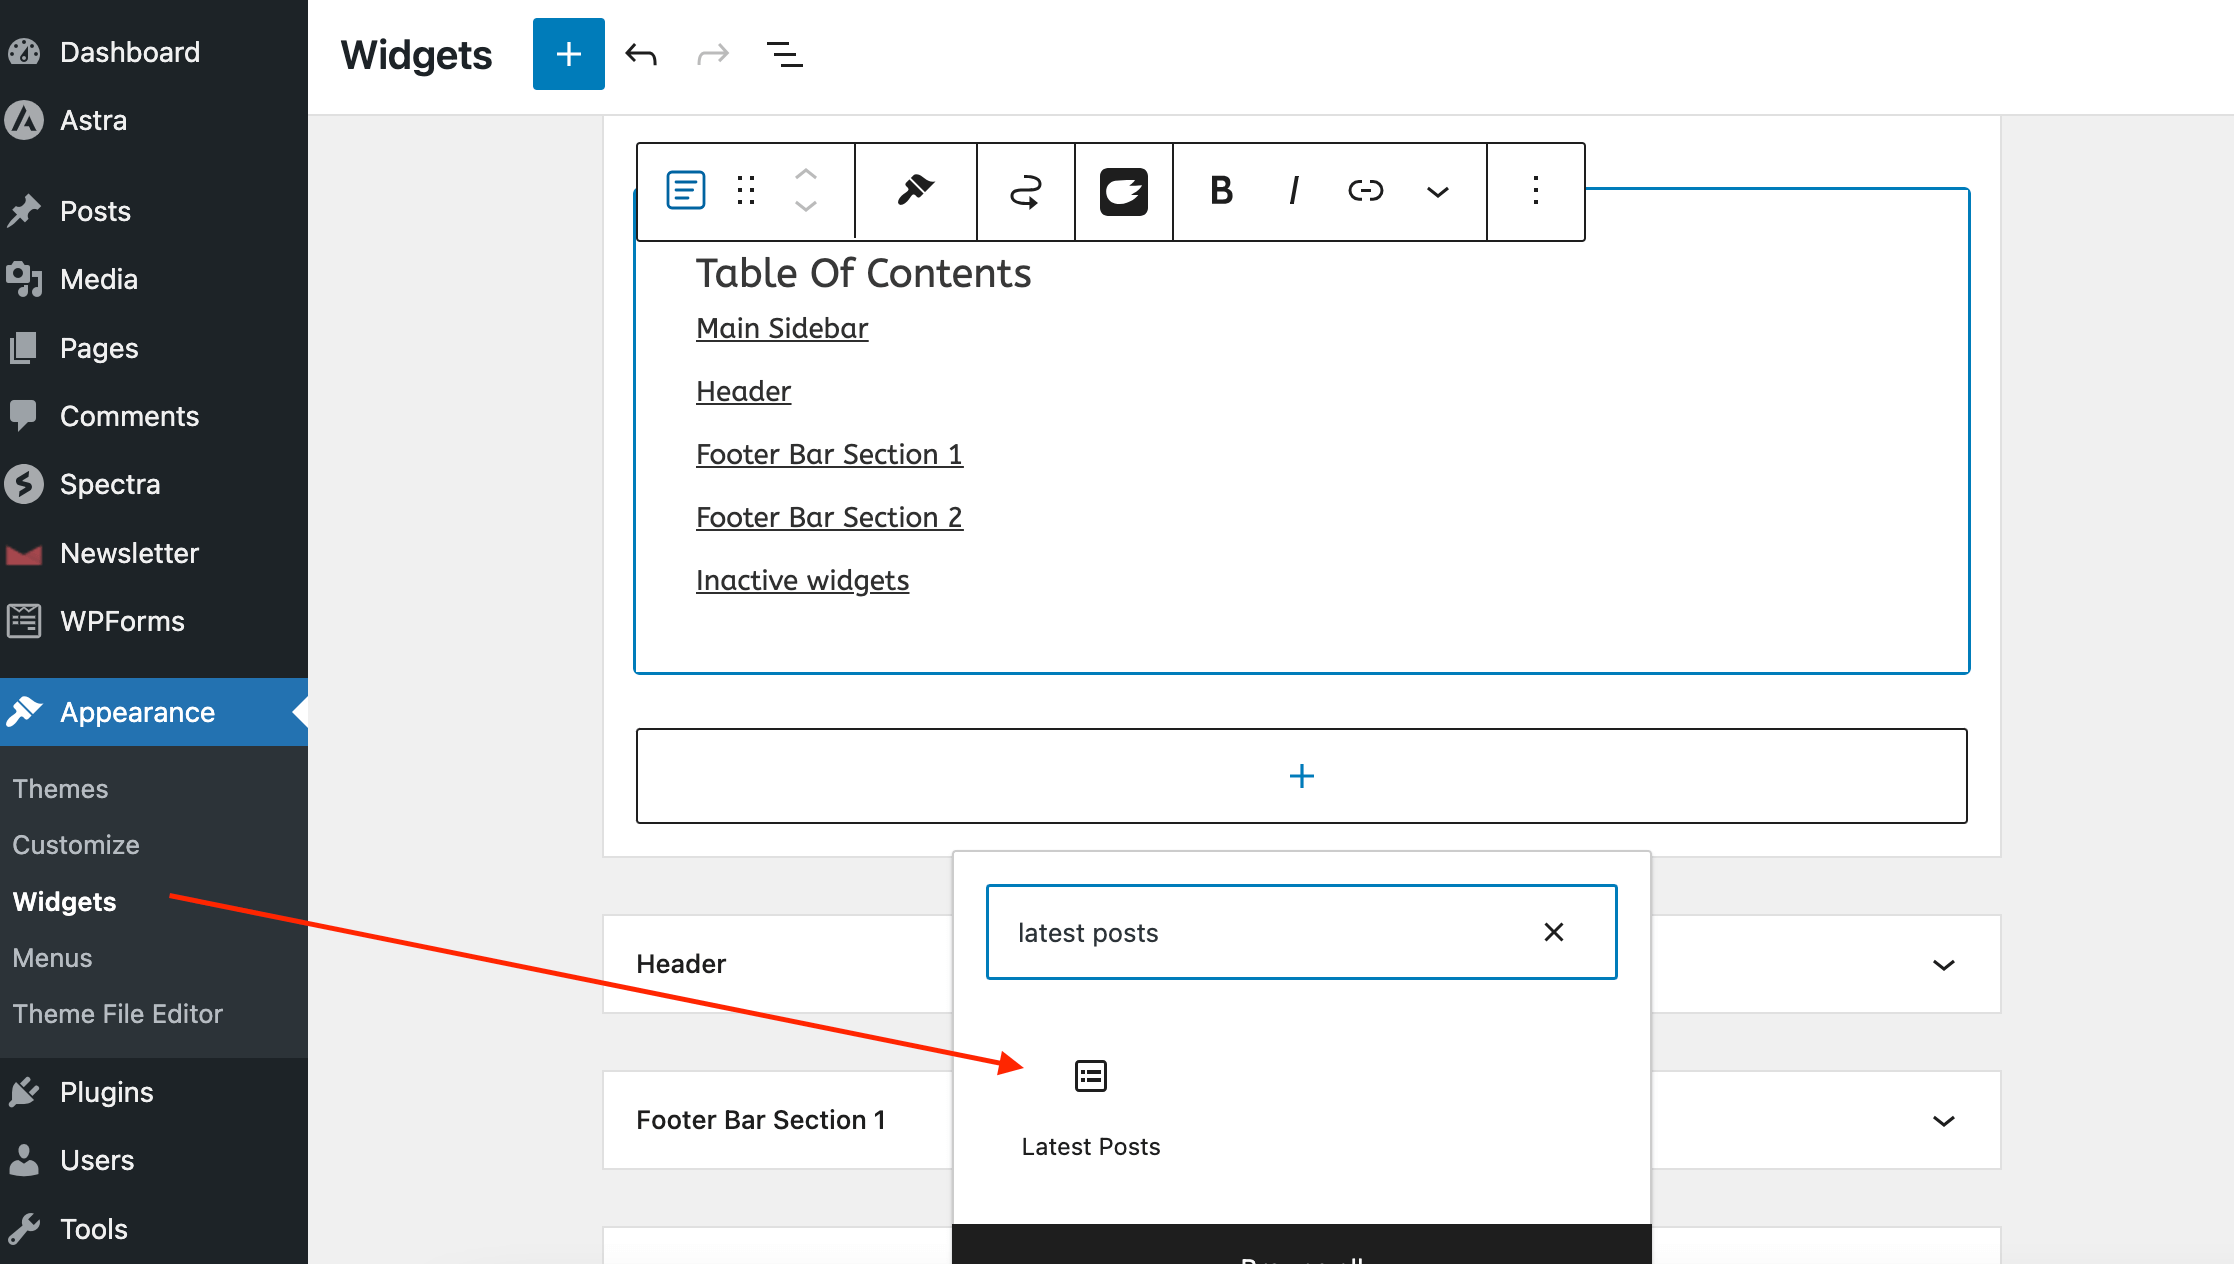
To display recent posts in WordPress you can use widgets.
- Go to “Appearance” > “Widgets” on the WordPress Dashboard.
- Select the widget where you want your recent posts to show. For example, the Main Sidebar widget.
- Click on the plus icon and search for “Latest Post” add-on.
- Set the settings for the widget, such as the title of the widget and the number of posts to display.
- Save the changes, and the sidebar widget will show the most recent posts on your website.
You can make the sidebar more interactive by having it scroll along the page. It is possible if you install and activate the WP Sticky Sidebar plugin.
If the sidebar isn’t appearing on your WordPress post, it is probably because your theme does not support it. A couple of other reasons could be that you have removed the sidebar widget or there could be a plugin conflict.
What’s the Difference Between a Page and a Blog Post in WordPress?
In WordPress, you can use pages and posts to create content on your website. They both serve different purposes and have distinct characteristics.
Here’s a comparison of pages and posts in WordPress:
| Pages | Posts |
| Pages, like About Us, Contact, or Services page, are static content that does not change frequently. | Posts are for dynamic, time-sensitive content you want to display in reverse chronological order. It begins with the most recent post appearing first. |
| Pages are hierarchical; you can organize your content in a structured way by creating parent and child pages. | It is simple to categorize and search for specific topics due to categories and tags. |
| Pages do not appear in the main blog feed and are not date-coordinated. | The main blog feed contains posts, and date-based archives can further organize them. |
| Pages can have custom page templates applied to them, allowing for different layouts and functionality. | Posts often allow visitors to leave comments and engage in discussions. |
| Pages are suitable for static, timeless content you want to display in a hierarchical structure. |
The decision between utilizing a page or a post depends on the sort of content you need.
Conclusion
Sometimes, displaying WordPress posts on a specific page can be a frustrating issue, but it is not impossible. By following the steps outlined in this article, you can create a WordPress blog post and show it on any page you desire.
Also, by using the major features highlighted above, you can create an interactive blog page. It will help you to engage with your audience and allow easy navigation.