Did you know that if your website takes too long to load (approximately 5 seconds or more), users will abandon it? It seems harsh, right? But that is the reality of today’s fast-paced digital world. One of the factors that can slow down your website’s loading time is when you don’t clean WordPress media library.
Don’t get me wrong, images play a crucial role in enhancing the visual appearance of a website. You need quality images, but be aware of all the unwanted clutter in the WordPress library.
A few ways to address this issue are:
- Using the WebP format
- Optimizing images
- Resizing images
WordPress image optimization is vital. But now and then, you should clean WordPress media library. In other words, you should remove unused images from WordPress.
Having unused images in the WordPress media library can pose a problem. It can affect the performance of your website and consume valuable storage space.
This article will provide a step-by-step guide to:
- How to find unused images.
- How to clean up WordPress media library.
How to Find Unused Images?
To clean the WordPress media library, you must first find the number of uploaded images.
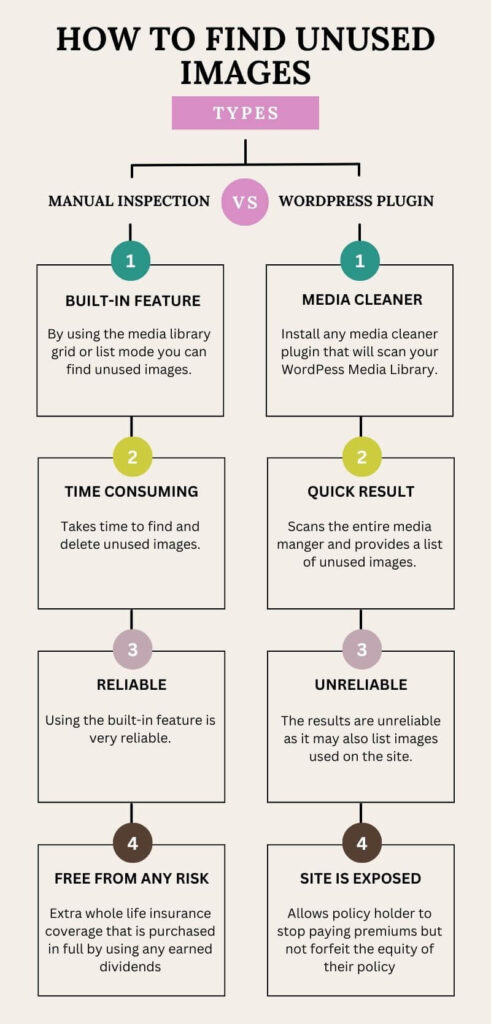
There are two ways to find unused images.
- Performing a manual inspection.
- Using a WordPress plugin to remove unused images.
Let’s explore both options.
Performing a Manual Inspection
One of the most time-consuming methods is performing a manual inspection. It involves going through each image in the media library and comparing it with every post or page. The comparison is necessary to see if it is in use or not.
There are two ways to perform a manual inspection.
- The list mode.
- The grid mode.
How to Perform a Manual Inspection Using the WordPress Media Library List Mode?
Here is a step-by-step guide on how to perform a manual inspection in list mode.
1.) Go to Media —> Library and select the list mode icon.
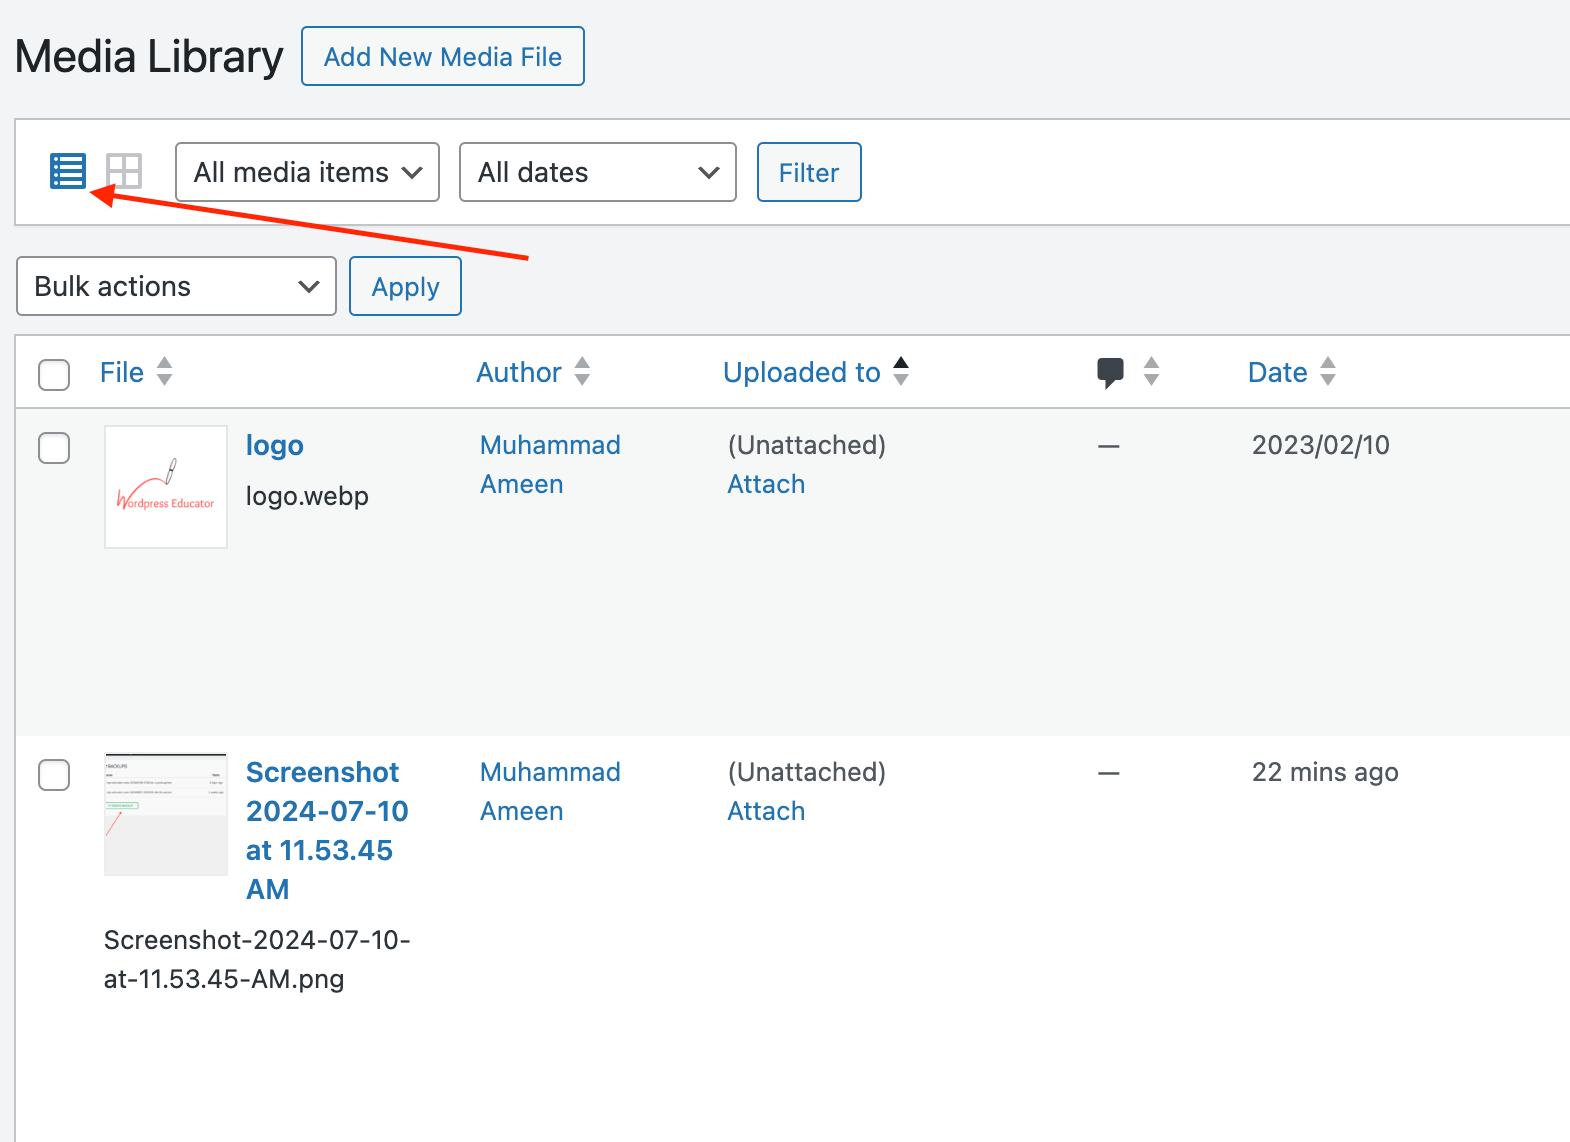
2.) Click on the Uploaded to column to arrange the list in ascending order.
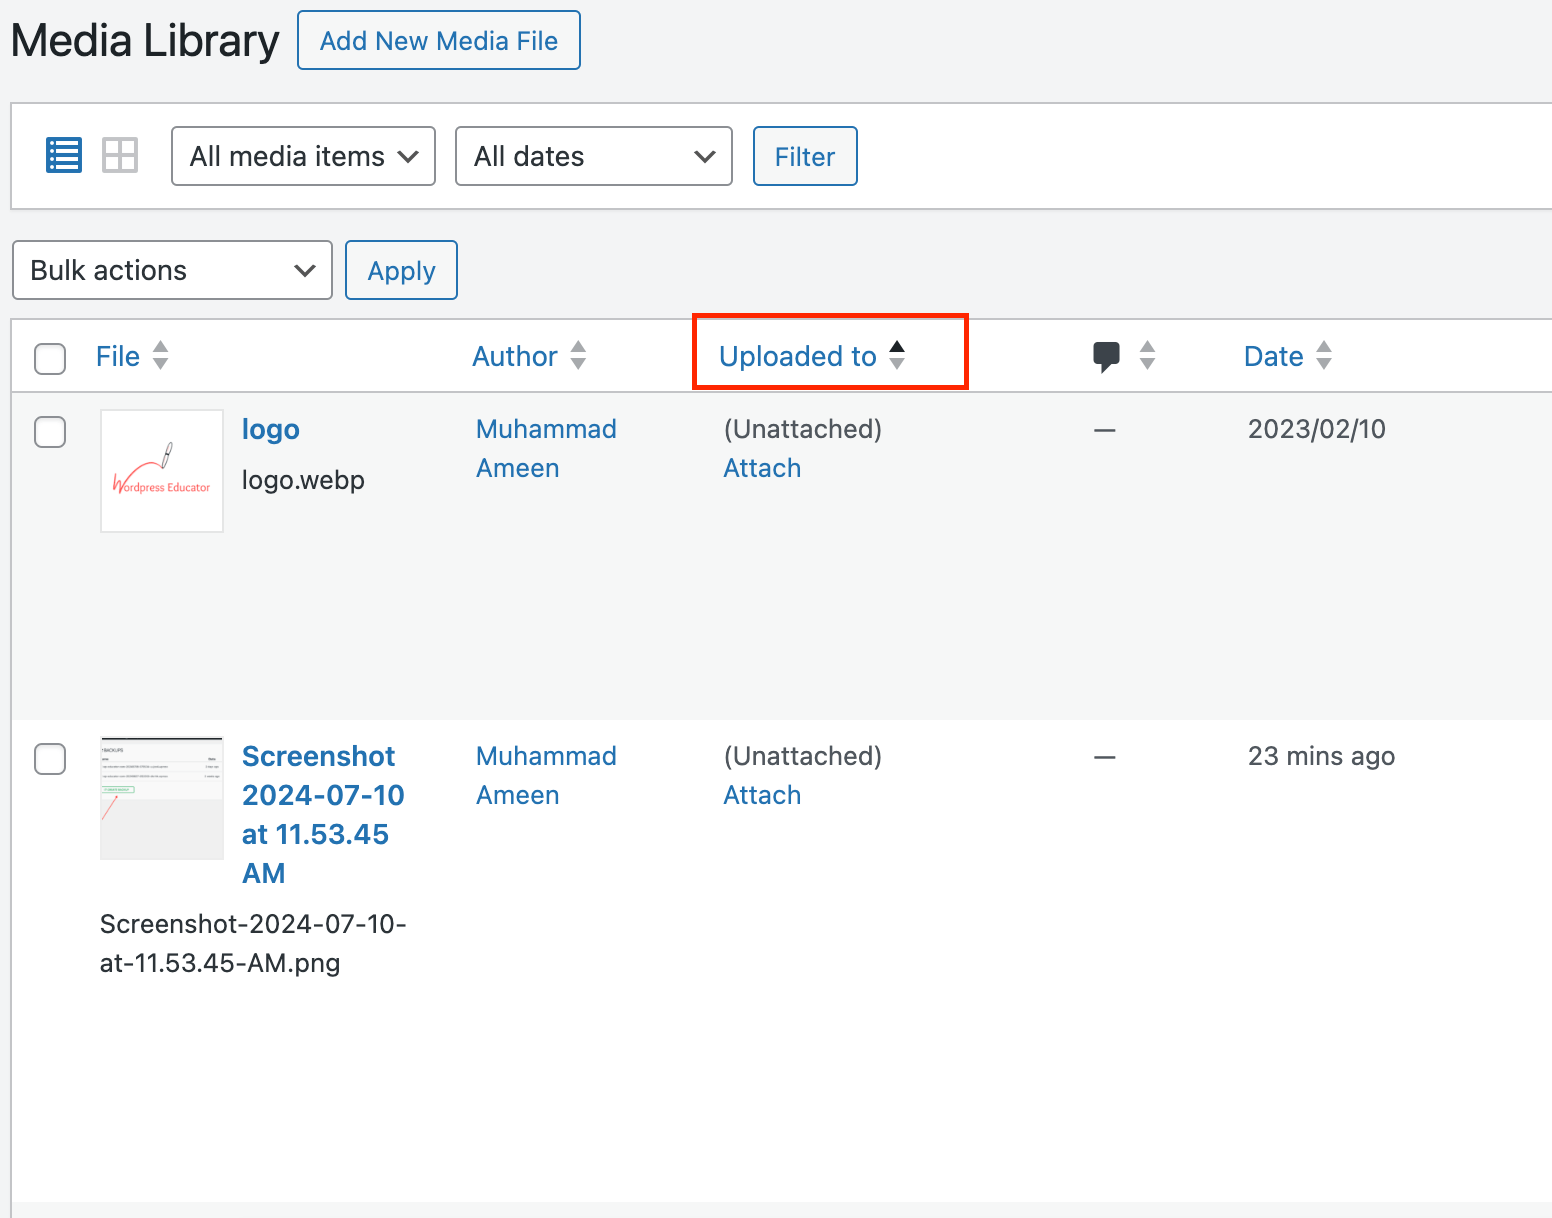
3.) It will show the unused images in the list first.
How To Perform a Manual Inspection Using the WordPress Media Library Grid Mode?
Here is a step-by-step guide on how to perform a manual inspection in grid mode.
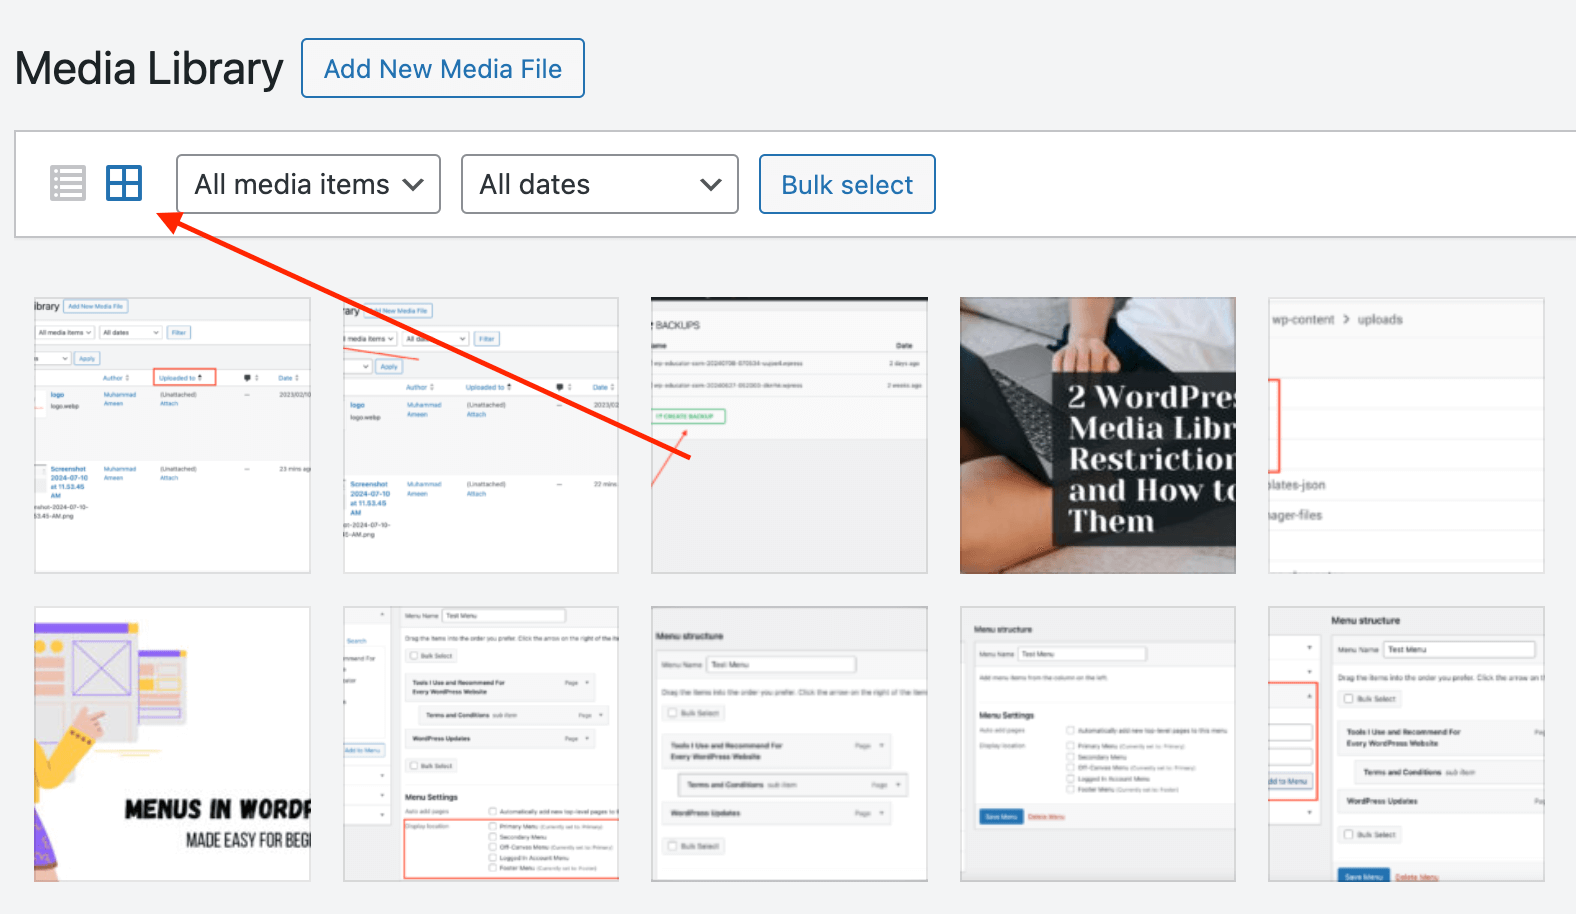
1.) Go to Media —> Library and select the grid mode icon.
2.) Select an image. It will open an attachment details pop-up. Click the Edit more details link. It will open the image in edit mode.

3.) Look for the Uploaded to section in the right column to see if the image is attached to any posts or pages.Select an image. It will open an attachment details pop-up. Click the Edit more details link. It will open the image in edit mode.

4.) If there is no Uploaded to section, then the image is not currently used on any posts or pages. You can then delete it from your media library to free up space.
This process is okay for a small website with a few pages and a handful of images. But, it can be a tedious process, especially for larger websites with a lot of content.
However, the manual process is much more reliable than a plugin. It shows all actual unused files.
Install a WordPress Plugin to Find Unused Images
A plugin is a more quick way to identify and delete unused images.
Yes, I know. I have said it before and will repeat it. Installing a lot of plugins can hurt your WordPress.
Thus, you should only install and activate reliable plugins.
I wanted to name a few, but they did not provide accurate results. Many plugins identified used images as unused and suggested deleting them.
Due to the unreliable results, it is not possible to clean WordPress media library. However, I know many of you would prefer the quick approach. So, I have explained how you can find unused images using the Media Cleaner WordPress plugin.
- Install and activate the Media Cleaner plugin by going to Plugins —> Add New.
- Ensure your WordPress version is up-to-date and the plugin is compatible with your site.
- After activating the plugin, go to Media —> Media Cleaner to start scanning for unused images.
- The Media Cleaner plugin will analyze your media library. It will then identify any unused images on your site.
How to Clean Up WordPress Media Library?
Now that you have understood how to find unused images, the next step is to clean WordPress media library.
But before you begin the clean up process, here are some steps you should follow.
It doesn’t matter if you are using the manual technique or a plugin:
Step 1: Take a Backup of Your Website
Before making any changes, you must backup your WordPress site. It is a vital process, so please do not forget. If you lose any data or delete the wrong image, you can restore your website to its previous state.
There are two ways to take a backup of your WordPress website.
- You can install the All-in-one WP plugin. You can take a backup of your website from the WordPress admin panel.
- Another way to take a backup is from the hosting provider’s control panel. If you are using Hostinger, here is a complete guide explaining how to take a backup of your site using Hostinger.
Step 2: Decide How to Clean WordPress Media Library
You know how to find unused images on your WordPress website. Now, you need to decide what approach you are going to take.
Will you opt for the manual inspection, a reliable but slow way to clean WordPress media library?
Or will you use a WordPress plugin to remove unused images?
Here is a comparison between the two methods to help you in your decision.
I will show you both ways to clean WordPress media library. Let me know in the comments which approach you choose for your WordPress media library cleanup.
a.) Delete Unused Images Manually
If you consider this approach, select the list mode in the media library. You can quickly identify unused images by checking the “Uploaded to” column in the list mode.
Delete all images that are not attached to any posts or pages. It will free up space and improve website performance. This method is faster, unlike the grid mode, where you must inspect each image.
I wish to share a word of caution when deleting images.
Caution: The Upload to column only shows images currently attached to posts or pages. So, logos or any other image added to the theme customization or site settings will count as unused. Make sure to check the image before deleting it.
b.) Use a WordPress Plugin to Delete Unused Images
The plugin will scan the WordPress media library and list unused images. But don’t trust the result.
I tested a plugin, and it listed 15 images, of which 12 were in use.
Step 3: Review and Delete
Always double-check before removing any images from your media library. It will help prevent deleting images that are actually in use on your website.
Step 4: Check Your Site After You Clean WordPress Media Library
Perform a thorough check of your website after deleting unused images. A site with broken pictures will not leave a good impression on the visitors.
Conclusion
Make it a habit to clean WordPress media library of unused images weekly. Since there won’t be many images to go through every week, it will be easy to perform a manual inspection.
A manual inspection is lengthy, but the results are reliable, unlike the plugins I tested.