The favicon is the second-most important part of your website’s branding after the logo. Once you have designed your logo, you should then create a favicon.
I’ll walk you through the process of how you can create a favicon using the WordPress Educator logo as an example. I am going to teach you the steps I implemented. Don’t worry, it is very simple, and I used two free tools to achieve this:
- A photo editor to edit my logo
- A favicon generator
Before we begin, it is important to understand what a favicon is and why you need it for your website. If you are familiar with it, you can skip to the next section to learn about the free photo editor.
What is a Favicon?
A favicon is a small square, 16×16 in size, added to the browser title. Do not mistake the favicon for the logo; it could be either the entire logo or part of the logo. Anything that could make it easier for users to identify your website by looking at the open browser tab.
Is a favicon important for your website?
Here are a few reasons why having a favicon is important.
- It helps with branding.
- It helps the user quickly get back to your site if multiple tabs are opened.
- According to some experts, it plays an important part in SEO if Google crawls your site’s favicon URL.
- Favicons are displayed in the bookmarks
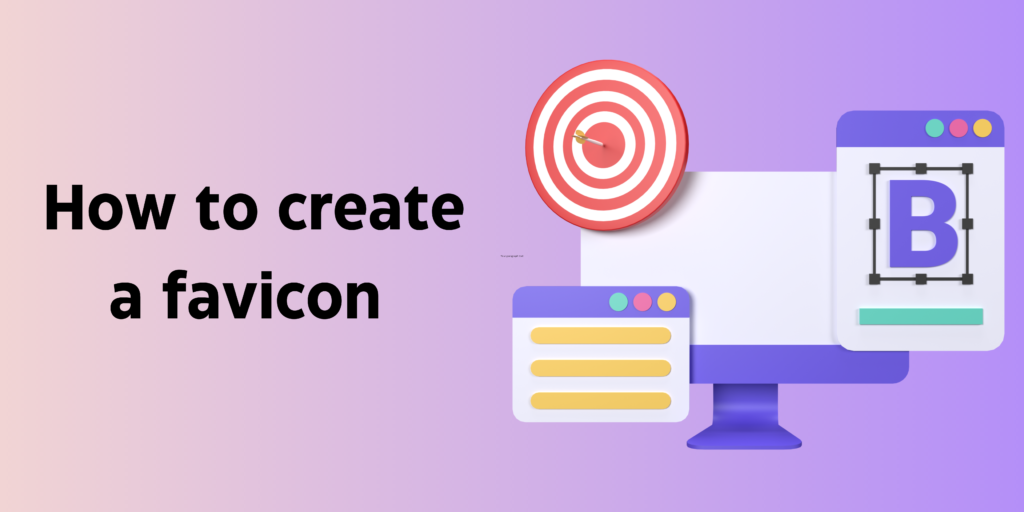
How To Create a Favicon for Your Website?
Creating a favicon is a simple, two step process that can be achieved using free online tools.
Step 1: Open the Logo in a Photo Editor.
If you are going to use the entire logo, you don’t need to use a photo editor. This is only required if you want to edit your logo and use a part of it as a favicon.
For WordPress Educator, I edited the logo to only use the pen icon as a favicon. I used PhotoPea, which is a free online photo editor, and opened the logo.
Step 2: Use a Selection Tool
I used the “Crop Tool” to cut out part of the logo that was around the selection, leaving just the pen icon. You can use the same tool or go with any other selection tool.
Here are a few selection tools you can use:
- Crop tool
- Rectangle select tool
- Ellipse select tool
- Lasso select tool
- Polygonal lasso select tool
- Magnetic lasso select tool
- Magic wand tool
- Quick selection tool
- Object selection tool
Once you are done creating a favicon, save the image or export it as a PNG. To do that, click on the “file” menu link and then select “Save as” or if that option is not available then you can export the image.
Step 3: Convert the Image
To convert the image to a favicon, use the Real Favicon Generator or any free online tool. Select the image to convert it into a favicon. It will only take a couple of seconds to upload. Scroll down to the end and click on “Generate your Favicon and HTML Code.” You will be redirected to another page where you can download the favicon package. It will contain multiple favicon sizes; you don’t need to worry about them; just select the one that says “favicon.ico”.
How To Add a Favicon to WordPress?
Congratulations! You have created your very first favicon! Now, all you need to do is upload it to your WordPress website.
Login to your WordPress admin area and go to “Appearance” –> “Customization.” Depending on the theme installed, you will either go to the “Site Identity”, “Logo”, or “Header” sections to upload the favicon. I am using the Astra theme, so I will be going to Site Identity and uploading my favicon there.
Astra is a great, free WordPress theme that is compatible with Elementor. I use this to develop all of my WordPress websites. It will take a couple of seconds to upload. Once done, publish your changes, and you can review how it looks.
Common Problem
I have noticed that favicons usually take some time to show in the browser tab and this is usually a cache issue. Here are a few steps you can take to make sure that cache is cleared and the favicon is added correctly.
Method 1: Clear WordPress Cache
If you have installed a cache plugin on your WordPress website you need to clear it and refresh your site again to view the favicon
Method 2: Clear Browser Cache and History
Clearing the browser cache and history is another way to get the favicon to appear. Open your browser settings, search for cache and clear the history, cookies and cache.
Method 3: Open the Site in Another Browser
Open the site in a different browser, where you haven’t loaded the site before. It will not have any history for that site and the favicon will show up.
Method 4: Open the Site in Incognito Mode
In Incognito, none of your browsing history, cookies and site data, or information is saved, making it a good choice to check changes to your site without have to constantly clear your cache.
Conclusion
So, by the end of this tutorial, you can easily create and upload your own favicon within minutes. It took me approximately 10 minutes to do so with you. If you don’t have a logo yet, I would suggest checking out how to create a logo for free.
I really liked your site.
Thank you! Subscribe to the newsletter to stay in touch.
Cool website.
Thank you