As someone who regularly develops WordPress websites, I cannot emphasize enough the importance of enabling the two-factor authentication plugin. Installing this plugin is a crucial step that many ignore. This security feature enables two password fields on your WordPress admin panel. One is the regular WordPress admin panel login screen, and the other is the two-factor authentication password field. The code for this second field will be randomly generated in your phone’s app. Are you unfamiliar with this plugin? Don’t worry; allow me to explain what it does, and then we will move on to how to install two-factor authentication on WordPress.
What is the WordPress Two-Factor Authentication Plugin?
Two-factor authentication, or 2FA for short, is a security plugin that adds an extra layer of protection to your website. It requires you to provide two forms of identification to access your account.
The first form of identification is the usual WordPress login screen. After you enter your credentials, the second form, which is the two-factor authentication page, will appear.
You will be required to enter a special code that an app on your phone generates. When you have entered this code, only then will you be allowed to access your WordPress admin panel.
What is the need for WordPress Two-Factor Authentication plugin?
You are probably wondering: why go through all the hassle of installing a plugin and an app on the phone when you can just generate a long, difficult password? Well, because of the increasing number of cyber threats and hacking attempts, it has become essential to secure your website with advanced security measures.
Generating a long and difficult password is a step in the right direction to protect yourself. Unfortunately, a tough password alone will not stop hackers from breaking into your site. Even if someone manages to obtain your WordPress admin credentials, they won’t be able to access your account without the second form of verification.
Why? Well, because it is on YOUR phone this unique code is randomly generated using an app. Even if a hacker is still able to intercept it, they won’t be able to use it because the code refreshes every 30 seconds, give or take. This makes it difficult for hackers to get into your site and steal sensitive information.
For example, say you have a client who runs an e-commerce website. Without two-factor authentication, anyone who gains access to their WordPress admin panel can easily steal sensitive customer information, such as credit card details. However, with 2FA enabled, even if someone manages to crack the first password field, they still need access to the randomly generated code on the client’s phone to log in successfully.
That is why the two-factor authentication plugin is important. Another reason why you should use 2FA is because it’s becoming more common across the web. In fact, most websites and services now require you to enable 2FA in order to use their platform. If they are using it, this proves that two-factor authentication is not just a simple security measure; it is much more.
What do hackers get by hacking any website?
Some do it for fun; it is a thrill for them. Others don’t see this as a form of entertainment but as a way to steal personal information, which they can use to exploit or sell.
Whatever the actual reason, the bottom line is that protecting your website is important.
What is the success rate of 2FA?
Here are some statistics to help you understand why two-factor authentication is important. According to Google, it can stop:
- 100% of all automated attacks
- 96% of bulk phishing attacks
- 75% of targeted attacks
With a very high success rate, adding this authentication is an excellent choice.
How to install two-factor authentication on WordPress?
Installing WordPress on 2FA is super easy. There are certain steps that must be follow. All of these steps will be covered in this tutorial. The best part is that the plugin and the phone application are both free. For extra security features, you can opt for the paid version, but right now, let’s see how to install two-factor authentication on WordPress using the free version.
There are plenty of plugins you can use. However, I will be explaining how this can be done using the Wordfence Security plugin and the Google Authenticator app. These two are my personal favorites, and I use them on the majority of the sites I develop. Why? They are easy to set up, simple to use, and free.
Like I said, this is a beginners’ guide, so here is a step-by-step guide on how to install two-factor authentication on WordPress.
Step 1: Install and activate the Wordfence Security plugin
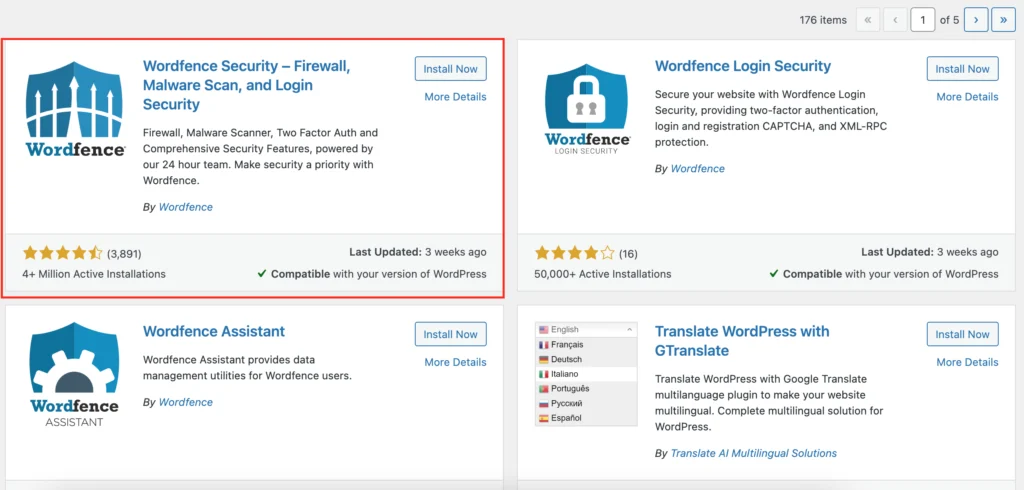
First, you need to have the Wordfence Security plugin installed on your site. Navigate to Plugins > Add New and search for Wordfence. You will see three plugins. You need to install the Wordfence Security – Firewall, Malware Scan, and Login Security plugins.
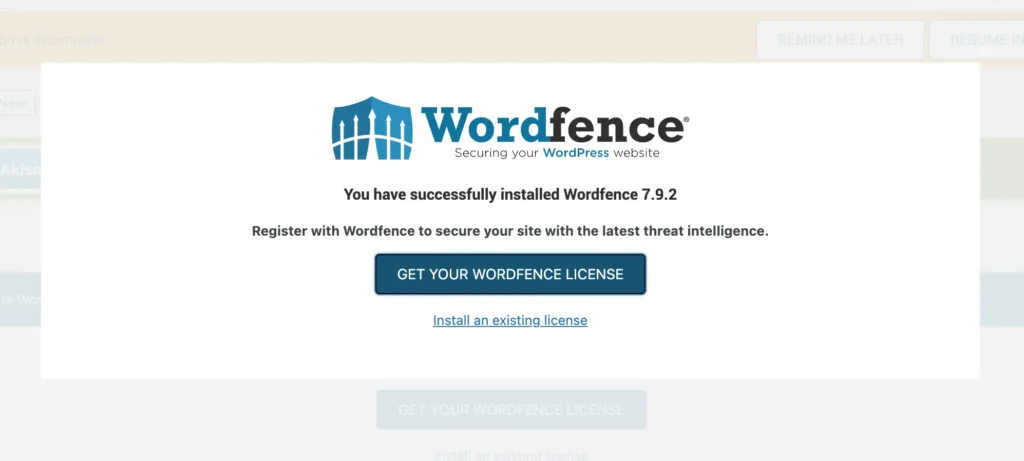
Once the plugin is installed and activated, the next step is getting the Wordfence license key. You get this key from the Wordfence site. Click on the Get Your Wordfence License button to obtain the license key. If you already have a license, click on the link below the button.
After clicking on the button, you will be redirected to the official Wordfence site, where you can purchase a package plan or select the Wordfence Free package. I am going to select the free package.

You will get another popup, which is just a confirmation if you want to go with the free version. If you are okay with the free package, click on the link below.

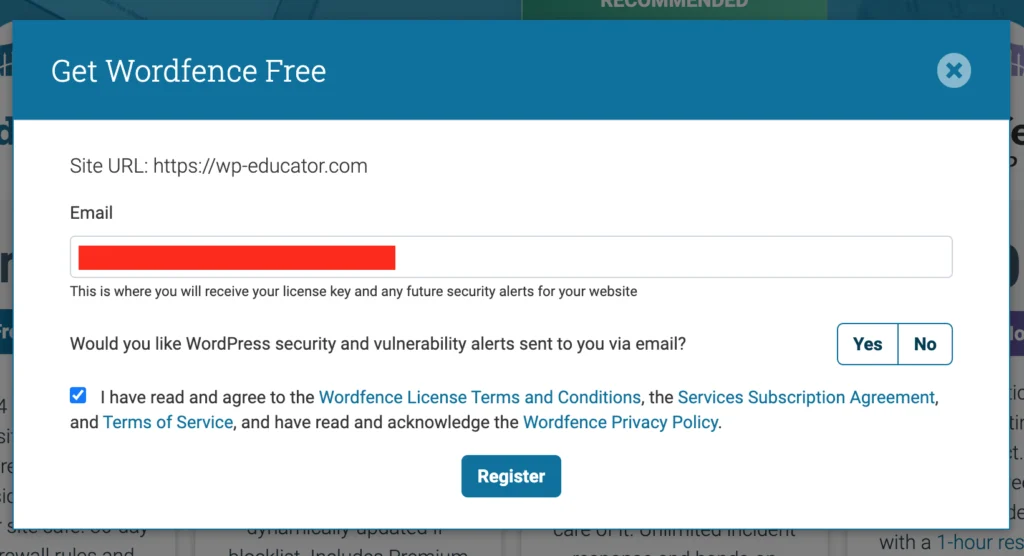
In the next step, you need to enter your email address and accept the terms and conditions to receive your license key and any future security alerts for your website.
Wordfence will take a few seconds to process the data and will notify you that your license key has been emailed.
Step 2: Activate the license key
There are two ways to activate the license key: automatically and manually. I have selected the automatic activation process, but I am going to explain both methods.
Automatic Activation
Click on the Install My License Automatically button in the email to complete the installation process. You will be redirected to the Wordfence dashboard of your WordPress admin page, where you will see your email and the license key prepopulated. Click on the button to complete the installation.
Manual Activation
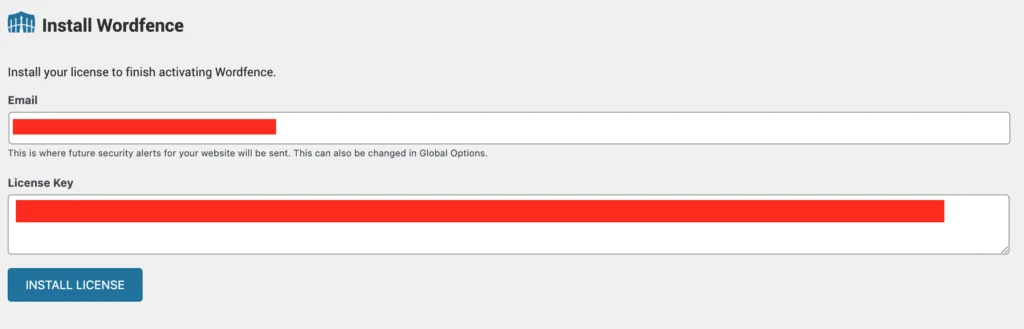
From the email, copy your license key and head back to the Wordfence plugin to resume installation. Click on the Install an existing license link. Add your email, paste the key that you copied, accept the terms of service, and click Install License.
Both processes use a similar method, with the only difference being that automatic activation is a one click procedure that does everything for you.
Step 3: Install the Google Authenticator app
Now, you need to install Google Authenticator. This step is required first because, without it, you cannot enable two-factor authentication. You can download it from the Google Play Store for Android or the App Store for iOS.
Step 4: Enable two-factor authentication
Navigate to the Wordfence Login Security page. This page will give an overview of two-factor authentication, the user it will be activated for, the QR code, and the recovery code.
There are two steps that must be taken.
Scan the QR code
Open the Google Authenticator app and click on the “+” icon. Then, select “Scan a QR code” and scan the code displayed on your screen.

Enter the code from the Authenticator App
Now comes the second step. After scanning the code, the Google Authenticator app will generate a six-digit code, which needs to be pasted into the Enter Code from Authenticator App field. This will enable the Activate button.
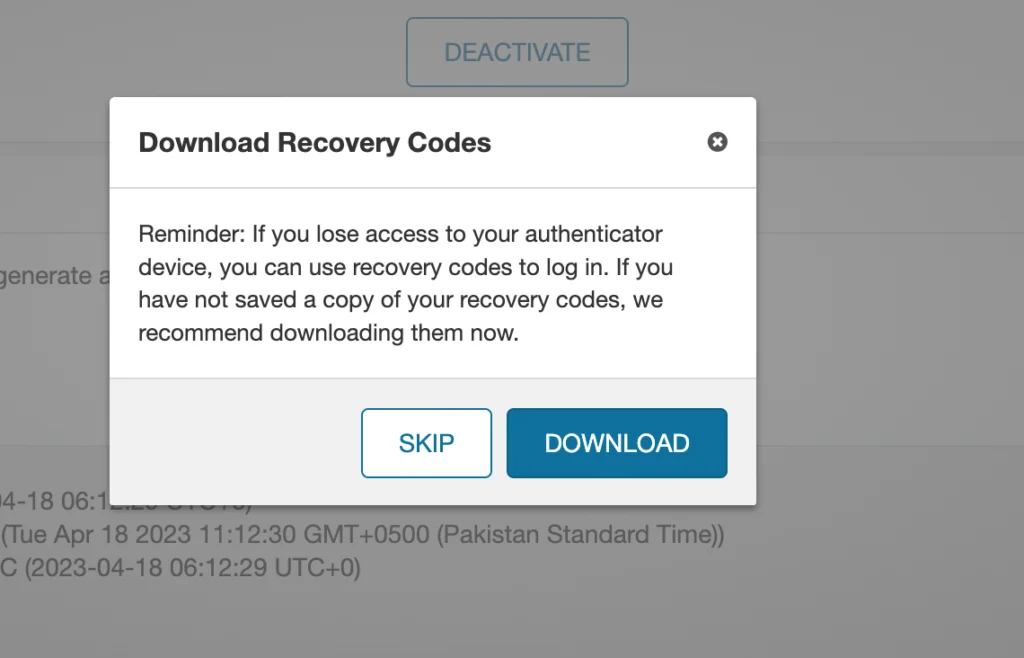
After verifying the code, Wordfence will generate a set of backup codes for you. These are recovery codes. Download and save these codes in a secure location, as they will be required in case you lose access to your device. This is important; don’t skip this step and don’t lose the downloaded file. These recovery codes will help you bypass the two-factor authentication step if you don’t have access to your phone or the app.
Step 5: Test Two-Factor Authentication
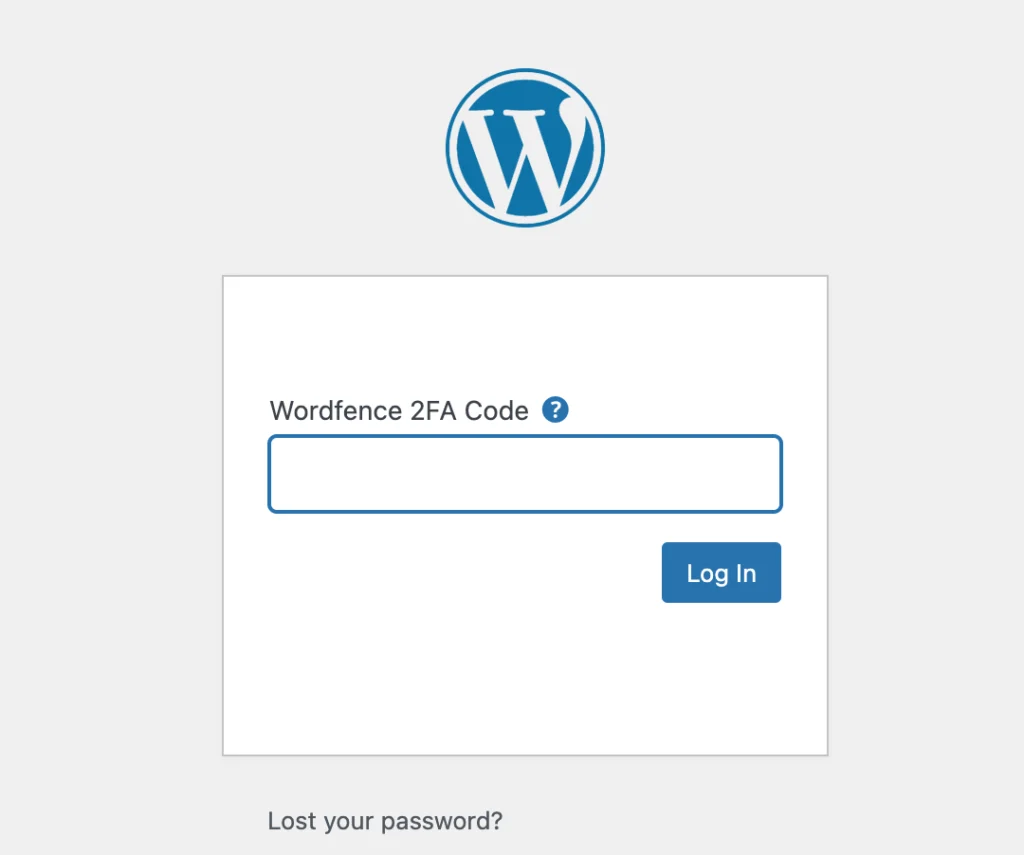
Now comes the testing part. Log out of your WordPress website and log in again. After you have added your credentials, a new field will appear. To continue, add the six-digit code that the Google Authenticator app generated. The code refreshes every 30 seconds, so be quick; otherwise, you would need to enter it again.
Thats it! In 5 steps, you have successfully learned how to install two-factor authentication on WordPress using Wordfence and the Google Authenticator app.
How to bypass two-factor authentication?
If you don’t have your phone or you have lost it, the two-factor authentication plugin will not let you access your admin panel. Luckily, there is a workaround to get past the 2FA step if such a situation occurs.
Here are 2 ways to access WordPress admin when locked out by two-factor authentication.
Use the Recovery Codes
When you first created the 2FA code for your admin user, you were prompted to download the recovery codes. This is explained above in Step 3: Enable two-factor authentication.
These recovery codes serve as a replacement and are longer than the code that the app generates. So, if you don’t have access to your phone, these recovery codes will help you bypass the two-factor authentication step. Open the file that you downloaded and copy and paste the code. Each of these recovery codes can only be used once. You can download more on the WordFence Login Security page.
Rename the WordFence Plugin
Renaming the plugin will disable it and remove the 2FA step. To do so, you would need access to the server.
- Login to your server.
- Access your file manager. If the files are not located on the root, they may be stored in a folder. Here are some possible folder names you can check: public_html and httpdocs.
- Navigate to plugins and search for the WordFence plugin.
- Right click and rename the plugin to temporarily disable it.
- You can now login to your WordPress admin panel.
Conclusion
Now that you know how to install two-factor authentication plugin on WordPress, you should consider other possible security measures to further protect your site against hackers. One important step is to avoid using common words or phrases and consider using a password manager to generate and store complex passwords. Additionally, you can limit login attempts and block suspicious IP addresses. WordFence also provides an IP blocking feature in the free and paid versions. By taking these steps, you can significantly reduce the risk of your WordPress site being hacked.