Have you ever wondered why search engines crawl and index your site even after adding disallow in robots.txt? Why is everyone telling us to add it if it doesn’t work? I am sure multiple questions may pop up in your mind, such as:
- What is the robots.txt disallow statement?
- What is the actual purpose of writing this piece of code?
- Why are there multiple disallows in robots.txt?
- Does robots txt block all search engines?
Before launching a site, it goes through the development phase, called a dev site or staging site. Search engines should not index the site during this phase. If a site is not ready for the public and appears under the bots’ radar, it will show in the search listing.
The Scenario
I always try to make sure the sites I am working on, which are in the development phase, don’t get indexed. A quick Google search demonstrates that adding disallow in robots.txt will stop the site from appearing in search results. It is a process I always follow. But I usually receive complaints from clients that their dev site is still showing up.
It bugged me! So, I extended my research time on this, trying to figure out. I know what a robot file is, but I wanted to learn about robot txt disallow.
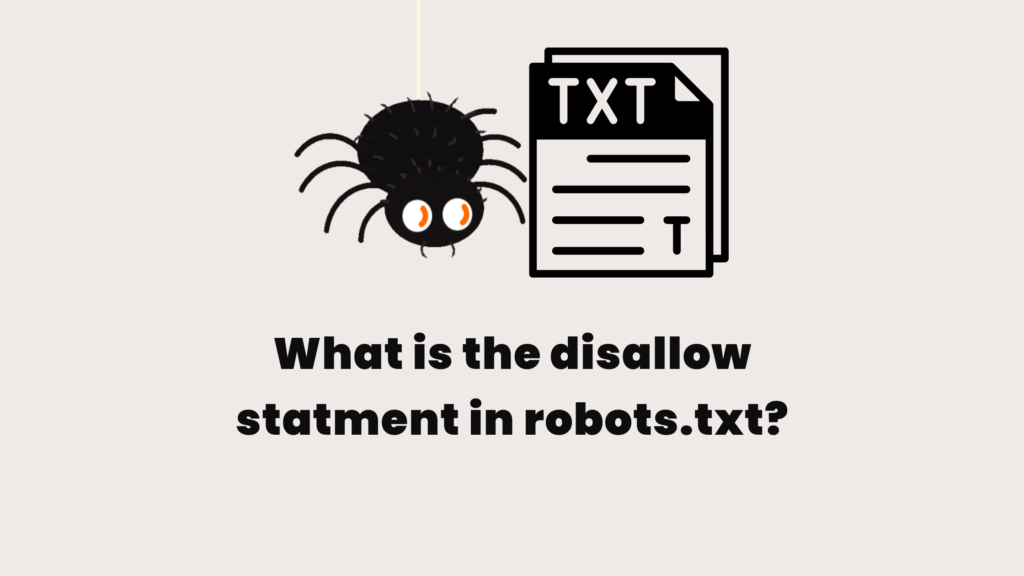
What Is Disallow in Robots.txt File?
A “disallow” rule in robots.txt means “don’t crawl” — it does not mean “don’t index.” What this suggests is that the search engines won’t crawl. If they don’t crawl it, they will not index it. However, there is a catch. Search bots will index the site if they find links to the site content somewhere on the web.
So, how can links to the dev site appear on the web? A mystery I am still trying to understand.
One theory, which I believe most certainly is the case, is that clients may have shared or posted some information related to their site online. Unknowingly, they created an invisible trail of breadcrumbs for the search bots to follow.
Another reason could be that search engines don’t obey this rule 100%. Robots.txt tells the search engines not to follow, but search engines usually don’t obey this request. There is a chance that your site will end up in the search results.
What Does User-agent Mean in Robots.txt?
If you have accessed your robots.txt file, the first rule that you see is the user-agent. The term user-agent refers to web crawlers or search engine bots.
Whenever a robots.txt wants to instruct a specific search engine, it does so by using the term user-agent.
User-agent by itself does nothing. You must write the name of the search engine bot. For example:
user-agent: GooglebotThe line of code means that the robots.txt file will only instruct the Google search engine regarding the allow or disallow rules. Other search bots will ignore it, as this rule does not apply to them. They will continue to crawl and index the site.
To target all search engine bots, use the asterisk (*) symbol. So, User-agent: * will instruct all search engine bots to follow the allow and disallow rules.
How Do I Access Robots txt in WordPress?
There are three ways to access your robots.txt file and see what rules it contains. Here is a step-by-step guide.
Access Robots txt Using The Browser
You can view your WordPress robots txt file by typing the browser URL.
- Open the browser and type in your website address in the URL.
- After the address, type in robots.txt. For example yourwebsite.com/robots.txt
- It will open the file directly in the browser. You can view it, but you can’t edit it.
Access Robots txt Using The File Manager
You must access your hosting server account where your WordPress website installation files are.
- Login to your hosting account.
- Access the file manager. Here is where all of the WordPress files are.
- Search for robots.txt. Right-click the file and choose an option like “Edit” or “View/Edit”.
- It will open the robots txt file in a file editor.
Access Robots txt Using a Plugin
Plugins are an easy way to access and edit your file without having to use the file manager or an FTP application. I will demonstrate how to access the robots txt file using the All in One SEO plugin. You can install any plugin, but make sure that the plugin you are using is reliable.
- Install and activate the All in One SEO plugin.
- Click on All in One SEO –> Tools.
- You will be redirected to the robots.txt dashboard.
- Here, you can view the file and add robots txt disallow rules.
How To Block Search Engines Using Disallow in Robots.txt Rule?
Now that you have understood the disallow, user-agent, and how to access the file, the next step is using these rules.
There are various disallow rules to instruct search bots on what they should or should not be. I will cover the most common robots txt disllow statements.
Robots.txt Block All
User-agent: *
Disallow: /
Robots.txt Disallow Directory
User-agent: *
Disallow: /directory
Robots.txt Disallow All Subdirectories
User-agent: *
Disallow: /directory/subdirectory
Multiple Disallow Robots.txt
User-agent: *
Disallow: /directory/subdirectory/
Disallow: /directory/
Robots.txt Disallow All Bots Except Google
User-agent: *
Disallow: /

User-agent: Googlebot
Disallow:
What Should I Disallow in Robots.txt for WordPress Site?
When you create a robots.txt file, there are only a few contents you don’t want bots to interact with.
A normal WordPress site will include the following robots txt disallow rules:
Disallow: /wp-admin/
Disallow: /wp-includes/
Disallow: /wp-content/plugins/
Disallow: /wp-content/themes/
Disallow: /wp-content/uploads/
However, depending on your site requirements and structure, you may add multiple disllow rules.
How To Test Robots.txt File?
After adding the required rules, you should run the file through a robots.txt tester. There are various online tools you can use to validate your file. However, I would suggest the Technical SEO robots txt tester.
Enter the URL of the rule you want to test. For example, to test if your WordPress admin page is secure for search bots, type in https://yoursite/wp-admin and select a user agent.
When you run the test, the URL should be highlighted in red in the editor below. A red indicates that the disallow rule for the URL is working.
Conclusion
No matter how advanced Google is, there will still be some things that will pass over Google’s head. Adding the disallow in robots.txt is a good programming practice and must be followed, but it will not necessarily guarantee the results as expected.
Search engines may or may not listen to disallow statement request. We will never understand how a search engine works because the algorithm is updated frequently.