Rank Math isn’t your average SEO plugin — it’s a smart, beginner-friendly toolkit that helps your WordPress blog get found in search.
This guide is great for bloggers with no knowledge of web development.
I will provide step-by-step instructions on how to setup Rank Math plugin in WordPress. I will walk you through:
- Installing the Rank Math WordPress SEO plugin
- Running the setup Rank Math wizard
- Connecting with Google services
- Importing SEO settings from other plugins
- Basic SEO setup
- Enabling SEO modules in the advanced options
How to Setup Rank Math Plugin in WordPress
Here are the steps you need to follow to setup Rank Math WordPress SEO plugin.
Step #1: Log in to Your Rank Math
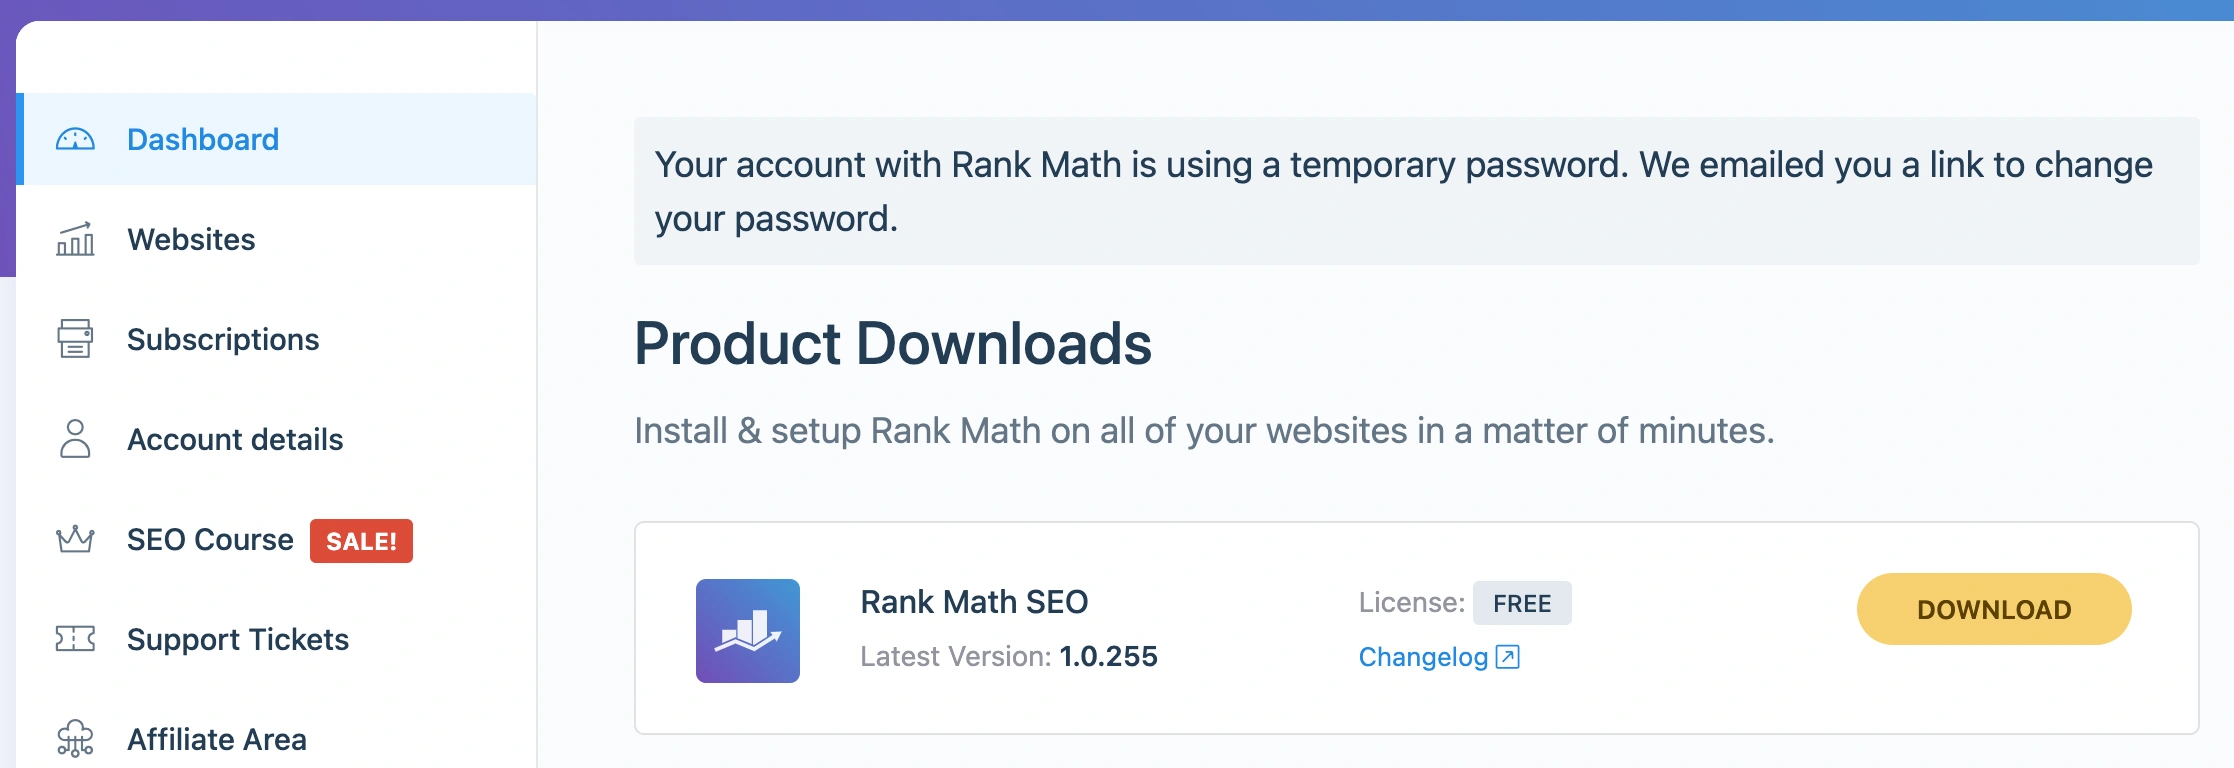
The first step is to log in to your Rank Math account. Head over to the Rank Math website and click on My Account in the top bar.
You can register for a new account or log in using:
- WordPress

Once you log in to your account, you will see the Rank Math SEO plugin free version in the available downloads. Don’t download this free version. Install it from the WordPress admin area instead.
Step #2: Install and Activate the Rank Math SEO Plugin
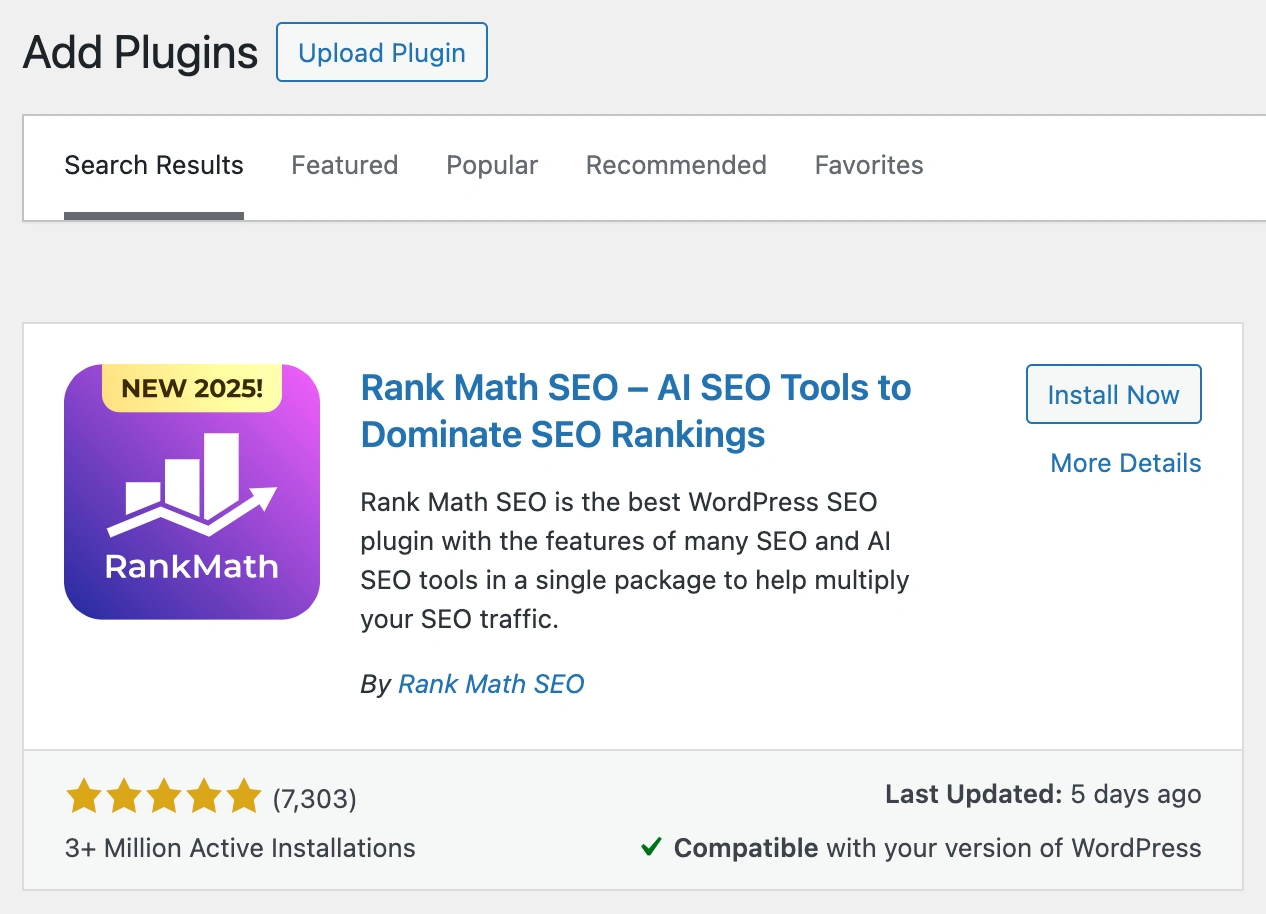
Head over to your WordPress dashboard to install and activate the Rank Math SEO plugin. Go to Plugins -> Add Plugin and search for and install the Rank Math plugin.
Step #3: Connect Your Free Account
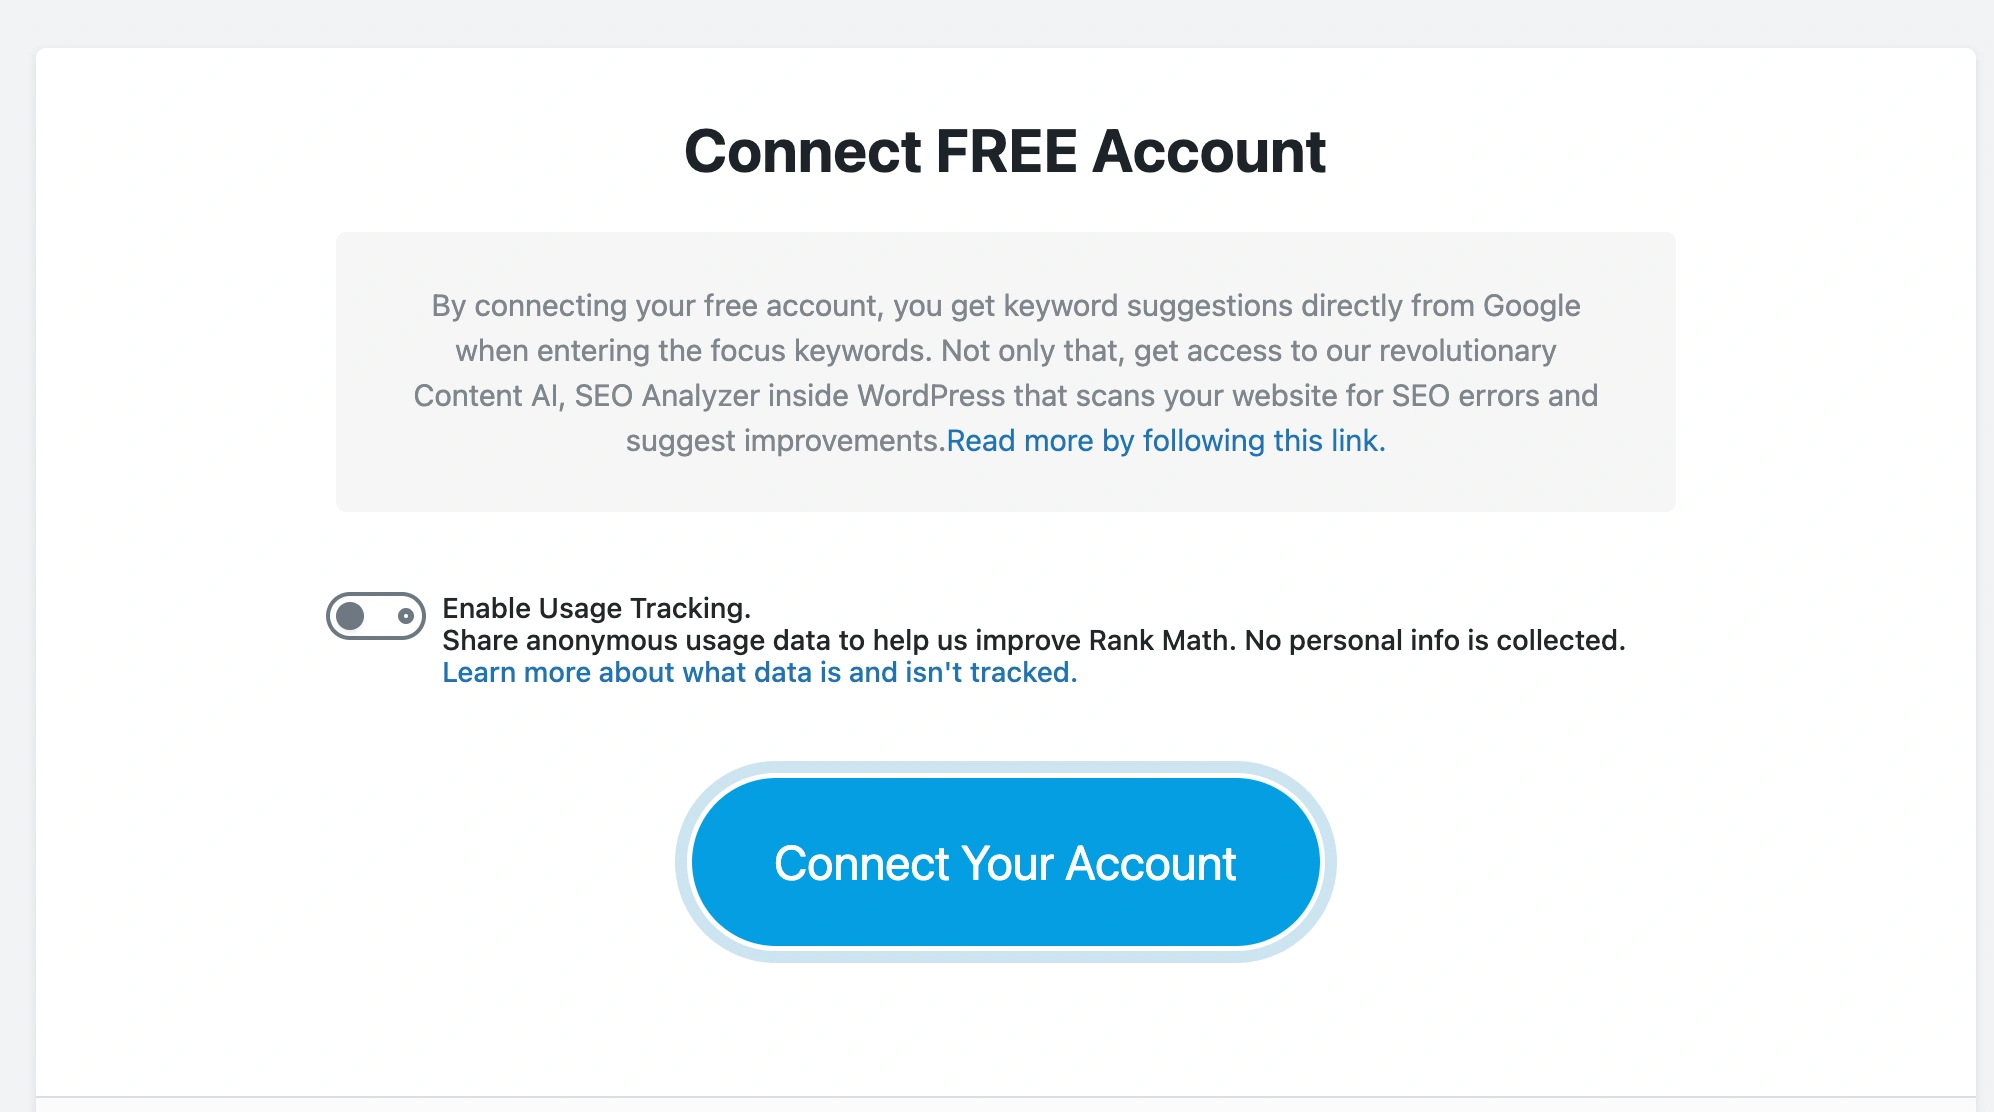
Once the plugin is activated, you will be prompted to connect your free account. Click the Connect Your Account button to begin the process.
Since you are already logged in with your Rank Math account (explained in Step #1), all you need to do is activate the plugin.
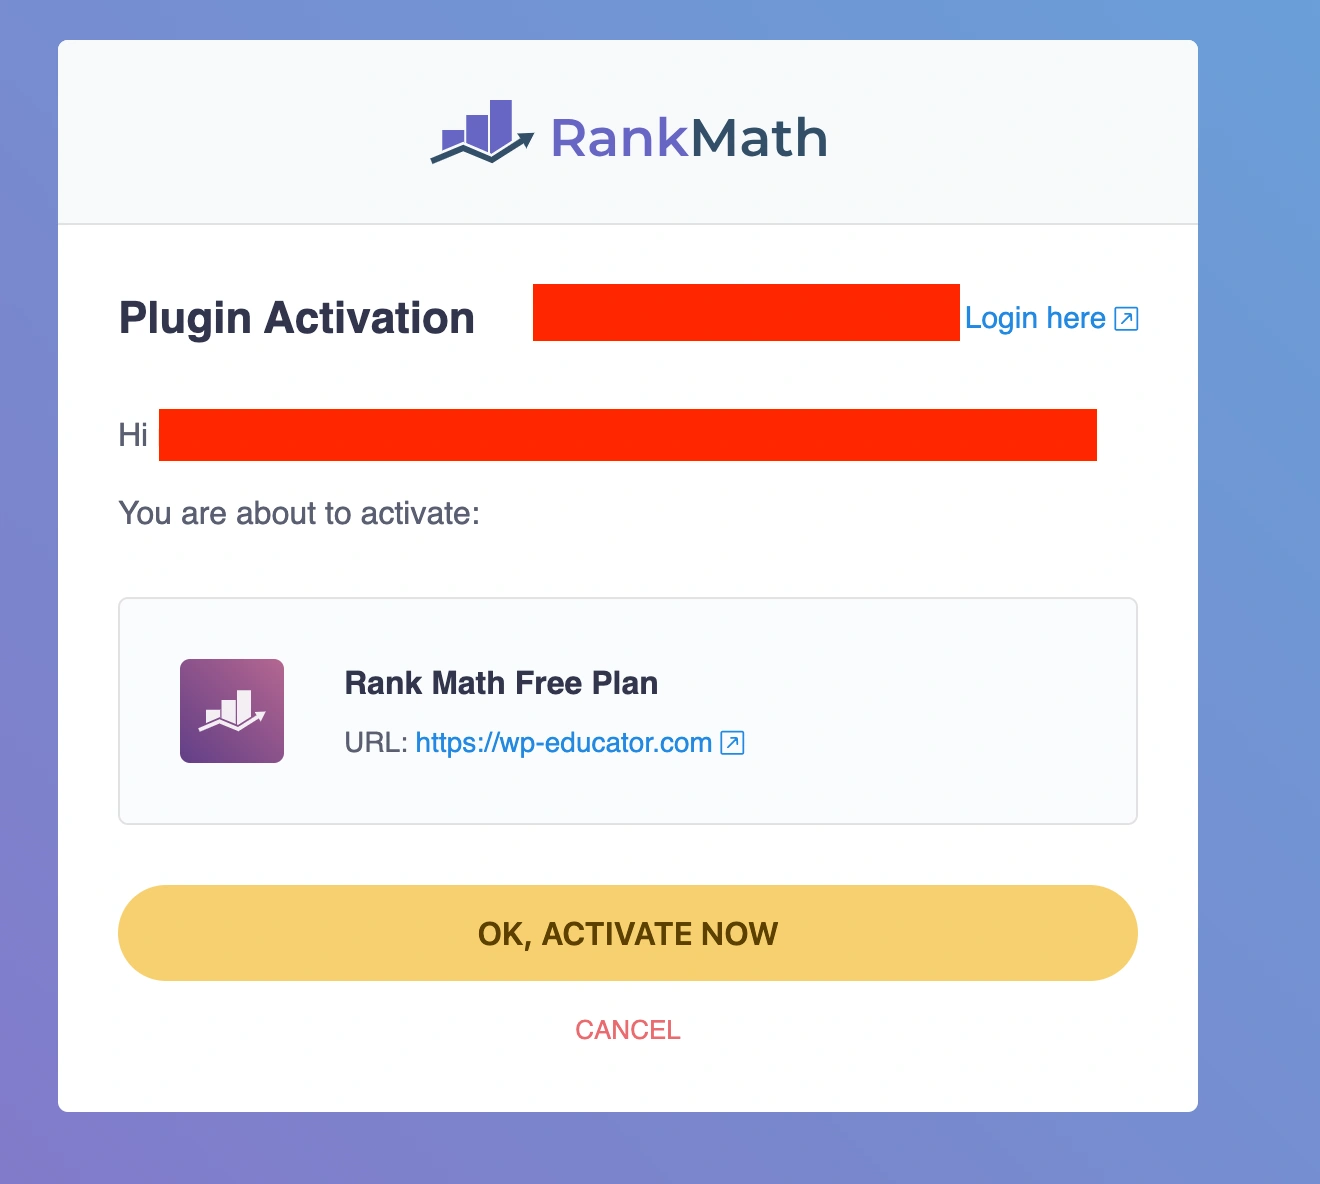
Once your site is connected, you will be directed to the setup Rank Math wizard.
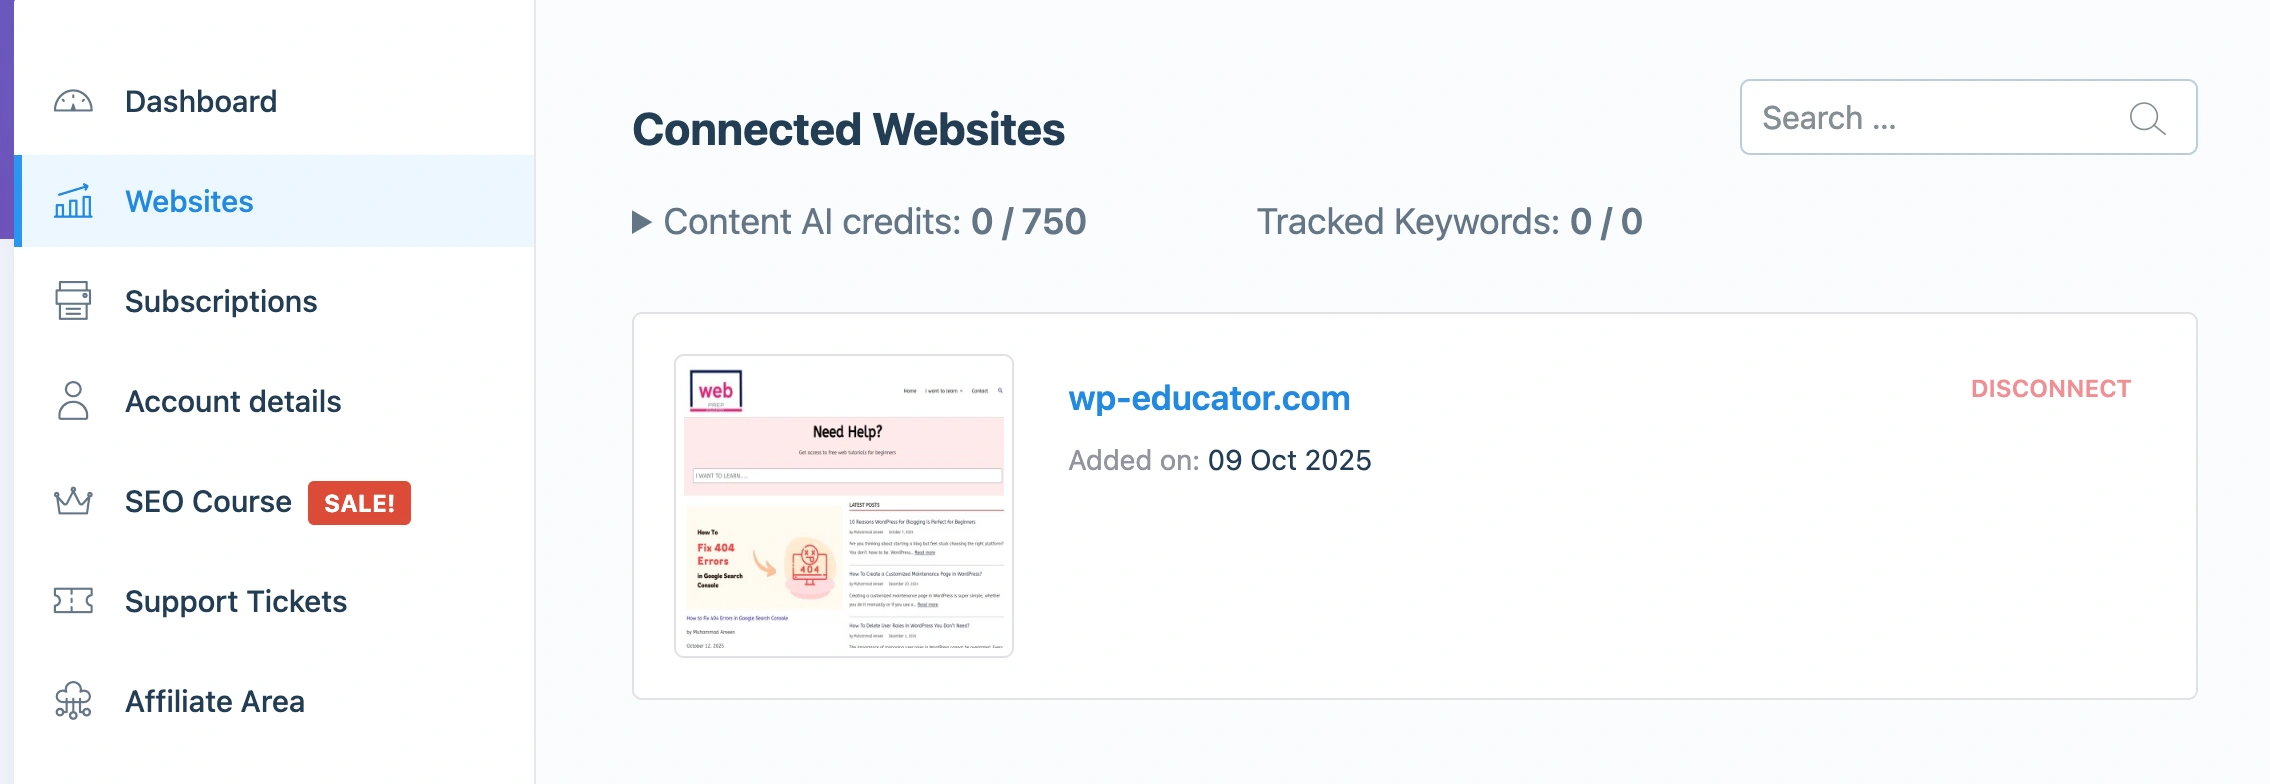
To verify that your website is connected, head back to the Account page on the Rank Math Website. Click on Websites in the left column, and you will see your website connected.
Step #4: Choosing the Setup Mode
To quickly setup Rank Math for SEO best practices, it is recommended to go through the setup wizard.
The setup wizard begins by presenting you with 3 options:
- Easy
- Advanced
- Custom Mode
Since we are using the free version, the custom mode option will be locked. Therefore, we will go with the Advanced option.
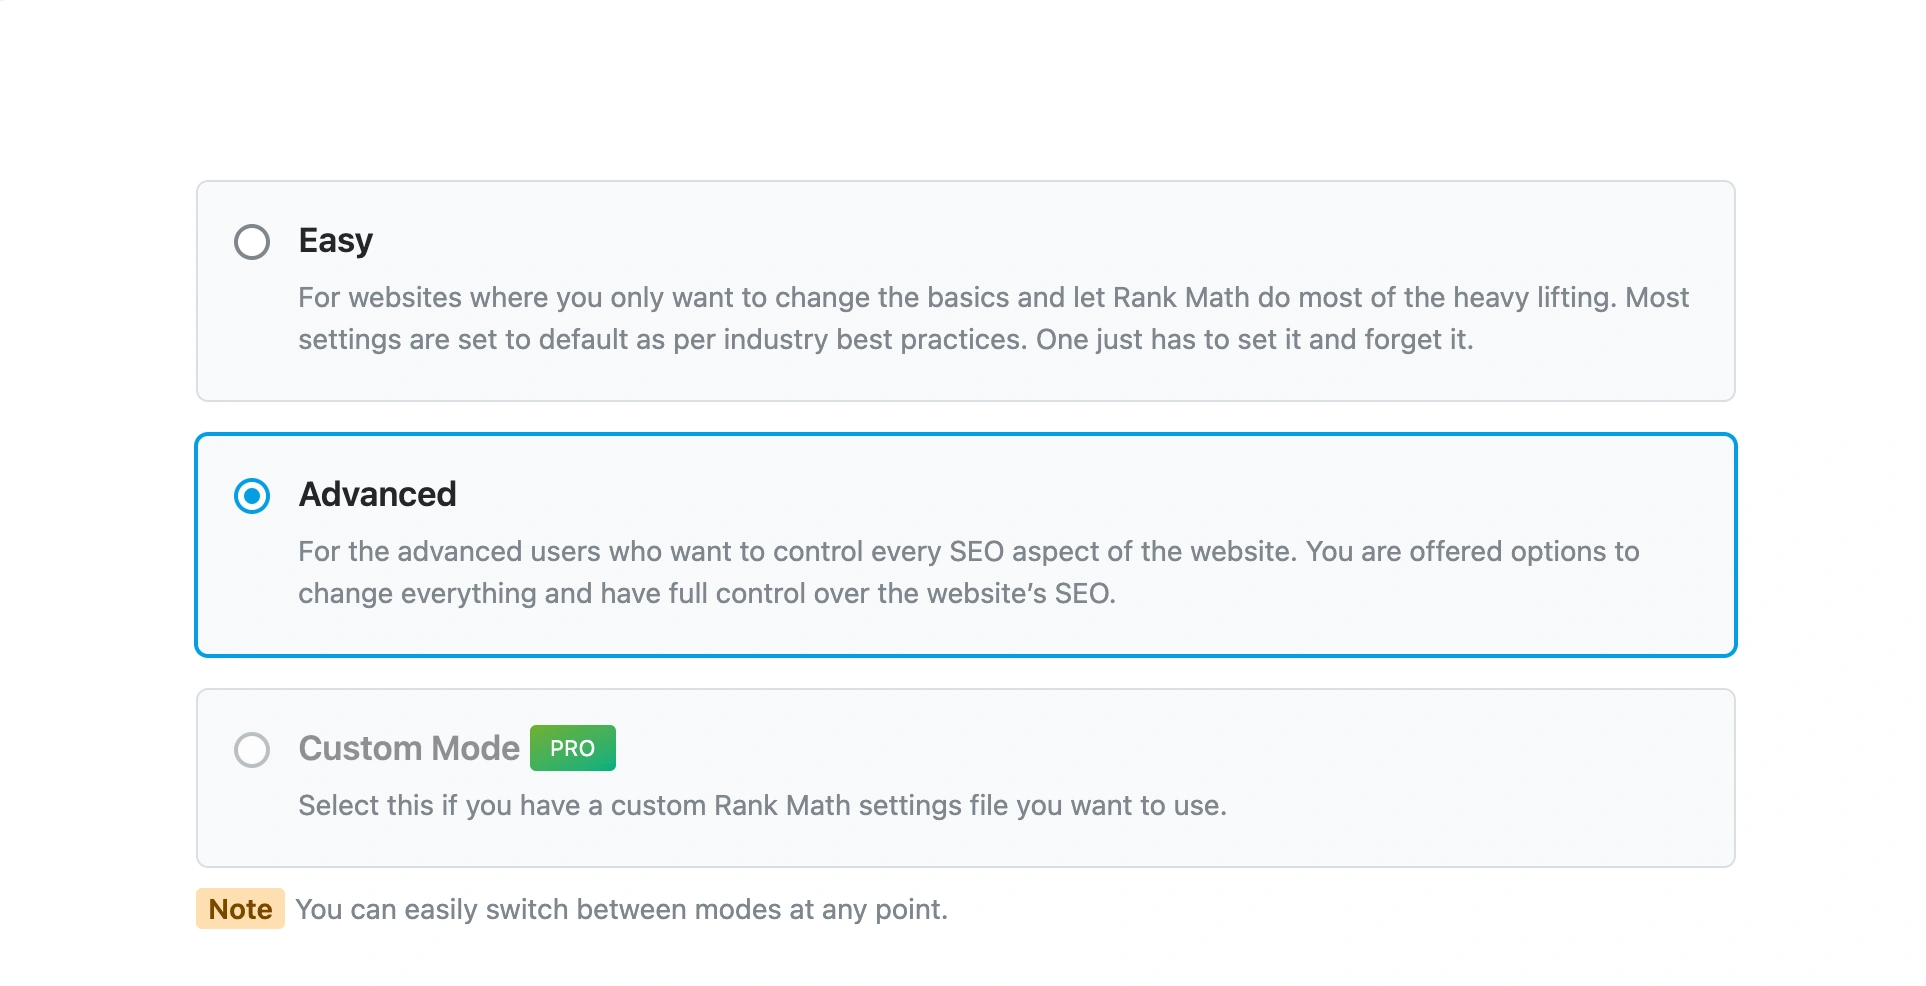
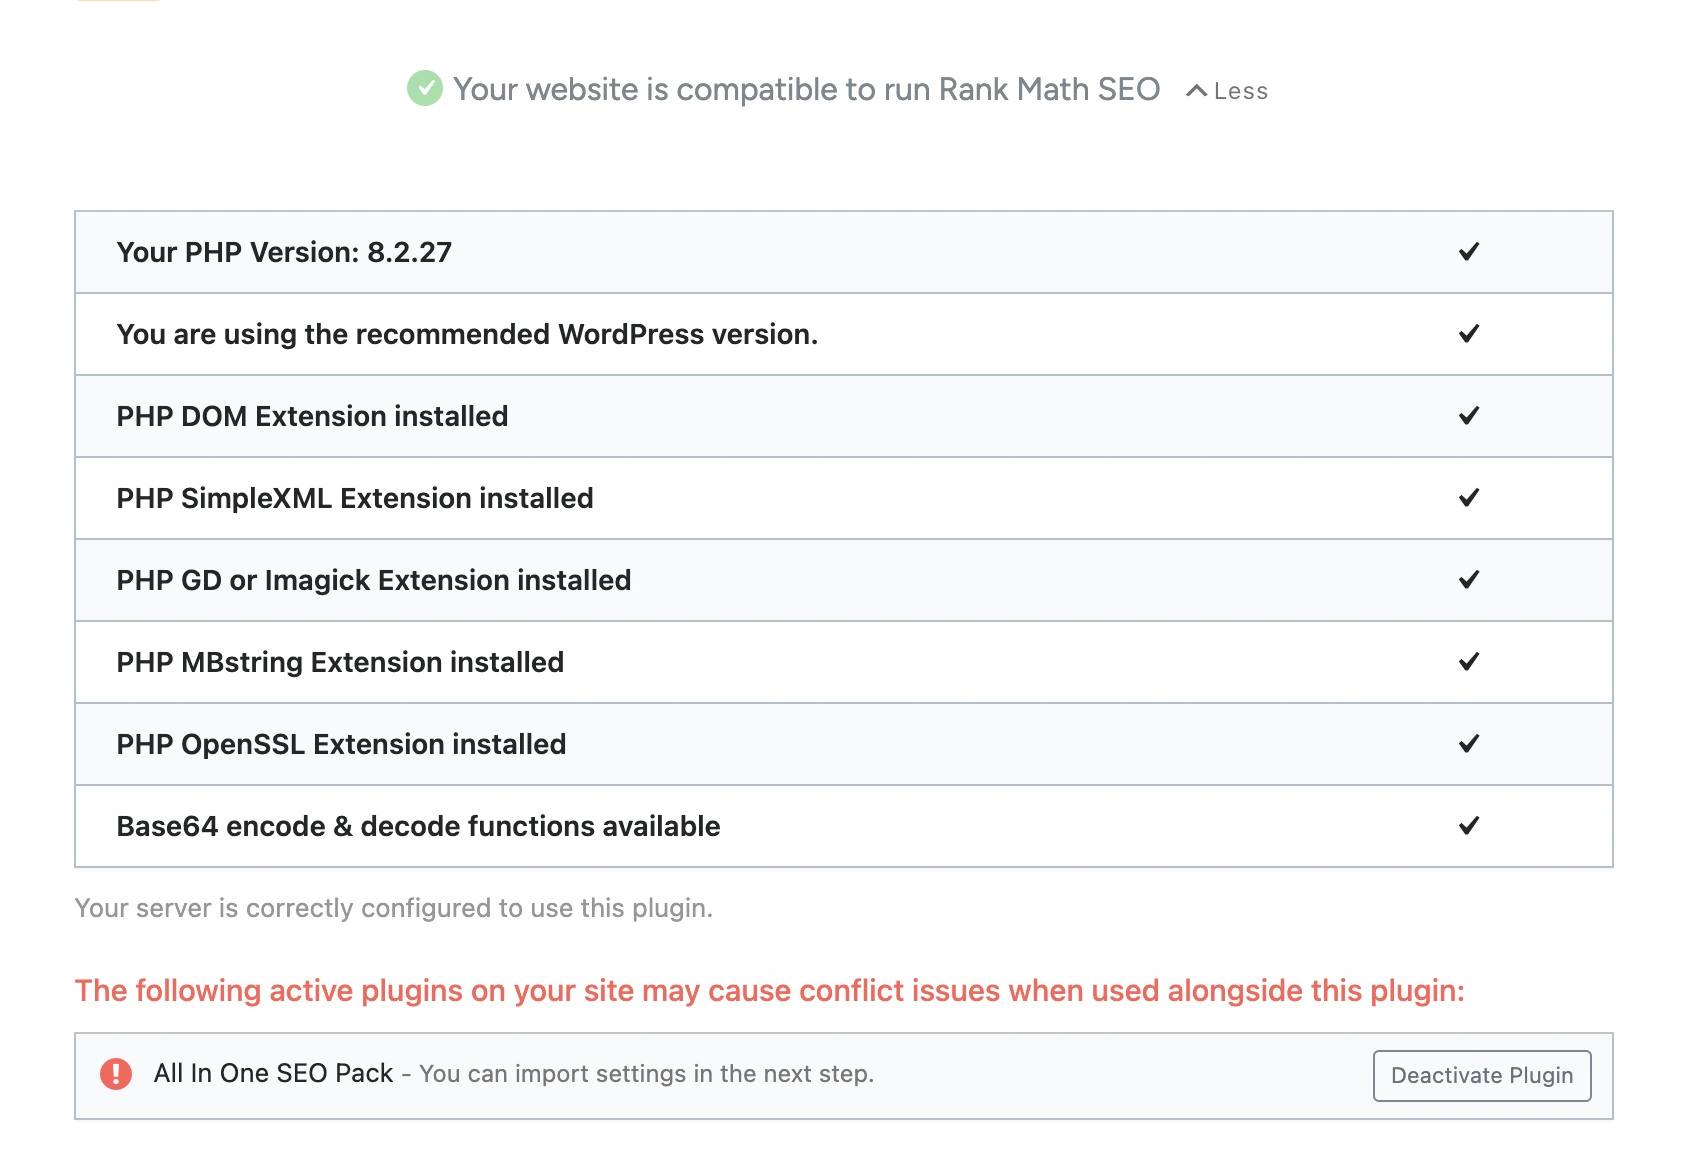
Select the Advanced mode, scroll down, and click on the More link. This is next to the text: ‘Your website is compatible with Rank Math SEO.‘
If you have another SEO plugin installed, you will receive a warning to deactivate it. Don’t worry about your existing SEO settings, meta titles, and descriptions. In the next step, I will explain how to import the SEO settings.
I already have All-in-One SEO installed, so I will click on the Deactivate Plugin button.
Click on the Start Wizard button to proceed to the next step.
Step #5: Import SEO Settings
If you have an existing SEO plugin installed on your website, the next step you will see is the Import SEO Settings. Rank Math will detect the SEO plugin you are currently using. It will prompt you to migrate all the data from the previous SEO plugin to Rank Math.
Make sure to NOT DEACTIVATE the current SEO plugin when you install Rank Math, otherwise it may not detect the plugin for data migration. So, you must keep it activated.
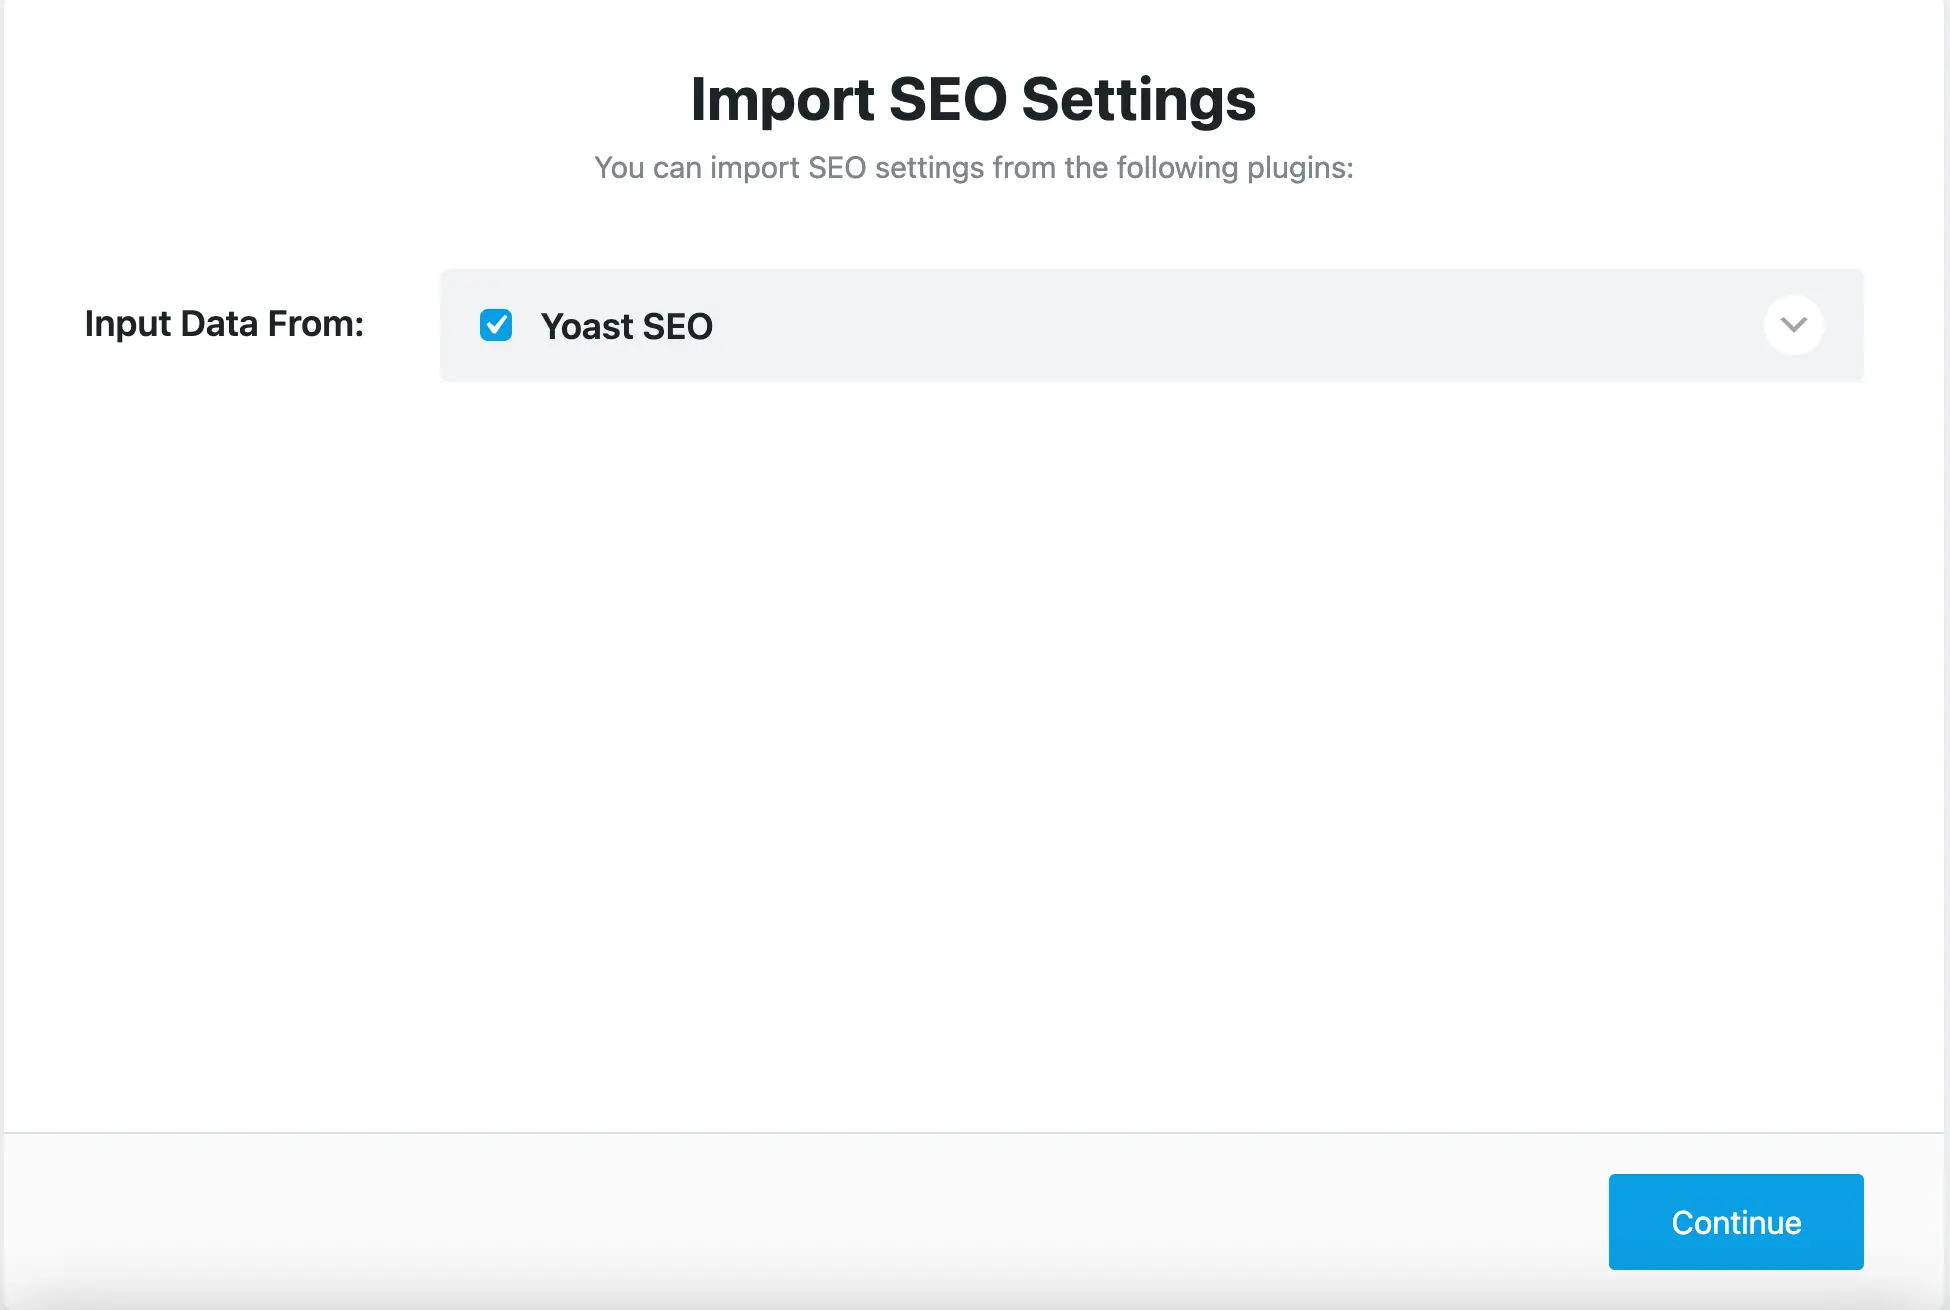
Over here, I encountered an issue. As you can see in the screenshot below, Rank Math is telling me to import SEO data from Yoast SEO. But I just deactivated the All-In-One SEO plugin.
So, why is Rank Math importing data from Yoast instead of All-In-One SEO?
This was a red flag for me. If the correct SEO plugin data were not imported, I would lose all of my SEO settings.
I did some brainstorming to understand why the wizard was showing the wrong plugin name. Here is the possible cause I came up with.
I had previously installed the Yoast SEO plugin and then switched over to All-In-One. Perhaps residual Yoast data is still in the database, tricking Rank Math into thinking that this plugin is active.
How do I fix this? I had to remove all Yoast SEO remains from the database. It may sound technical, but you don’t need programming skills. Just follow each step carefully to fix Rank Math Showing Yoast SEO Import Option.
Once I fixed this issue during the setup Rank Math process, I was able to import the data for All in One SEO.
Click on the arrow dropdown to expand the options and check everything to migrate all data.
Click on the Start Import button to import all the previous SEO plugin data to Rank Math.
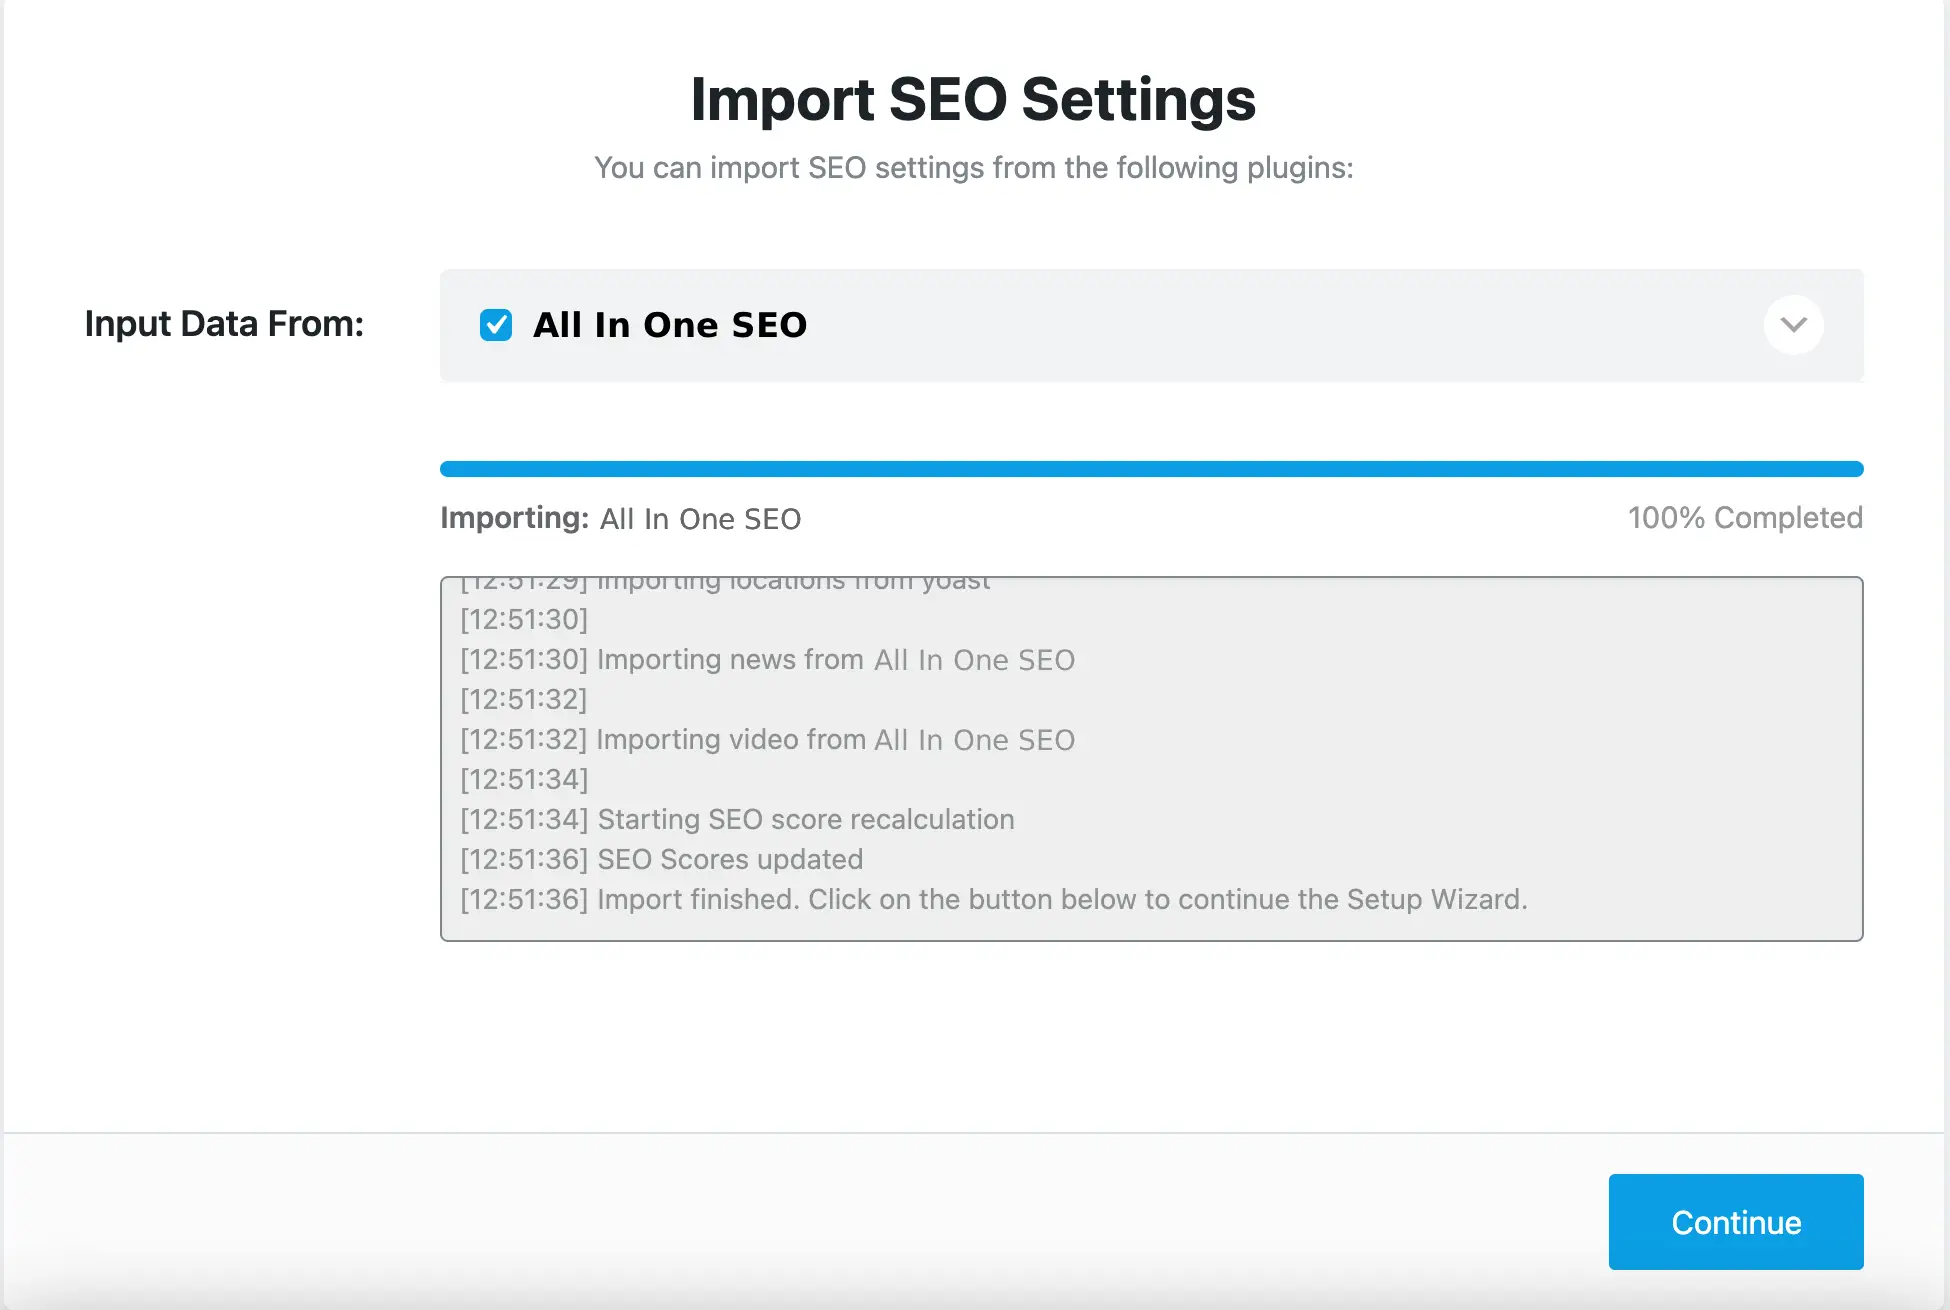
Once complete, click the Continue button to go to the next step.
Step #6: Provide Search Engines Information About Your Site.
In this simple step, provide your site information. You don’t need to spend much time on this. A couple of pieces of information will already be pre-filled, such as the logo and site name.
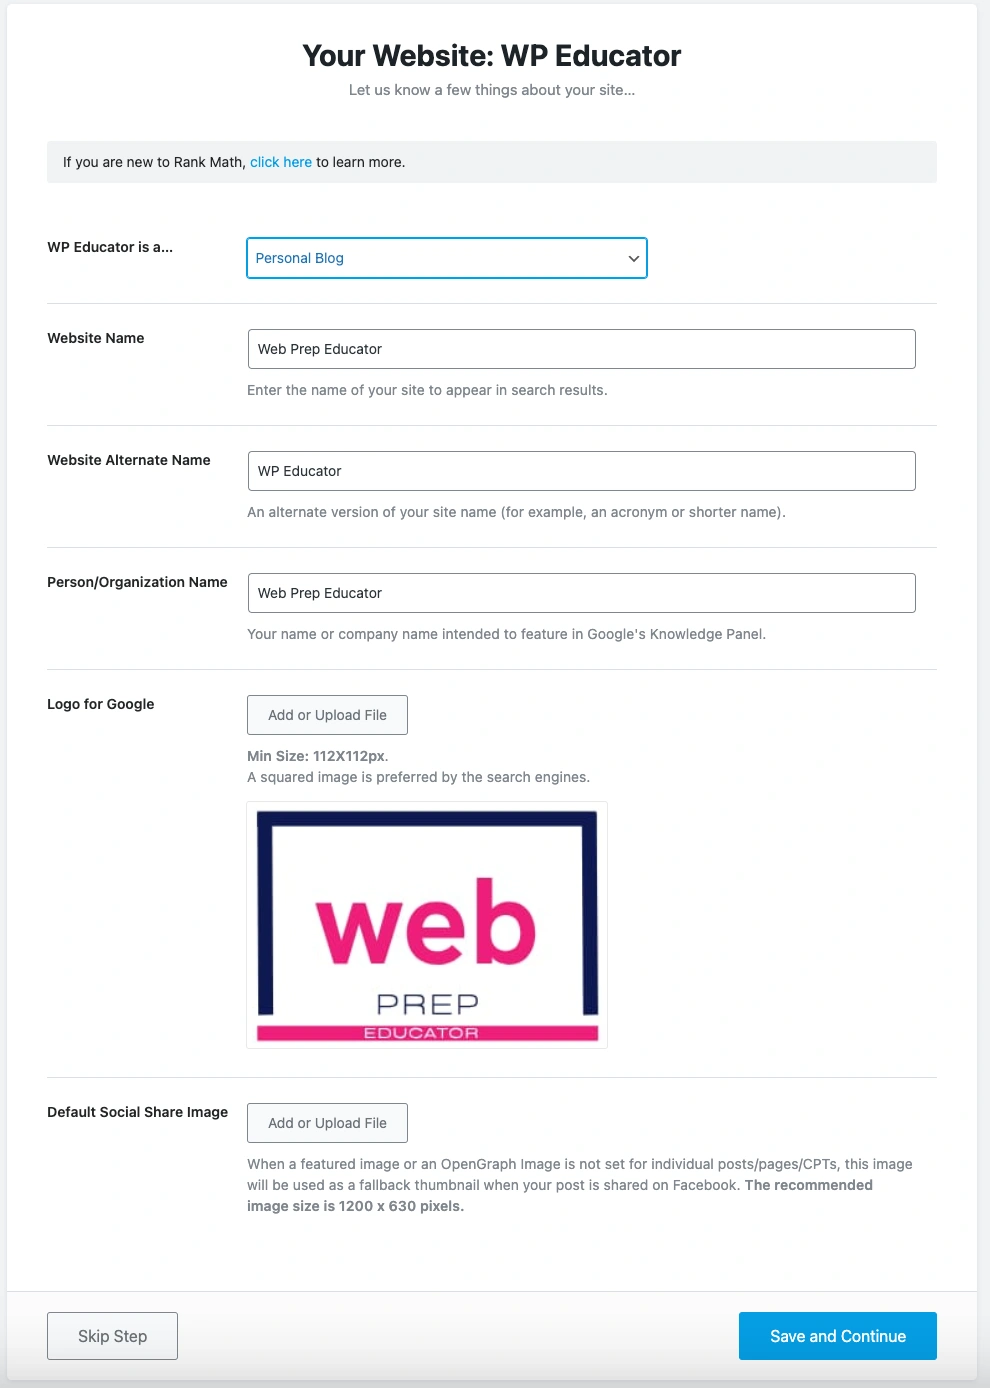
Once you have provided the information about your site, continue to the next step.
Step #7: Connect to Google Services
You can connect your website to Google Search Console and Google Analytics to automate certain services.
Here are a few benefits of connecting with Google services:
- Submit sitemaps automatically
- Track ranking and keywords
- Analyze the performance of your posts and pages
- Get access to search traffic
Connecting Google Search Console
If you have not created and verified your Google Search Console, Rank Math will do it for you.
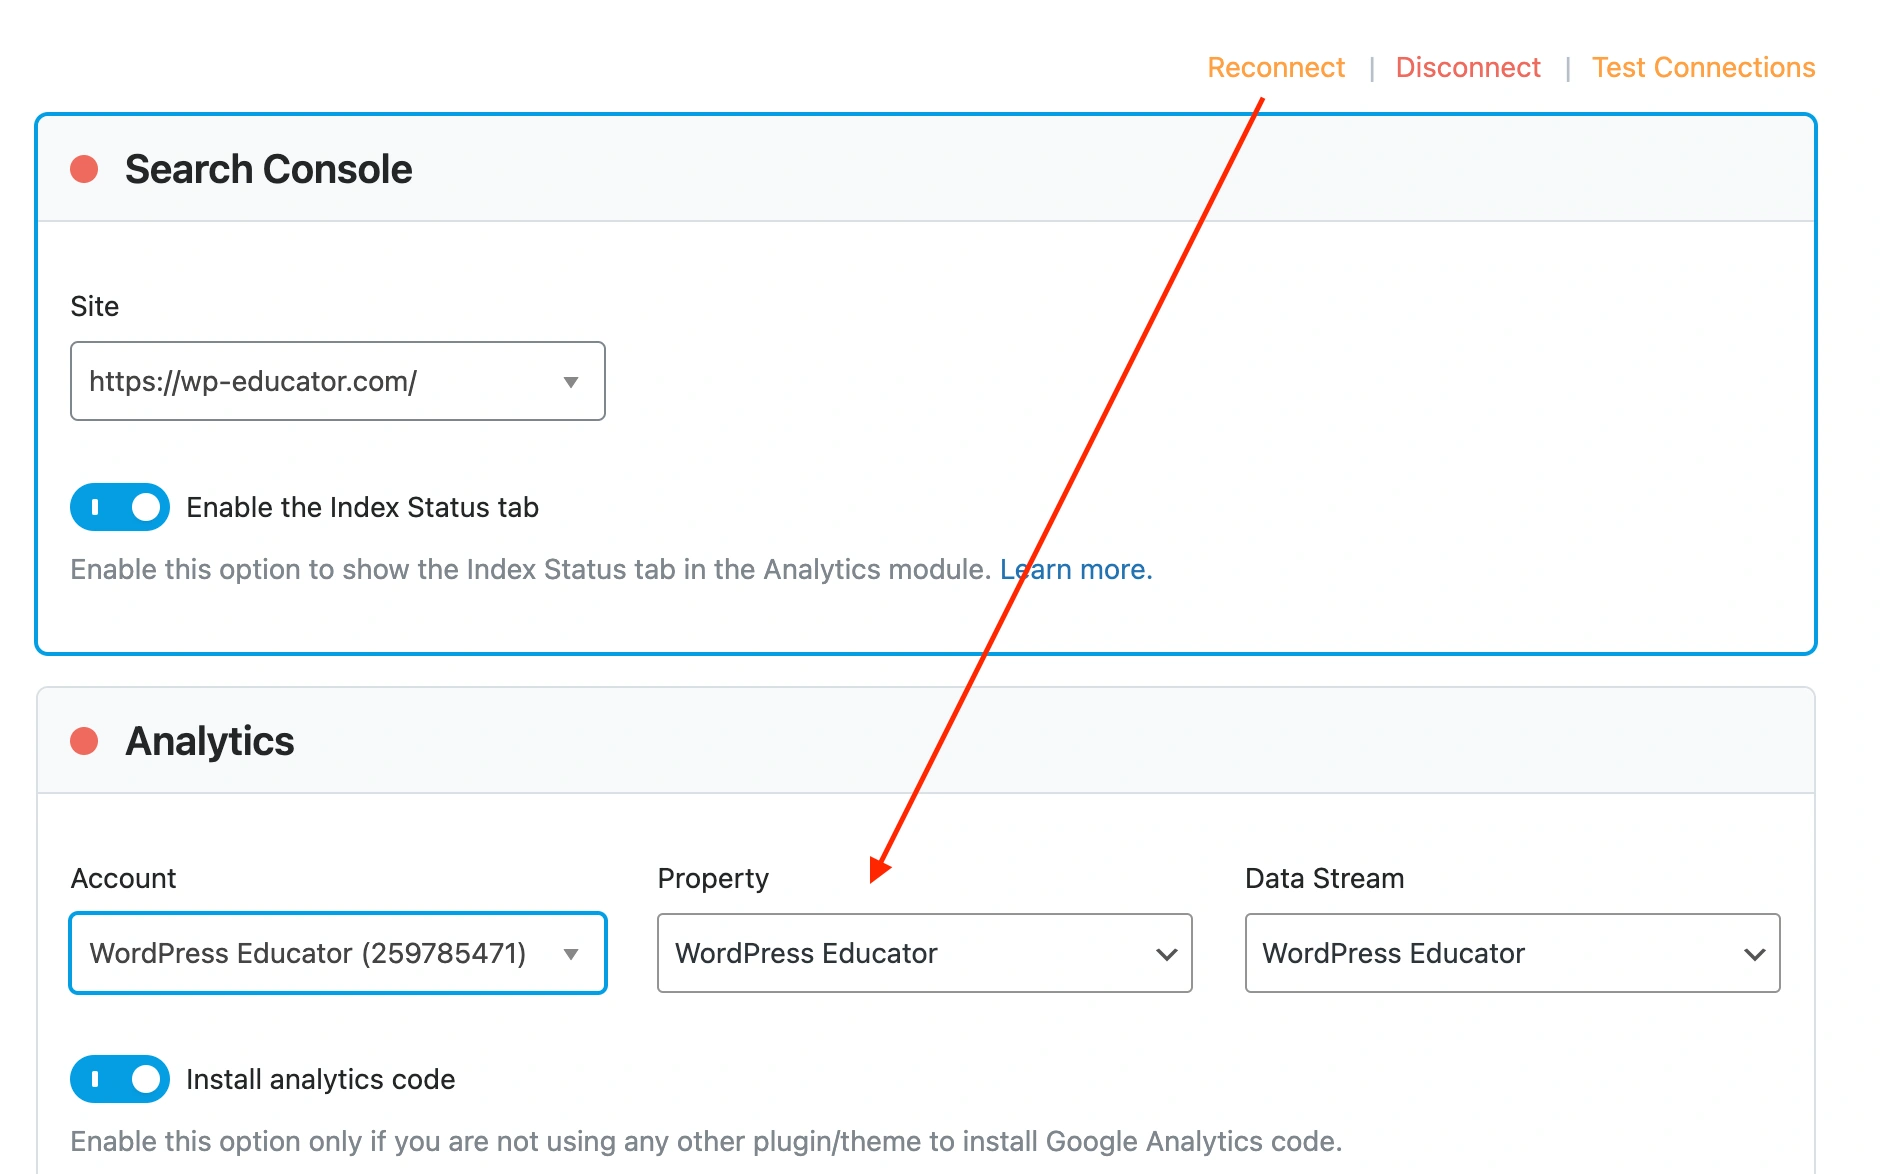
Connecting Google Analytics
For Google Analytics, you would need to create an account so that Rank Math can fetch the:
- Account name
- Property name
- Data stream
Once you have created your Google Account, click on the Reconnect link. You can now see the information in the Analytics section.
After that, toggle the Install analytics code option, and the GA code will be added to your site. This means your site is now automatically connected to Google Analytics. There is no need to add the GA code manually to the website.
In the Analytics section there are 3 more options which you can toggle on. Since we are using the free version, you will only have the option to toggle on Exclude Logged-in users. This is an awesome feature, which I highly recommend using. This will exclude your own login from Google Analytics data. Your visits will not be tracked. Therefore, the data will not be skewed.
Connecting with Google services will provide access inside Rank Math. You won’t have to visit Google Search Console or Google Analytics. All the data and other information will be presented inside the plugin analytics module.
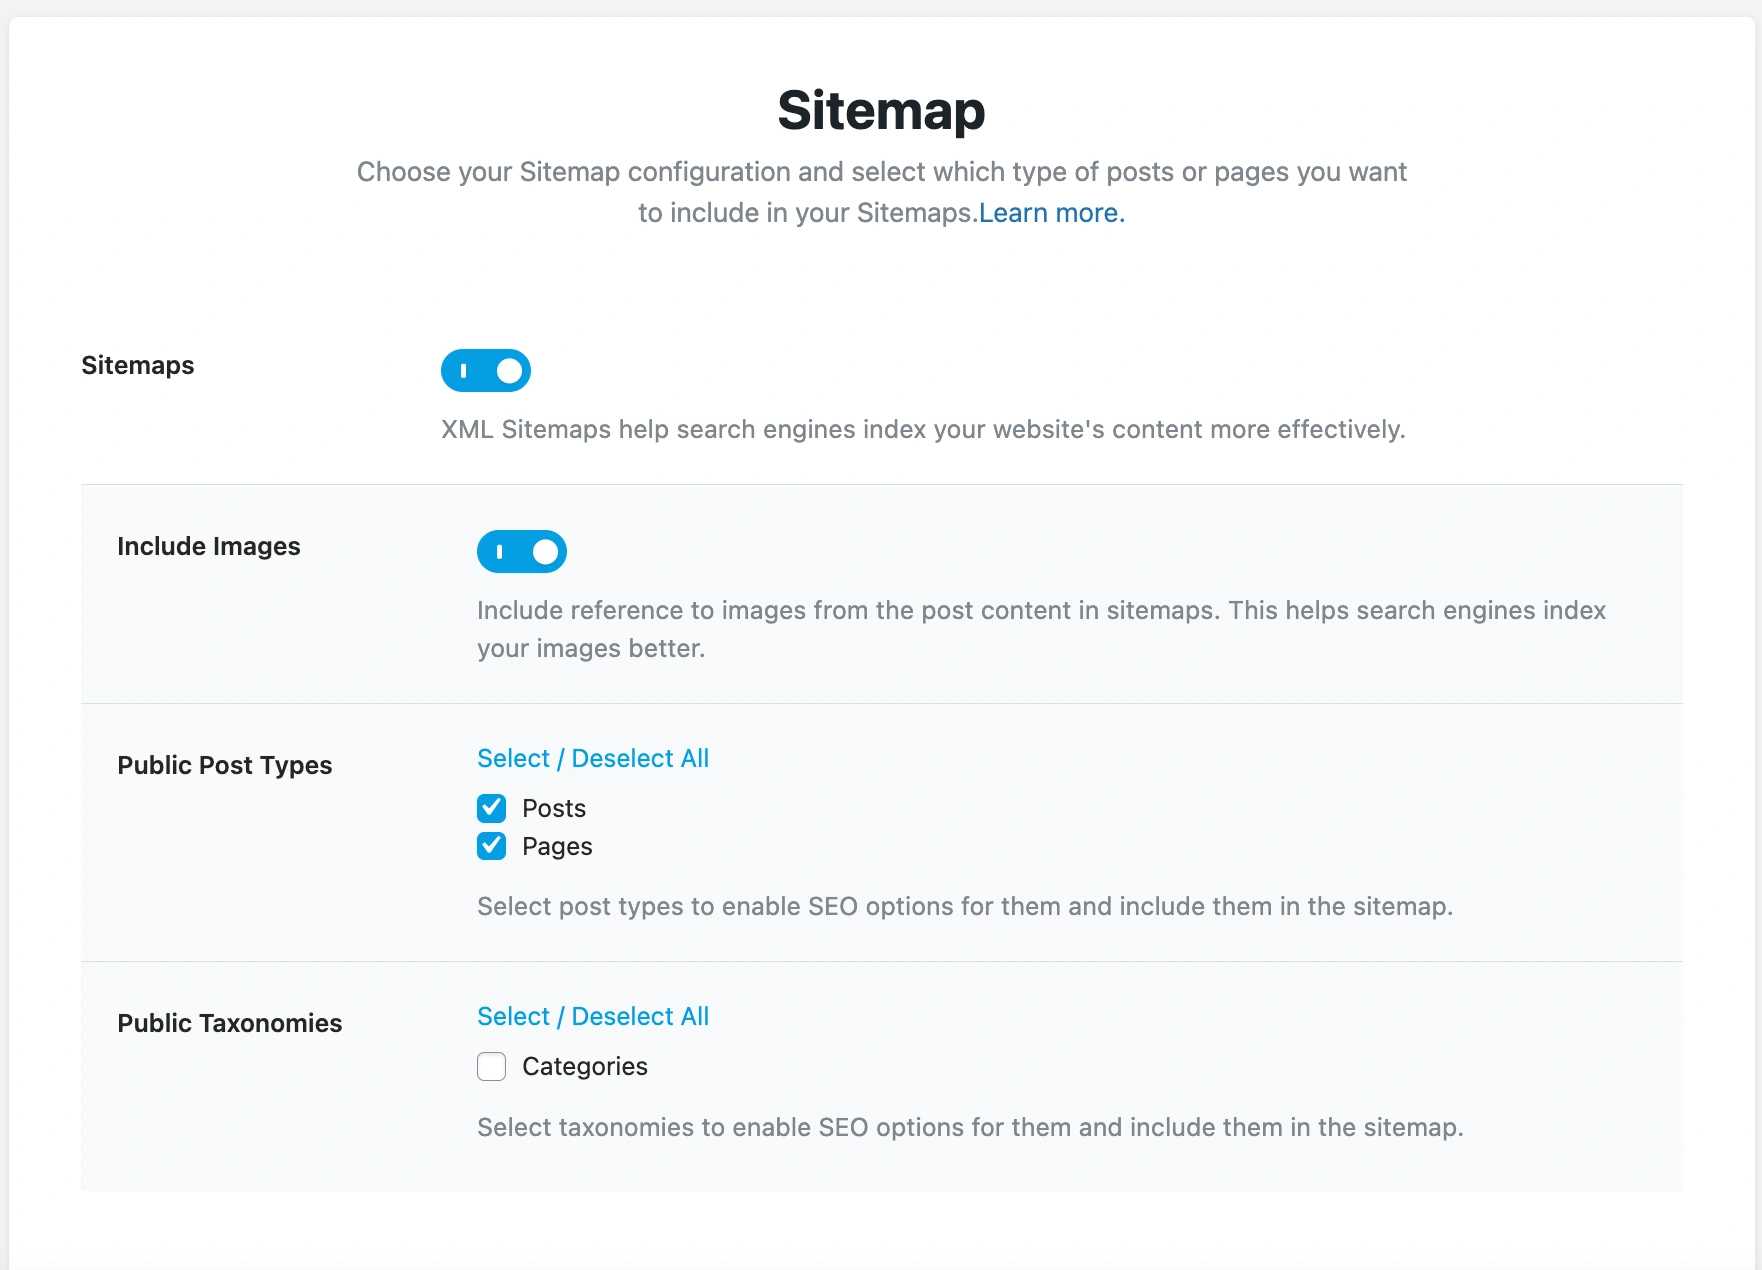
Step #8: Configure the Sitemap
The previous step explained that the sitemap will be submitted automatically, and it will be. However, since the Advanced mode was selected in Step #4, Rank Math gives the option to configure the sitemap. You can choose which type of posts and pages you want to include in the sitemap.
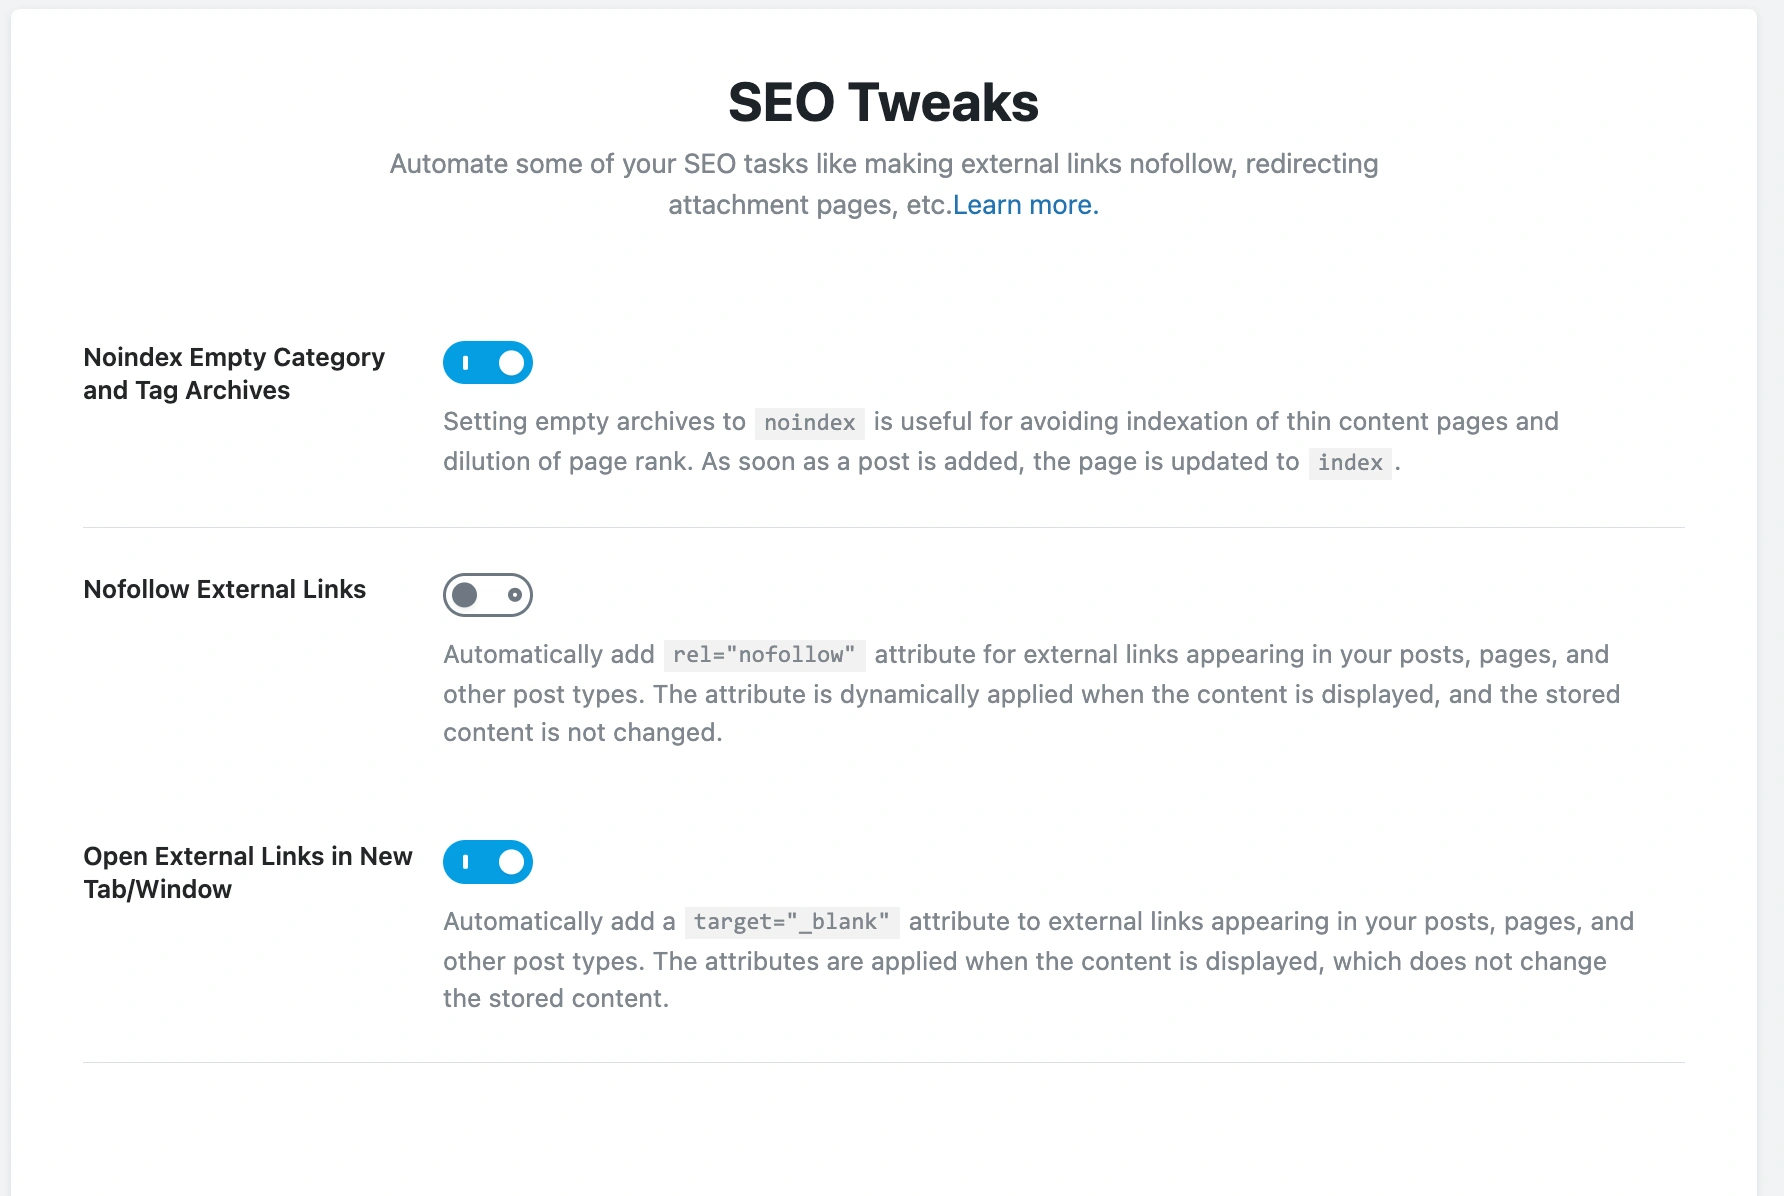
Step #9: SEO Tweaks
Rank Math provides the option to automate certain seo tasks. These SEO tweaks are global settings. For example, opening all links in a new tab or adding a nofollow attribute to external links.
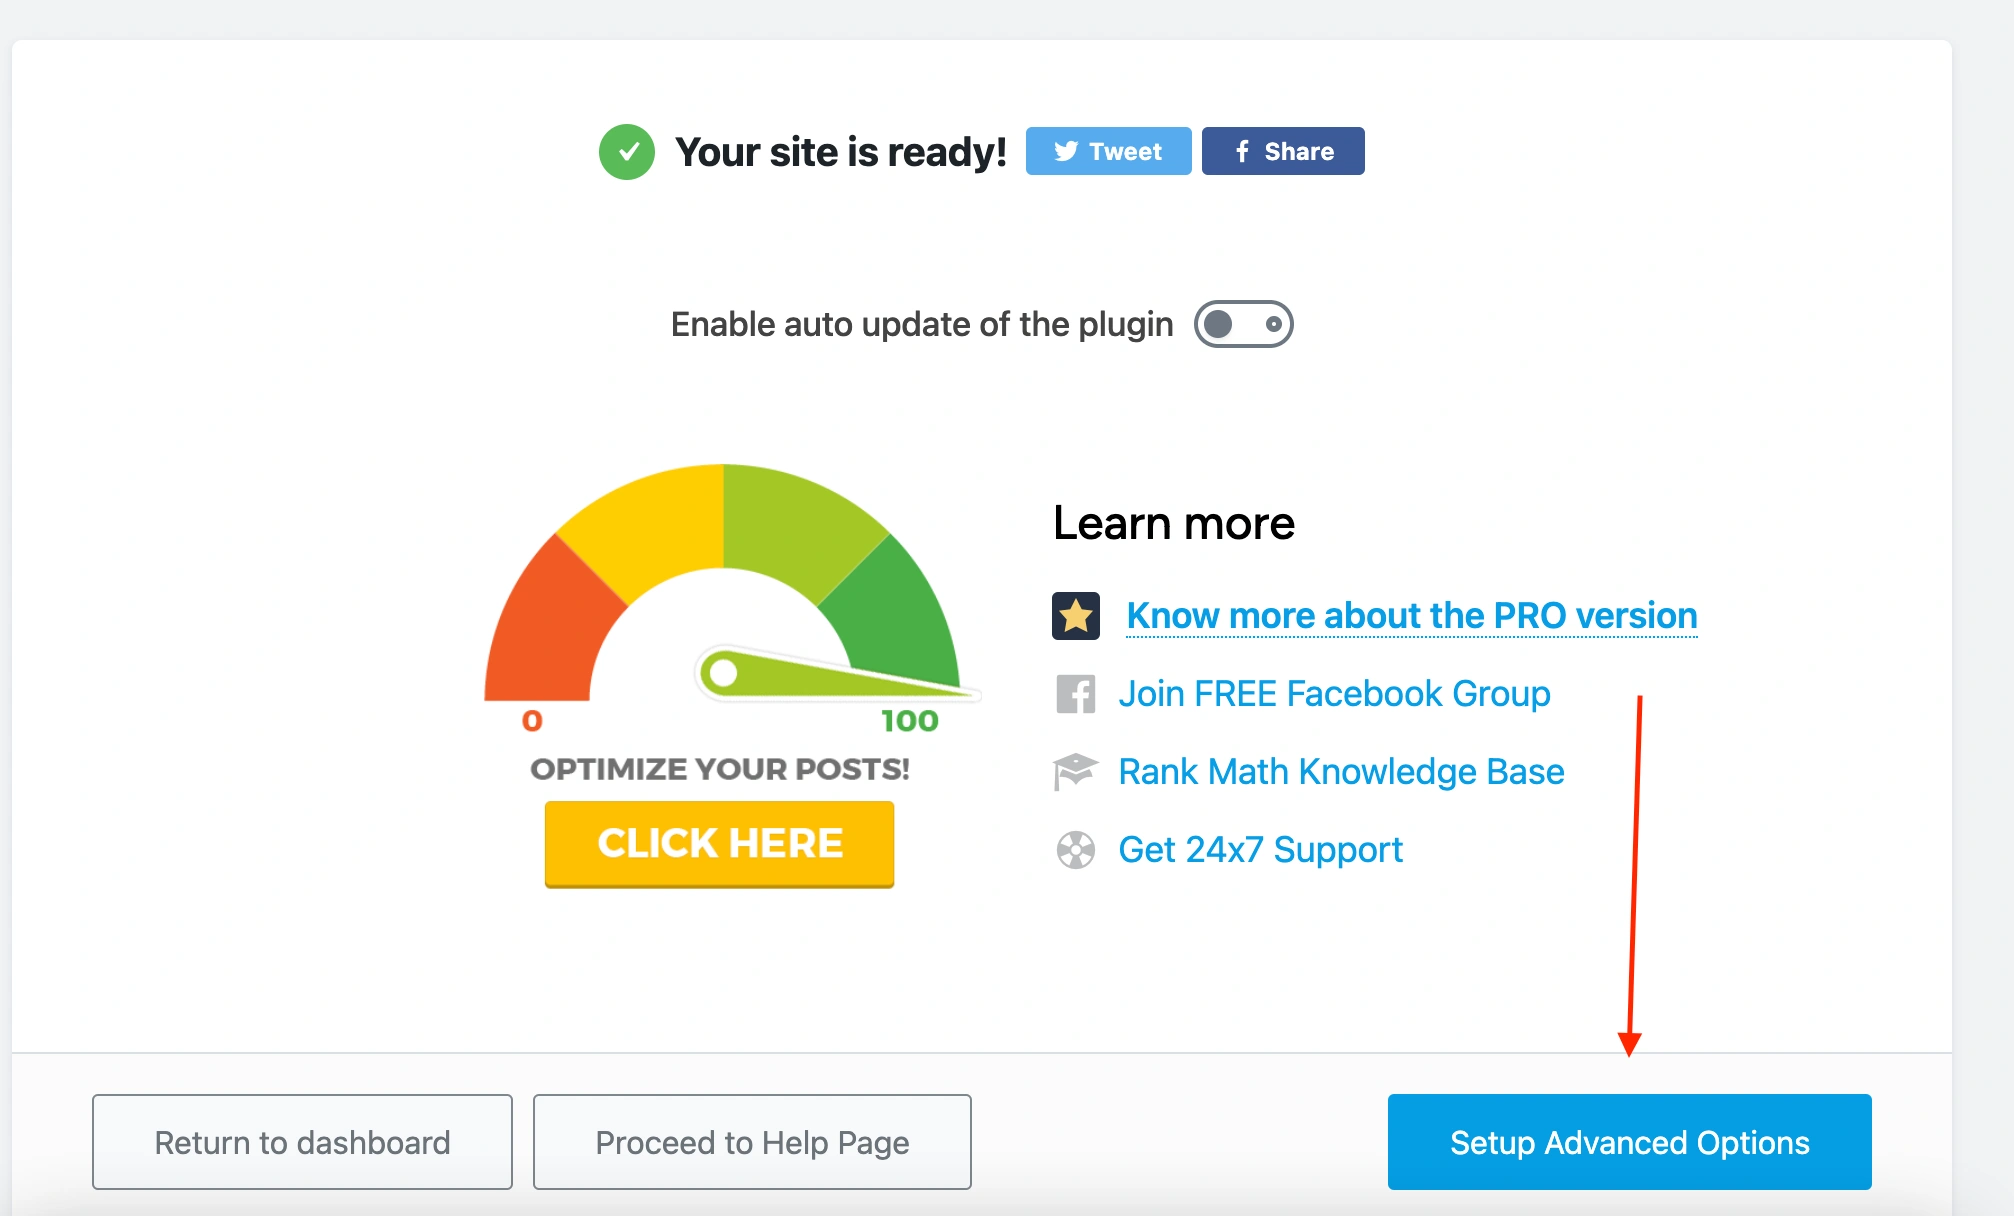
Step #10: Your Site is Ready! But Wait, There is More
Congratulations! You have successfully setup Rank Math WordPress SEO plugin. You can now return to the dashboard, OR you can go a step further and set up advanced options.
These so-called advanced options do not involve any technical steps.
These are additional SEO features that you can toggle on and off. Nothing more, nothing less.
If you want, you can toggle these modules directly from the Rank Math SEO dashboard and skip the advanced options setup entirely. However, I would suggest going through it so that your site is SEO ready.
Click the Setup Advanced Options button if you wish to proceed.
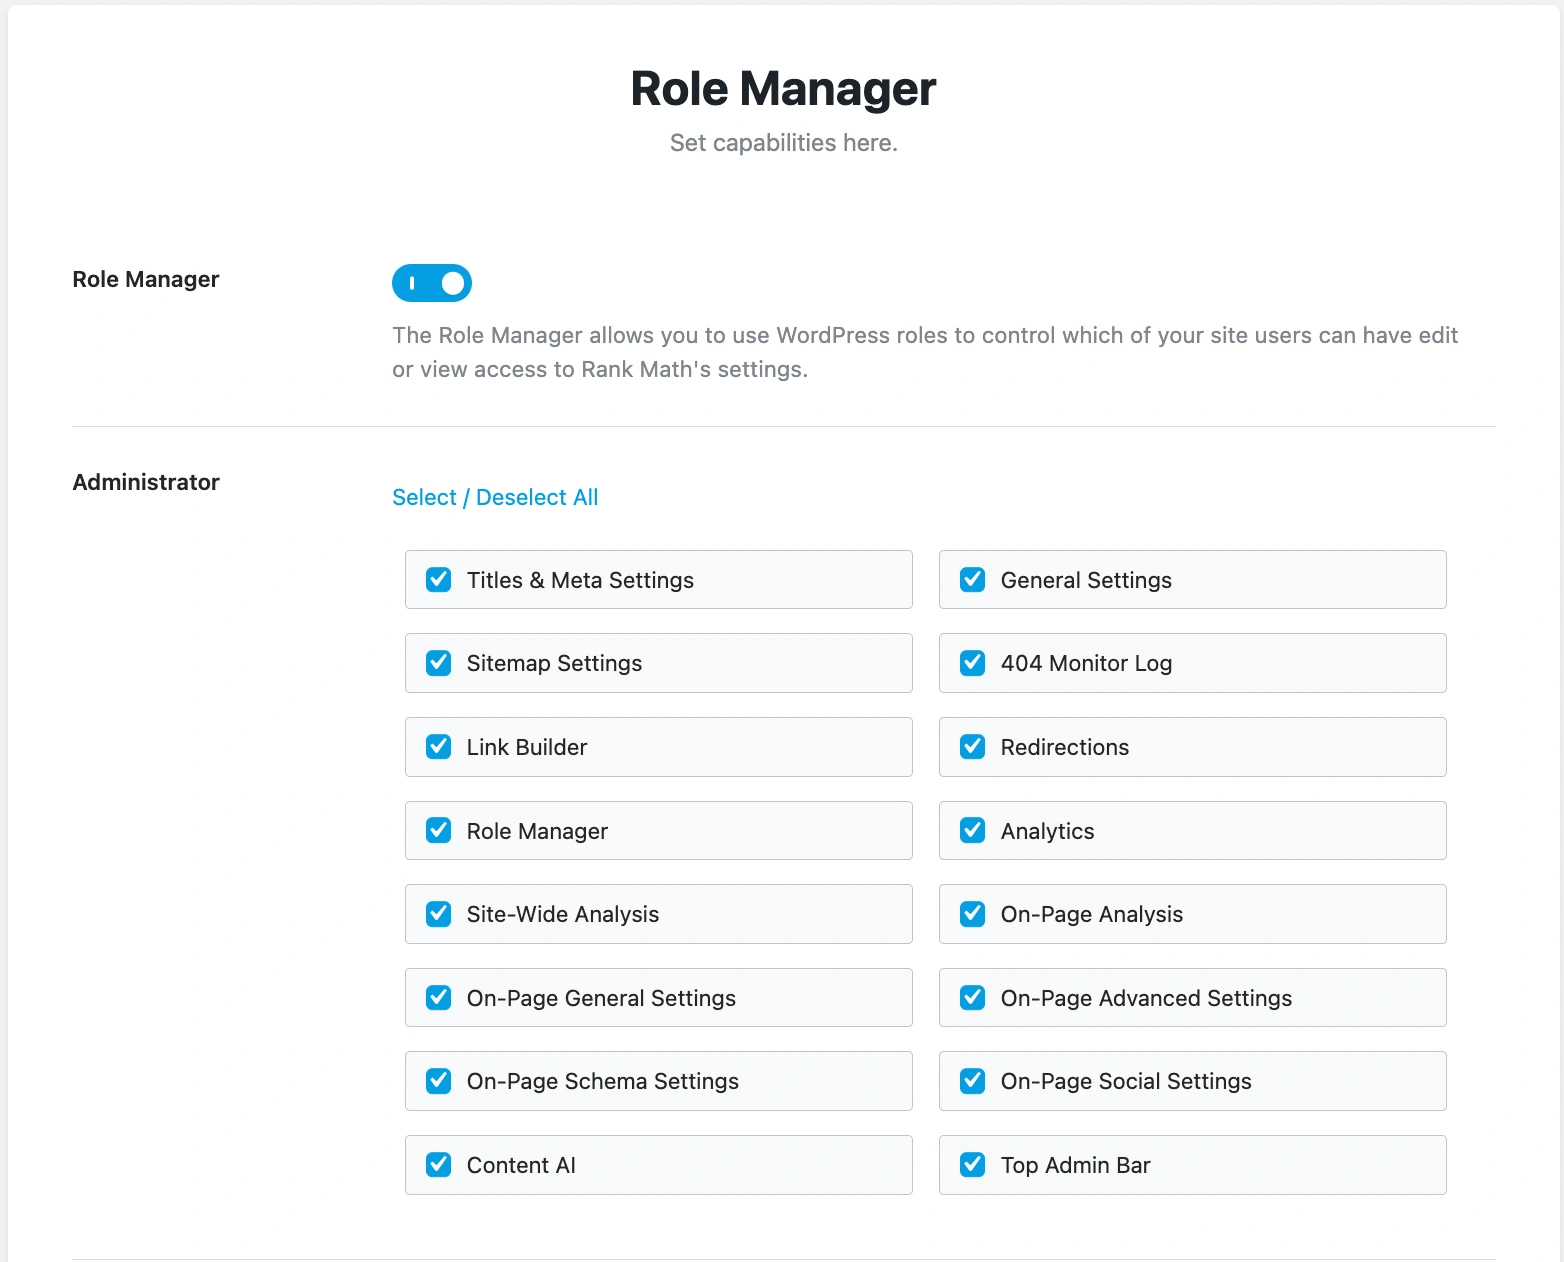
Step #11: Role Manager Capabilities
By default, WordPress provides multiple roles, and Rank Math role manager allows you to control access of each user role. You can assign which user role can have edit or review access to the plugin settings.
This is extremely useful if your site is managed by different users. You can limit certain user role capabilities depending on their position.
I would suggest giving the Administrator full control. For the remaining user roles, proceed with the default options selected by Rank Math.
Step #12: Enabling 404 Monitor and Redirections
The 404 monitor and redirection are two key features in the Rank Math setup wizard. They help improve user experience and SEO by identifying broken links and redirecting them to another page on the site.
This step consists of two things:
- 404 monitor
- Redirection
404 monitor
As the name suggests, the 404 monitor checks and logs broken links on your site. When visitors land on a missing page (404 error), Rank Math’s 404 Monitor automatically logs those URLs. This lets you identify which pages are broken so you can fix them before they hurt your rankings.
Redirection
The Redirections module then makes it easy to create 301, 302, or 307 redirects directly from your WordPress dashboard — no coding or .htaccess edits needed. You can redirect old or deleted URLs to relevant pages.
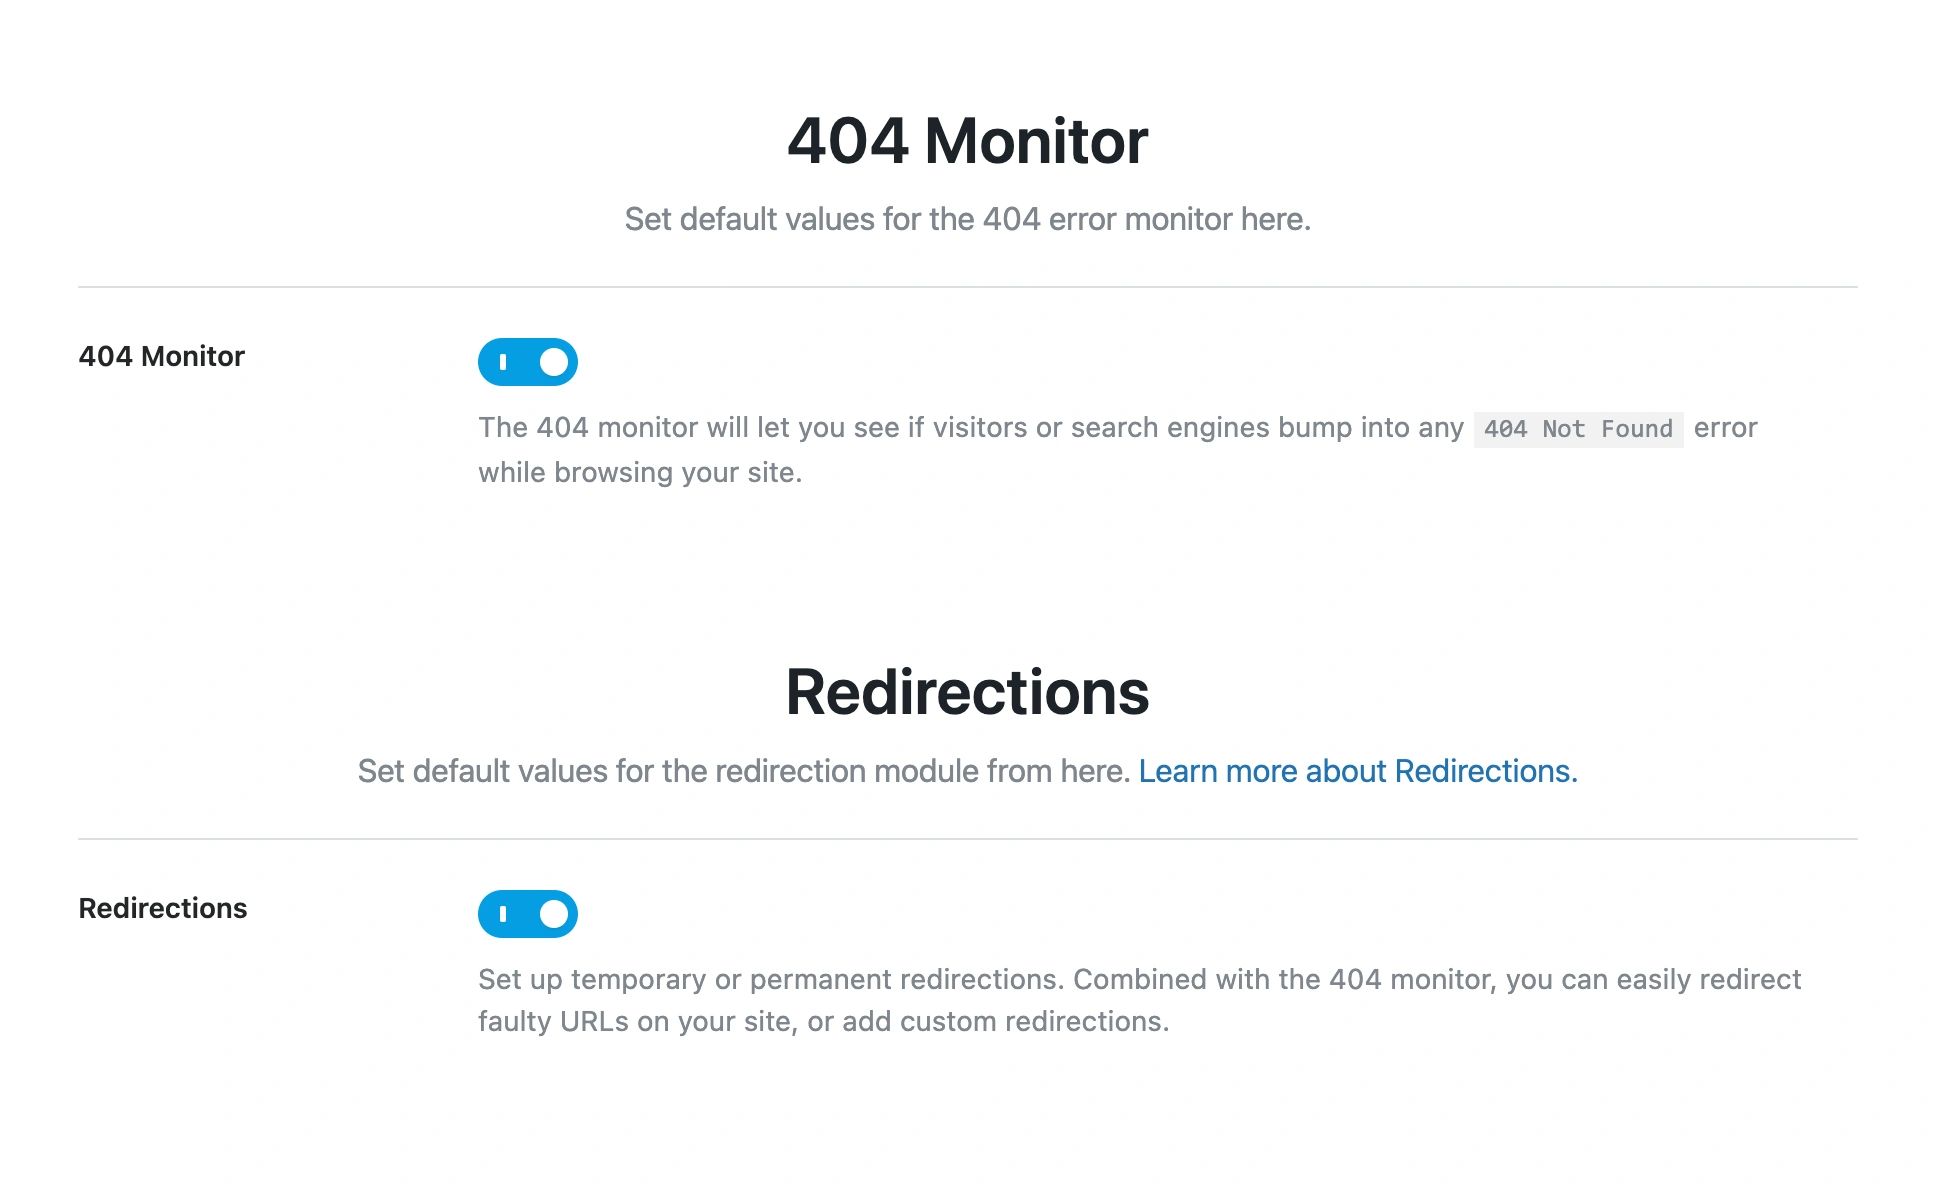
The crucial thing to note is that in this step, you are not creating any default redirects or grabbing all broken links. You are enabling both of the features.
Once enabled, you can access these features from the Rank Math dashboard. Click the Save and Continue button. Now go back to the WordPress dashboard, and you will see both the 404 monitor and the redirections feature.
Step #13: Adding the Schema Markup
The schema markup, also known as structured data, adds metadata to your website, resulting in rich search results and more traffic. This helps search engines better understand your website’s content, whether it is a post, page, product, etc.
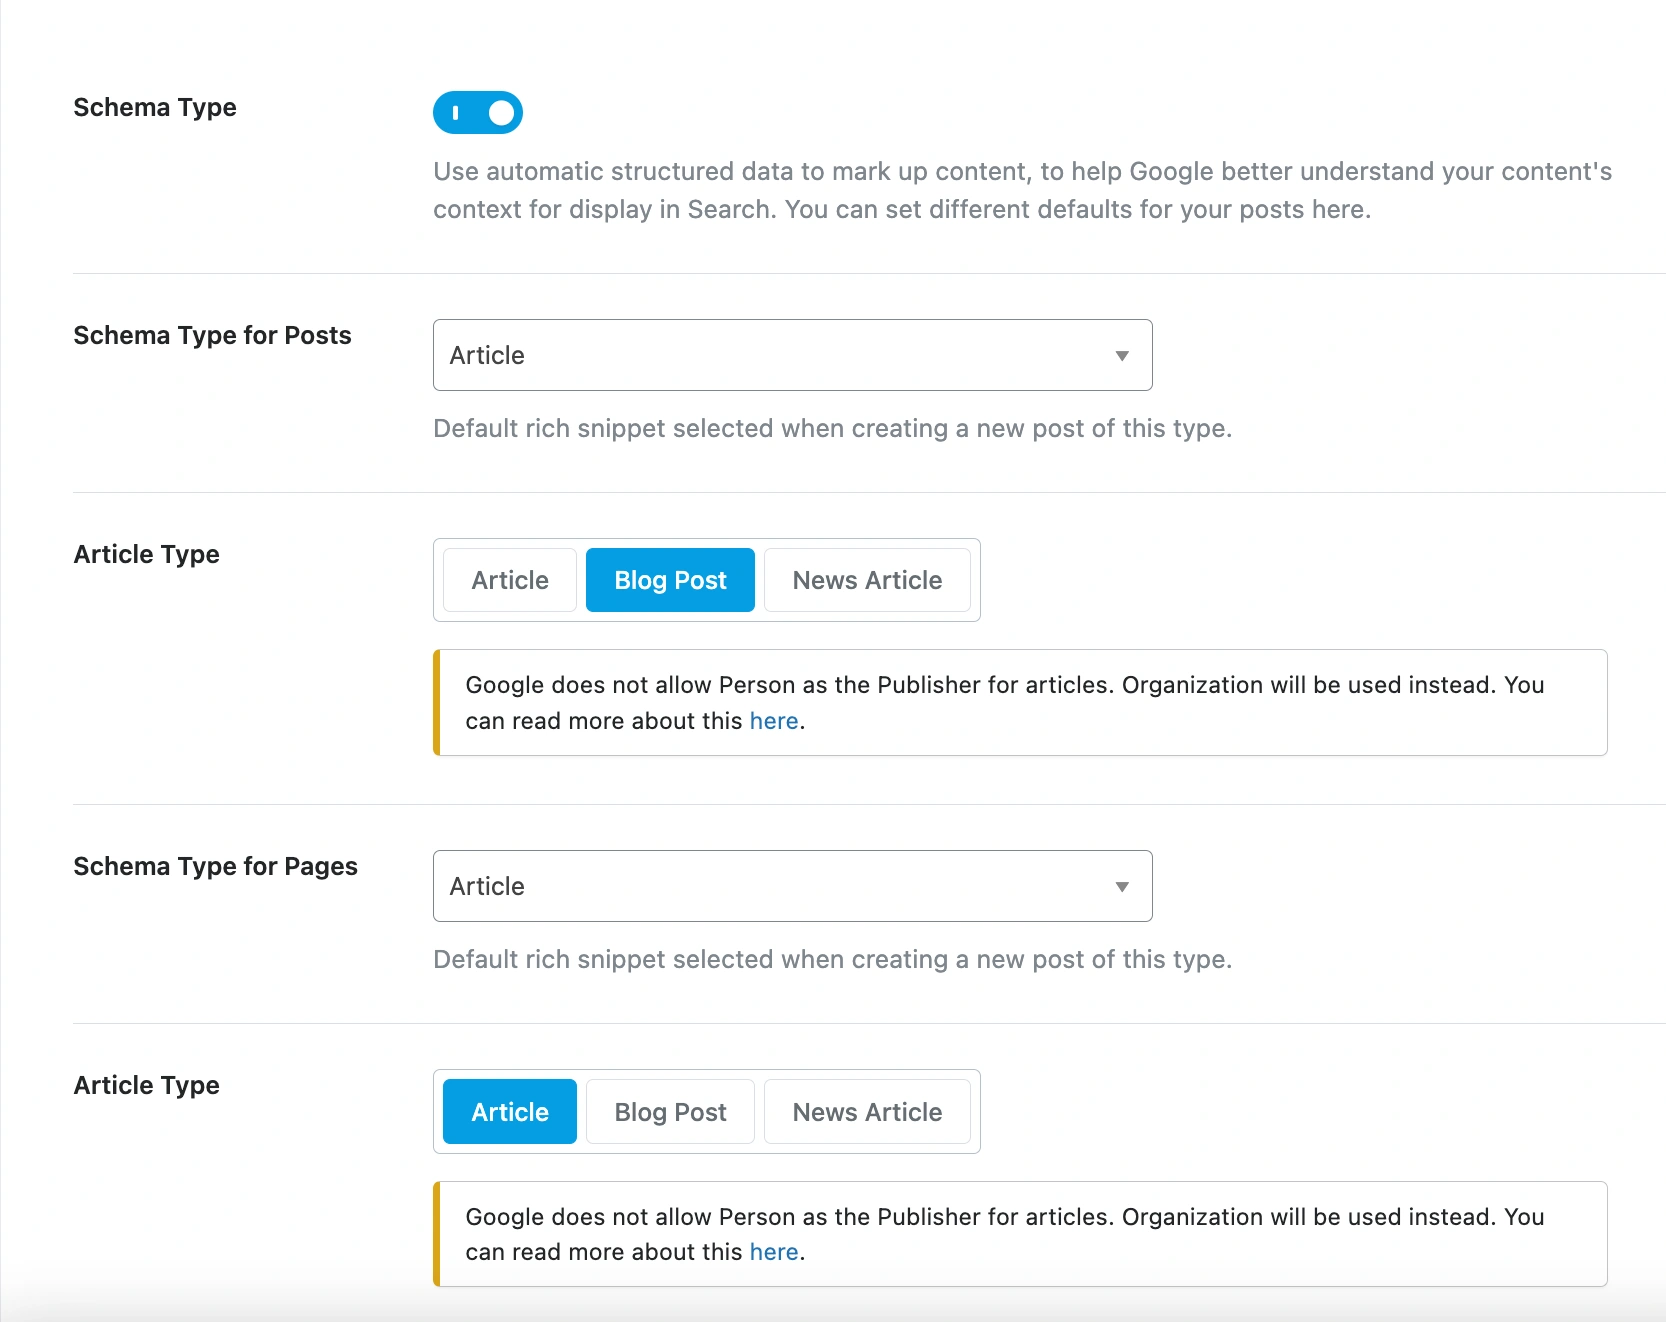
By enabling the scheme markup, Rank Math automatically adds the correct structured data to your site. However, you need to select the Schema Type for Posts and the Schema Type for Pages.
The default settings for both of these types are Article. I would suggest sticking with this, but set the Article Type to Blog Posts for posts and Article Type to Article for pages.
Click on the Save and Continue.
Inside the Rank Math Dashboard: Your SEO Settings in Action
Congratulations! You have successfully setup Rank Math WordPress SEO plugin. Let’s have a look at the dashboard to see the SEO settings in action.
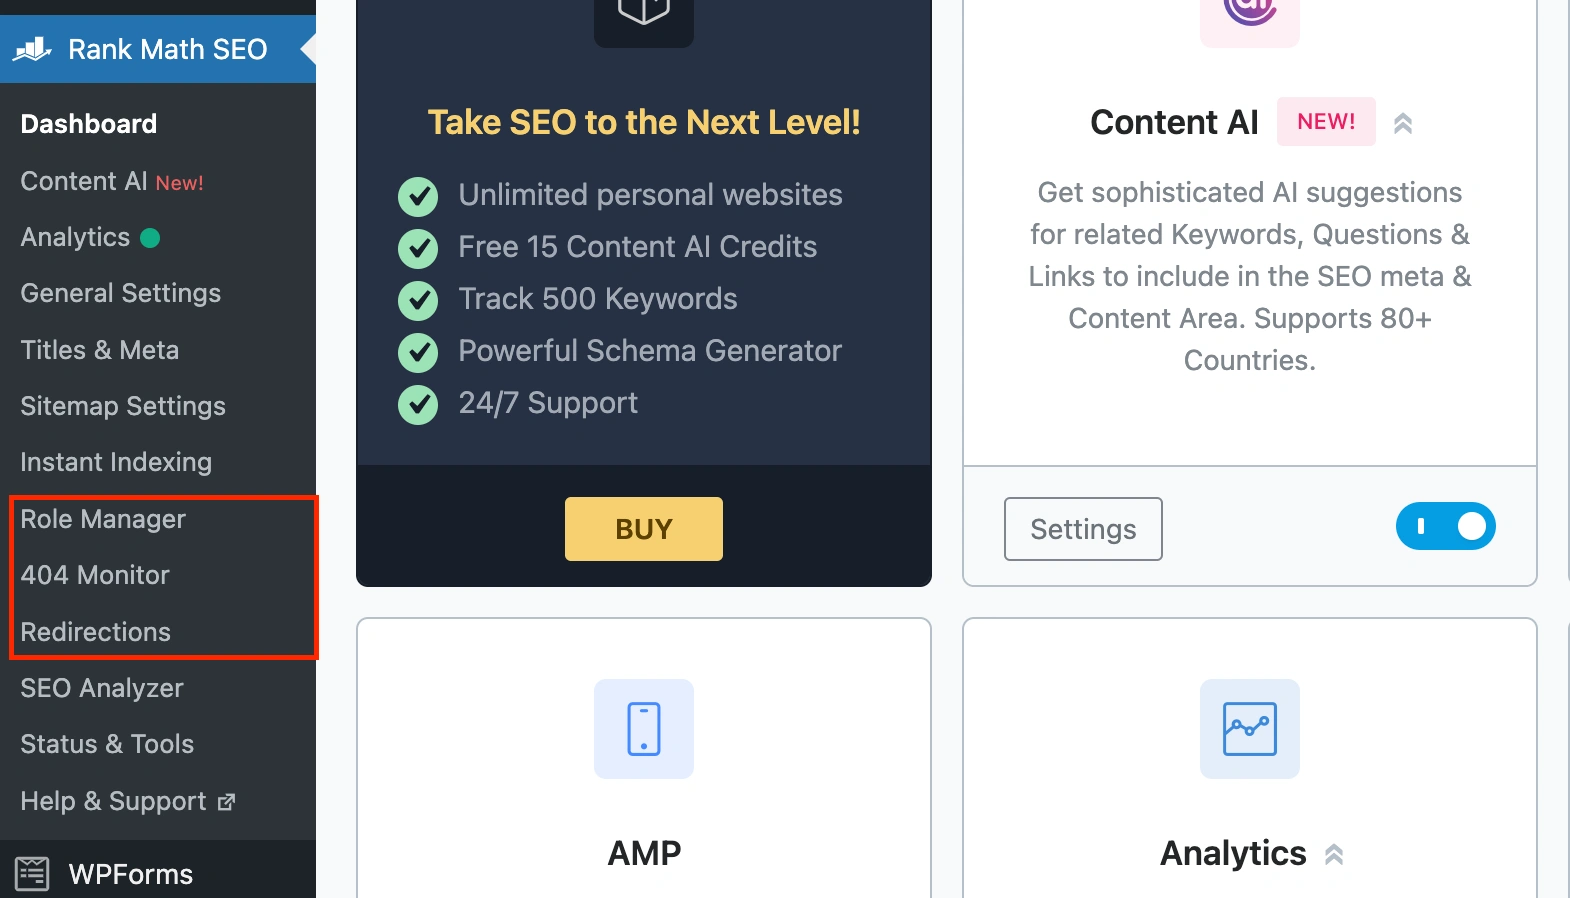
You will notice that the role manager, 404 monitor, and redirections modules are now active. You can access them from the Rank Math menu item.
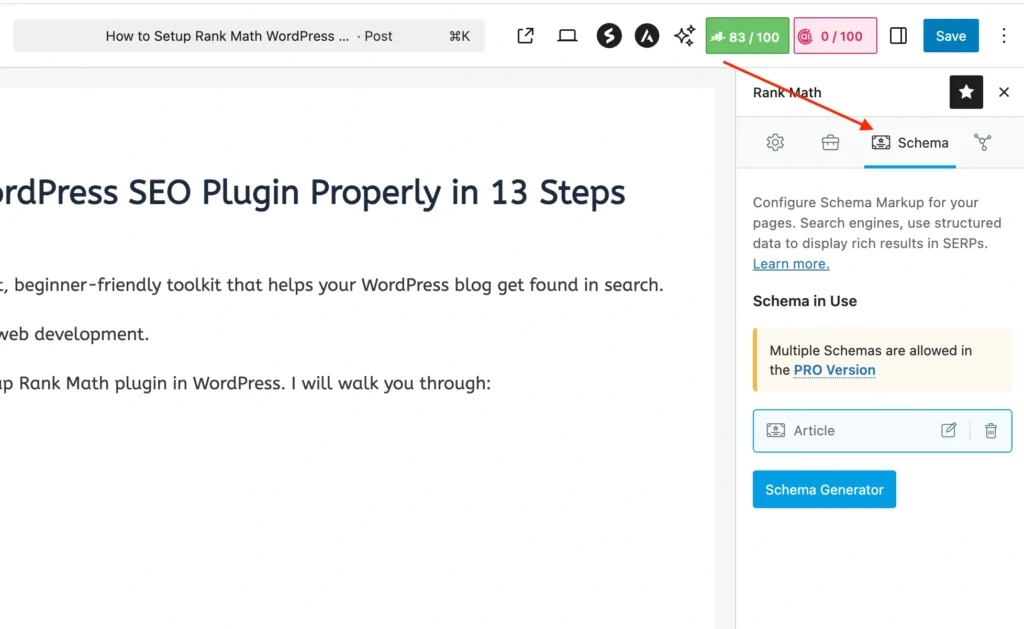
For the schema setup, visit a WordPress post or page and select the Rank Math icon. Click on the third icon to see the schema tab in use.
If you connected your site with Google Search Console or Google Analytics, the data will also start appearing in the Analytics section once Rank Math syncs with your account. It may take a few hours or up to a day for the first data to show.
Conclusion
This guide provides step-by-step instructions on how to setup Rank Math WordPress SEO plugin properly. It covers the basic SEO foundation, making your website better equipped to perform well in Google search results.