
Have you ever experienced a sharp decline in website traffic? If yes, then you should check for and fix 404 errors on your website. 404 not found errors are internal and external broken links.
A 404 error indicates that a page on your website isn’t found. Google takes this very seriously. A rise in broken links may cause your site to be removed from search results.
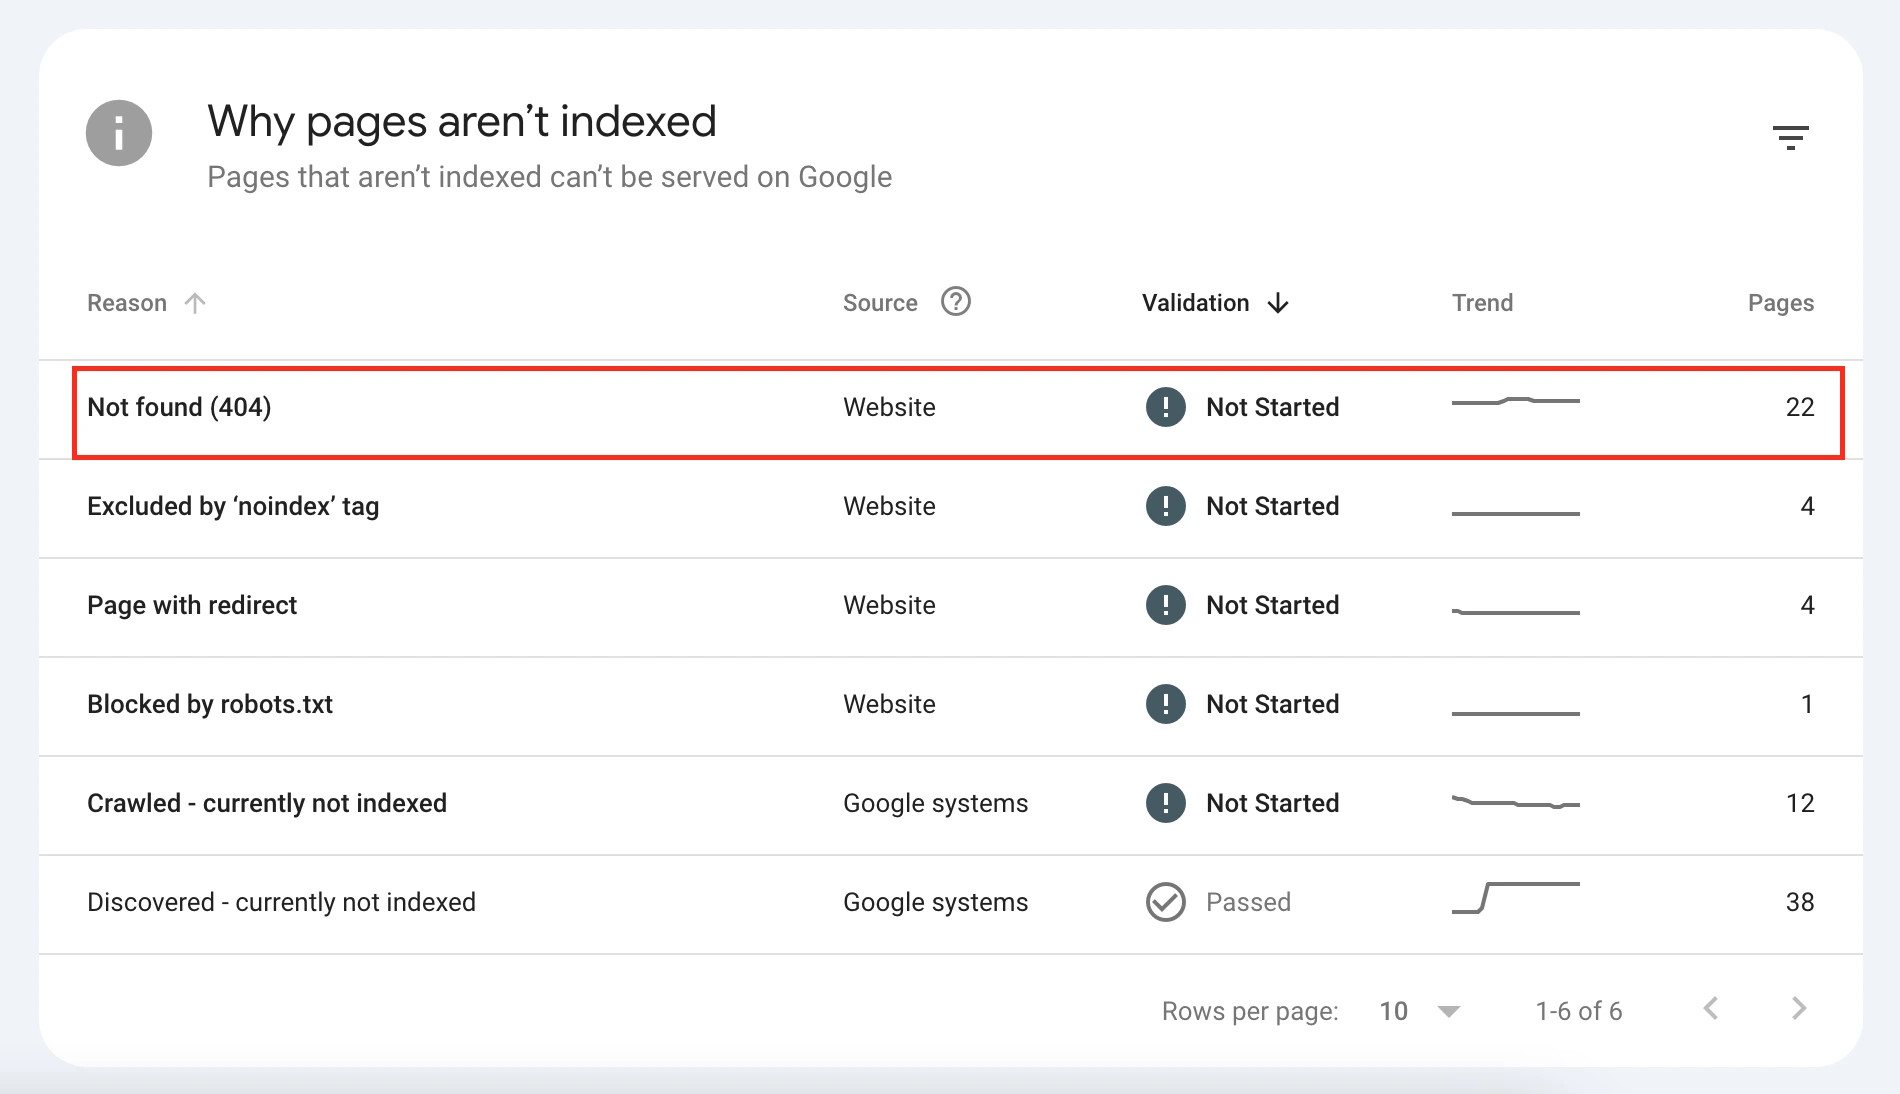
I have experienced this firsthand. I discovered a high number of my blog posts were missing from search results. Google Search Console reported approximately 22 pages as Not Found (404) error.
In this guide, I’ll show you how to find and fix 404 errors in Google Search Console so you can recover lost traffic and prevent future issues.
Negative Effects on the Site’s Ranking if You Don’t Fix 404 Errors
Links are the hidden bridges Google bot uses to crawl your entire website. Wherever one of these bridges is broken, it drives visitors and Google away.
If the number of these broken links continues to rise, your website will lose credibility.
Here are three major ways 404 errors can harm your site’s ranking and SEO performance.
1.) Drop in Site Visitors
If site visitors can’t find what they are looking for, they leave and visit other sources. If they find what they need on another website, they’re unlikely to return.
2.) Google Will De-Index Those Missing Pages
If the 404 error is not resolved, Google will assume that the page is gone for good and will de-index it. It does this after approximately three crawl cycles. It takes this long because search engines aren’t sure if this is a temporary issue. So, you still have a chance to fix 404 error pages before they stop appearing in search results.
3.) Your SEO Performance Drops
Your seo performance drops because search engines see broken pages as a sign of poor maintenance. Over time, Google may even push your site further down search results because it considers it unhelpful, unreliable, or faulty. Search engines prioritize reliable, well-maintained websites that offer a better user experience.
Common Reasons You’re Seeing 404 Errors in Google Search Console
When the Google bot crawls a URL but cannot find it, it marks it as a 404 (Not Found) and lists it in your Google Search Console.
Here are a few common reasons you’re seeing 404 errors in Google Search Console and what they mean for your site.
Reason #1: The Page Was Deleted
If you deleted a page because you no longer needed it, Google and visitors may still access the page using the old link. This will result in a 404 error.
Reason #2: URL is Updated
When you update the URL, the old URL becomes invalid. For example:
- Old URL: yourwebsite.com/wordpress-tips/
- New URL: yourwebsite.com/best-wordpress-tips/
Unless you set up a redirect, the old URL will show a 404 error.
Reason #3: Broken Internal Links
Sometimes, you may have internal links that still point to old URLs or deleted pages. When visitors or Google follow these outdated links, they get redirected to a 404 page.
Reason #4: External Websites Linking to the Wrong URL
Sometimes, other websites link to your pages but make a mistake in the URL — maybe they added an extra character, missed a word, or linked to an old version of your page. When Google or visitors follow that incorrect link, it leads to a 404 error.
Since this is coming from an external website, you need to ask the website owner to correct the broken link.
How to Find 404 Pages in Google Search Console
Here is how you can find 404 pages in Google Search Console.
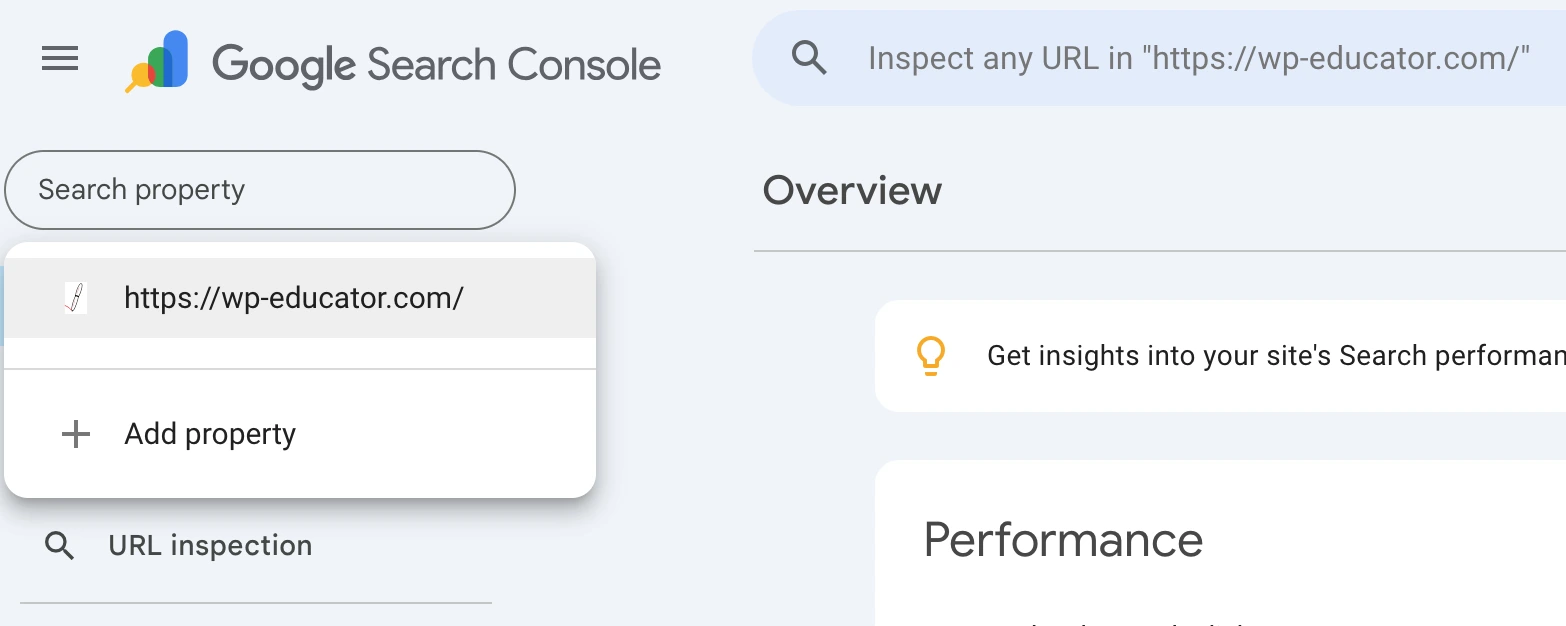
Step #1: Log in to your Google Search Console account
Log in to your Google Search Console account and select the correct property (your website) from the dropdown menu.
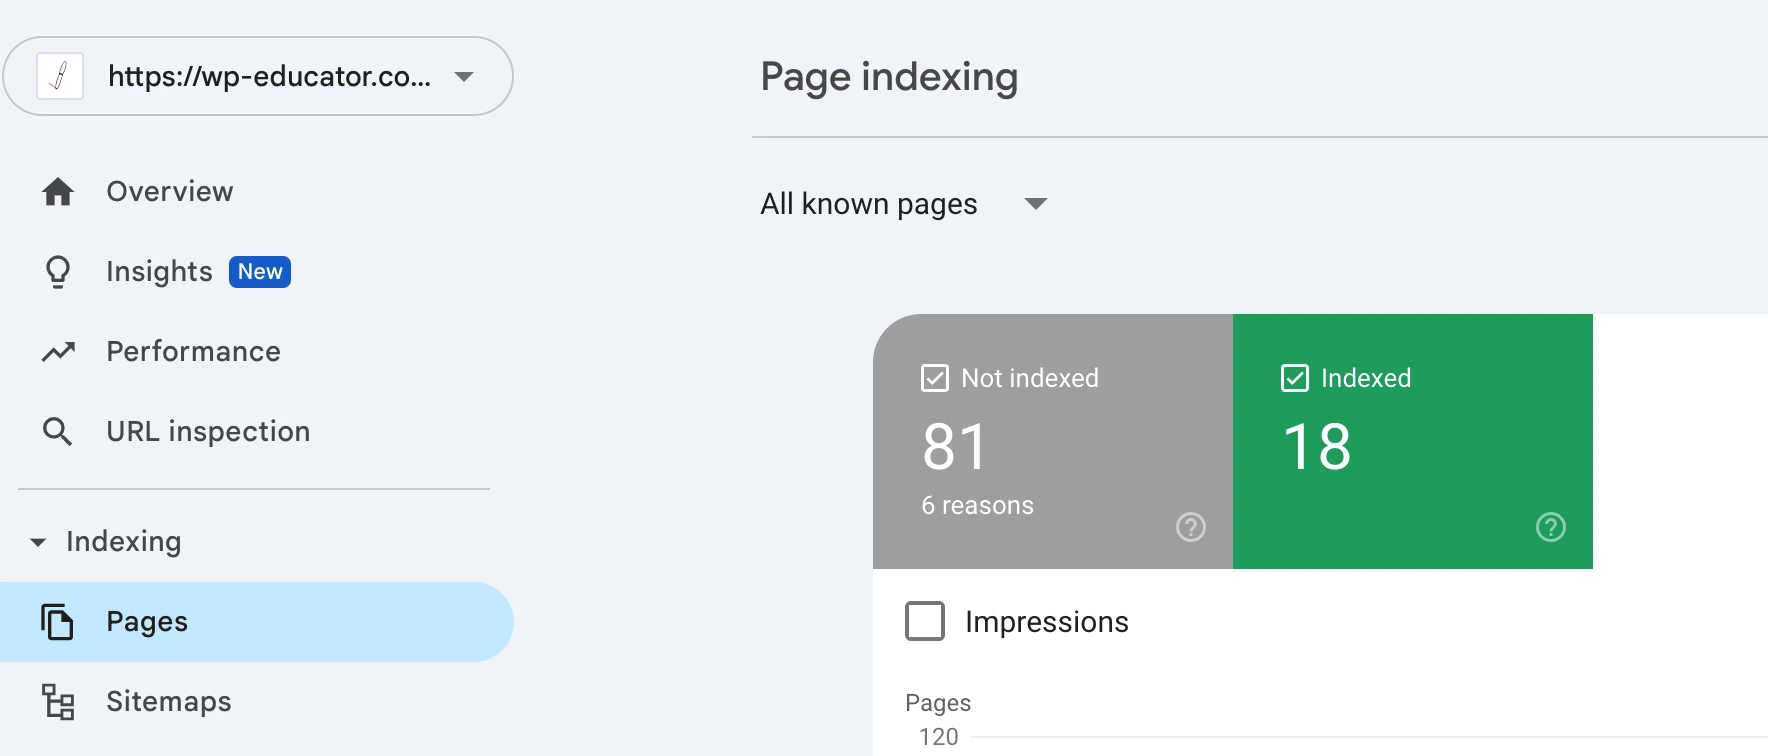
Step #2: Open the Indexing section
In the left column, go to Indexing and select Pages. Over here, you will see which pages on your website are indexed and which ones have issues.
Step #3: Check the Why Pages Aren’t Indexed table
Scroll down to the Why Pages Aren’t Indexed table. The table will show the list of all the reasons why pages aren’t indexed. In the Reason column, click on Not Found (404). This will list all URLs with broken links.
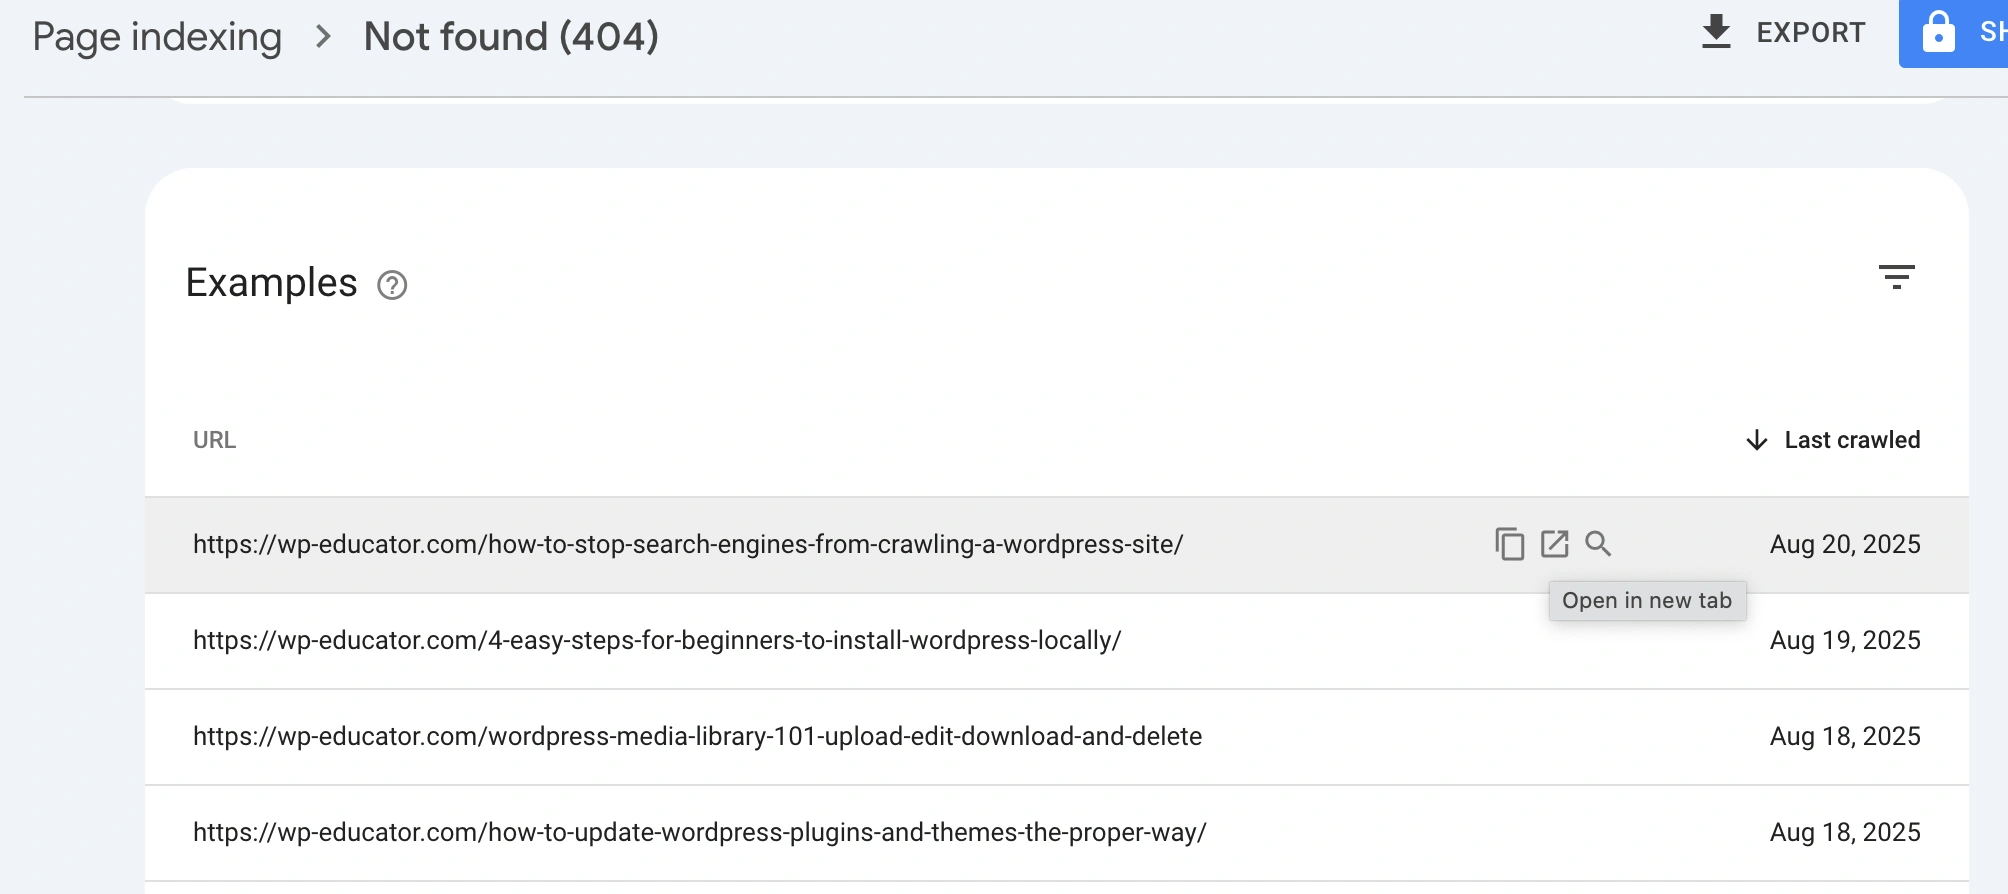
Step 4: Inspect the URLs
To double-check whether a specific page is broken, hover over the URL and click the arrow-in-a-box icon (the second icon). This will open the link in a new tab. If you see the message The page does not seem to exist or a similar notification, this confirms it is a broken link.
How to Fix 404 Errors on Your WordPress Website
Now that you know how to find 404 errors in Google Search Console, the next step is to resolve them.
Here are the 2 ways to fix 404 errors on your website:
- Set up a page redirect using the Rank Math SEO plugin (Free version)
- Restore or recreate the page
Option #1: Set Up a Page Redirect Using Rank Math to Fix 404 Errors
If you’ve deleted or renamed a page, you must set up a page redirect.
A redirect tells your website where to send visitors. It could be to a new page or a similar page. Think of it as a detour sign that guides visitors and the Google search engine to the correct page.
For example:
The old URL is yourwebsite.com/wordpress-tips/.
The new URL is yourwebsite.com/best-wordpress-tips/
If someone accesses the old URL, the redirect will take them to the new page.
In WordPress, you can add a page redirect using the free version of the Rank Math SEO plugin.
1.) Head over to the WordPress dashboard and go to Plugins –> Add Plugin and search for the Rank Math plugin. Install it, and then activate it.
2.) Sign in with your Google account or skip this step. If it’s your first time installing the plugin, you can follow the guide on how to set up the Rank Math plugin in WordPress.
3.) Once activated, go to Rank Math SEO -> Dashboard and enable the Redirects add-on.

4.) In the Rank Math SEO column, you will see another menu link titled Redirections. Click Redirections -> Add New.
5.) Over here, you need to fill out three things:
- The source URL – old URL, which is no longer working. You can find this from Google Search Console (see the earlier section for help).
- The destination URL – the new URL you want visitors and Google to go to.
- The page redirection type – Choose Permanent (301) or Temporary (302).
Once you have specified the above three fields, click the add redirection button.

6.) Test the redirect by accessing the old URL. Instead of seeing an error notification, you should be redirected to the new URL.
Option #2: Restore or recreate the page
If you accidentally deleted the page, you can restore it from the Trash section by clicking on the restore link.
- Go to Pages → Trash in your WordPress dashboard.
- Find the deleted page and click Restore.
- Visit the page to confirm it’s working again.
If you have removed the page from the trash, the other option is to recreate the page. Once you have created the new page, give it the same URL address to fix the 404 error.
How to Tell Google You Have Fixed the 404 Errors
Here are two ways to tell Google you have fixed 404 errors.
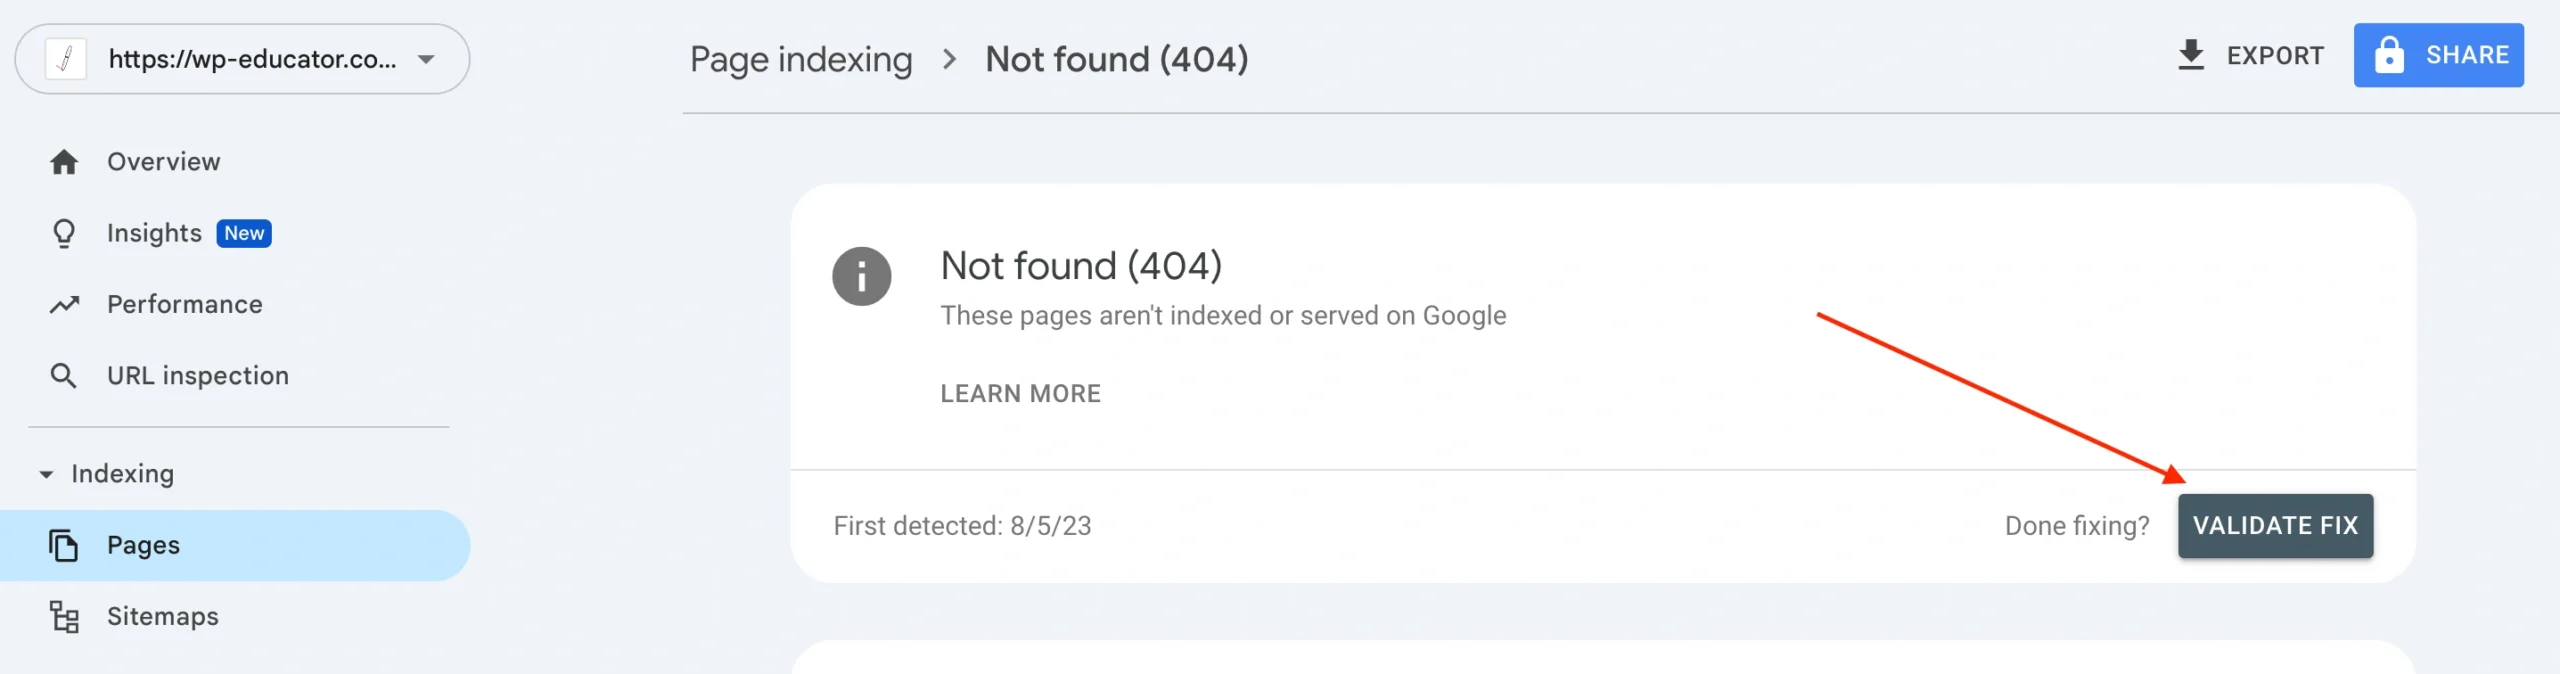
Option #1: Validate Fix (To check all URLs)
- Go to Page Indexing in Google Search Console and click on the Not Found (404).
- Click the Validate Fix button. This tells Google to recheck all the URLs.
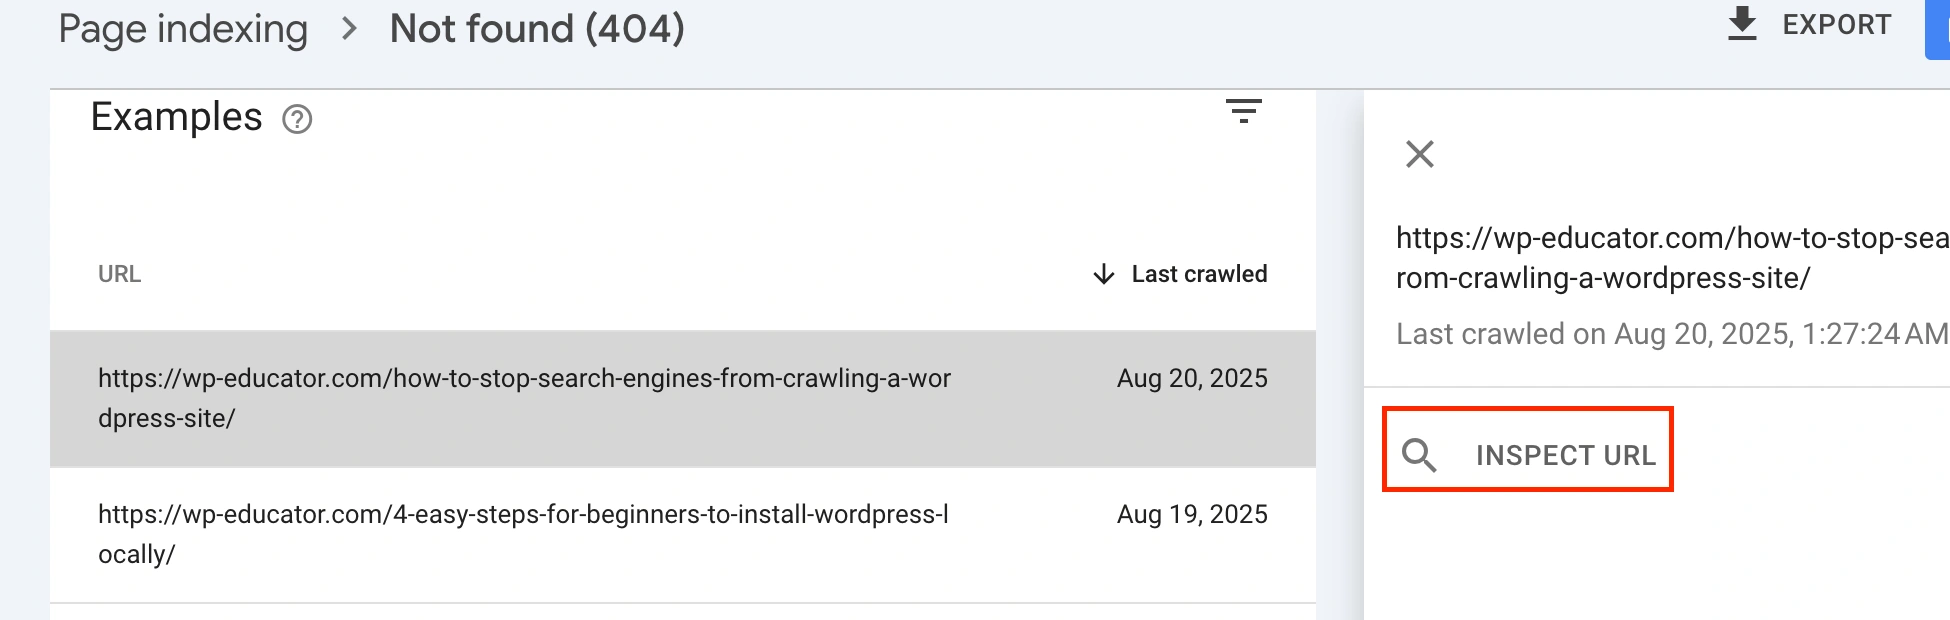
Option #2: Request Indexing (Manually for each URL)
- Go to Page Indexing in Google Search Console and click on the Not Found (404).
- Click on the URL in the list and then click on Inspect URL.
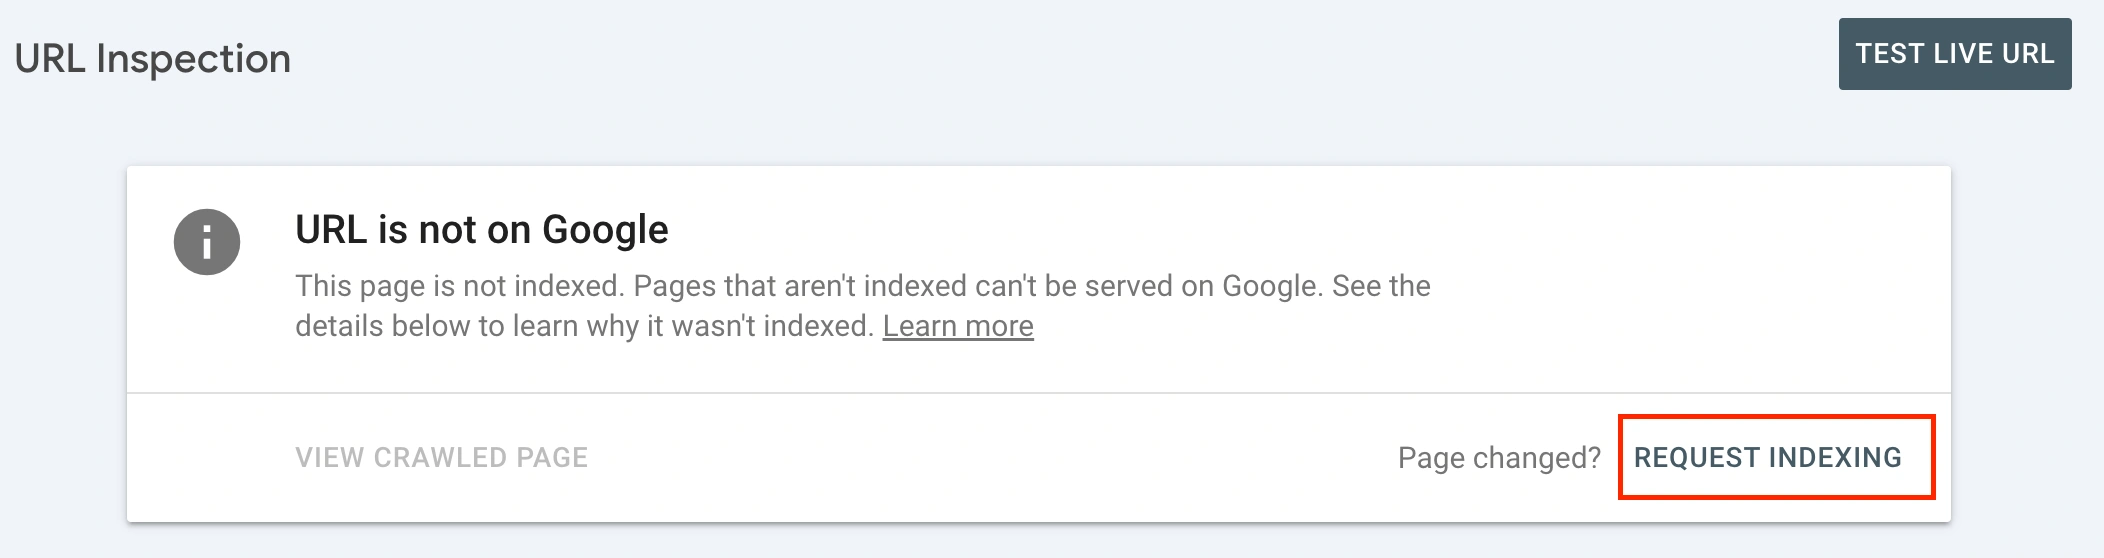
- You will see a message that the URL is not on Google.
- Click on the Request Indexing button.
Conclusion
It is crucial to fix 404 errors in Google Search Console. This is an on going process. Therefore, regularly monitor your page indexing report to quickly identify and fix broken links and keep an eye out for new ones.