If you’re struggling to add a Google reCaptcha to your member form, here are step-by-step instructions. By following this guide, you can add one within 15 minutes.
I came across a similar issue, and the culprit was the form builder. Why? The form builder installed on the website did not provide the option to add a captcha.
Luckily, I was able to solve this issue and I will share my experience with you and explain how to add reCaptcha to the WordPress member form.
Before jumping into the tutorial, I want to clarify a few points:
- I am not talking about the WordPress admin area form. I am talking about the form on the front end.
- The member form refers to the member login page where website members and customers can log in to their accounts.
Why Add a reCaptcha to the Login Form?
Many argue that there is no need to add a reCaptcha to this page. The reason is the member login area doesn’t hold valuable information for the hacker.
For example, if you run an educational website, there is no need for a hacker to break into a student’s account. So, many consider adding this an unnecessary security measure.
However, here are three compelling reasons why it is vital to add a captcha to the login form:
- Online Payment: Due to the rise of online payment, the users’ banking information is stored in their member accounts. Therefore, it is crucial to implement a security measure to stop bot hacking attempts.
- Automate Attacks: Due to automated attacks and daily website breaches, web administrators believe that Google reCaptcha is a need.
- Sense of Security: Many consider a website unsafe if they don’t see a Google captcha. This mentality prevents users from sharing their personal information.
Adding a reCaptcha to the Member Login Form
Here is a true story!
My client wanted me to add a Captcha to the member login form on his website. He was afraid that a hacker might infiltrate his client’s account. The three primary reasons for adding a captcha to the member login form were:
- To prevent unauthorized access and protect sensitive information.
- Increasing security for the website.
- Prevent automated attacks.
Considering it was a five-minute task, I logged into the WordPress admin area to add the Google reCaptcha.
However, there was a roadblock. I couldn’t add it to the form. My five-minute assignment into a complete one-hour job.
Since the default login form did not include a captcha, it looked like I had two options:
- Recreate the form from scratch using custom code.
- Create an override and add it to the user login file.
It wasn’t a complicated or lengthy procedure because there were only two fields:
- Username
- Password
So, creating a new form did not appeal to me (no, I’m not lazy), and I didn’t want to build an override for this small task. I wanted to add the Google reCaptcha keys and get over with it.
Therefore, I tested a couple of plugins. I was trying to find a plugin that would force the member login form to display the captcha. Unfortunately, none of the plugins I tested work.
So, I turned my attention towards member registration plugins. I tested a few, praying that one of the plugins may allow me to integrate Google reCaptcha in the login form.
Most of the plugins I tried didn’t come with this option. After some research, I found a suitable plugin. The catch was, I had to use the plugin’s built-in login form.
The plugin that I used is WP User Registration.
How To Add reCaptcha to the WordPress Member Form Using the WP User Registration Plugin?
Here is a step-by-step guide on how to add reCaptcha to the WordPress member form. We will use the WP user registration plugin.
Step 1: Install and Activate the Plugin
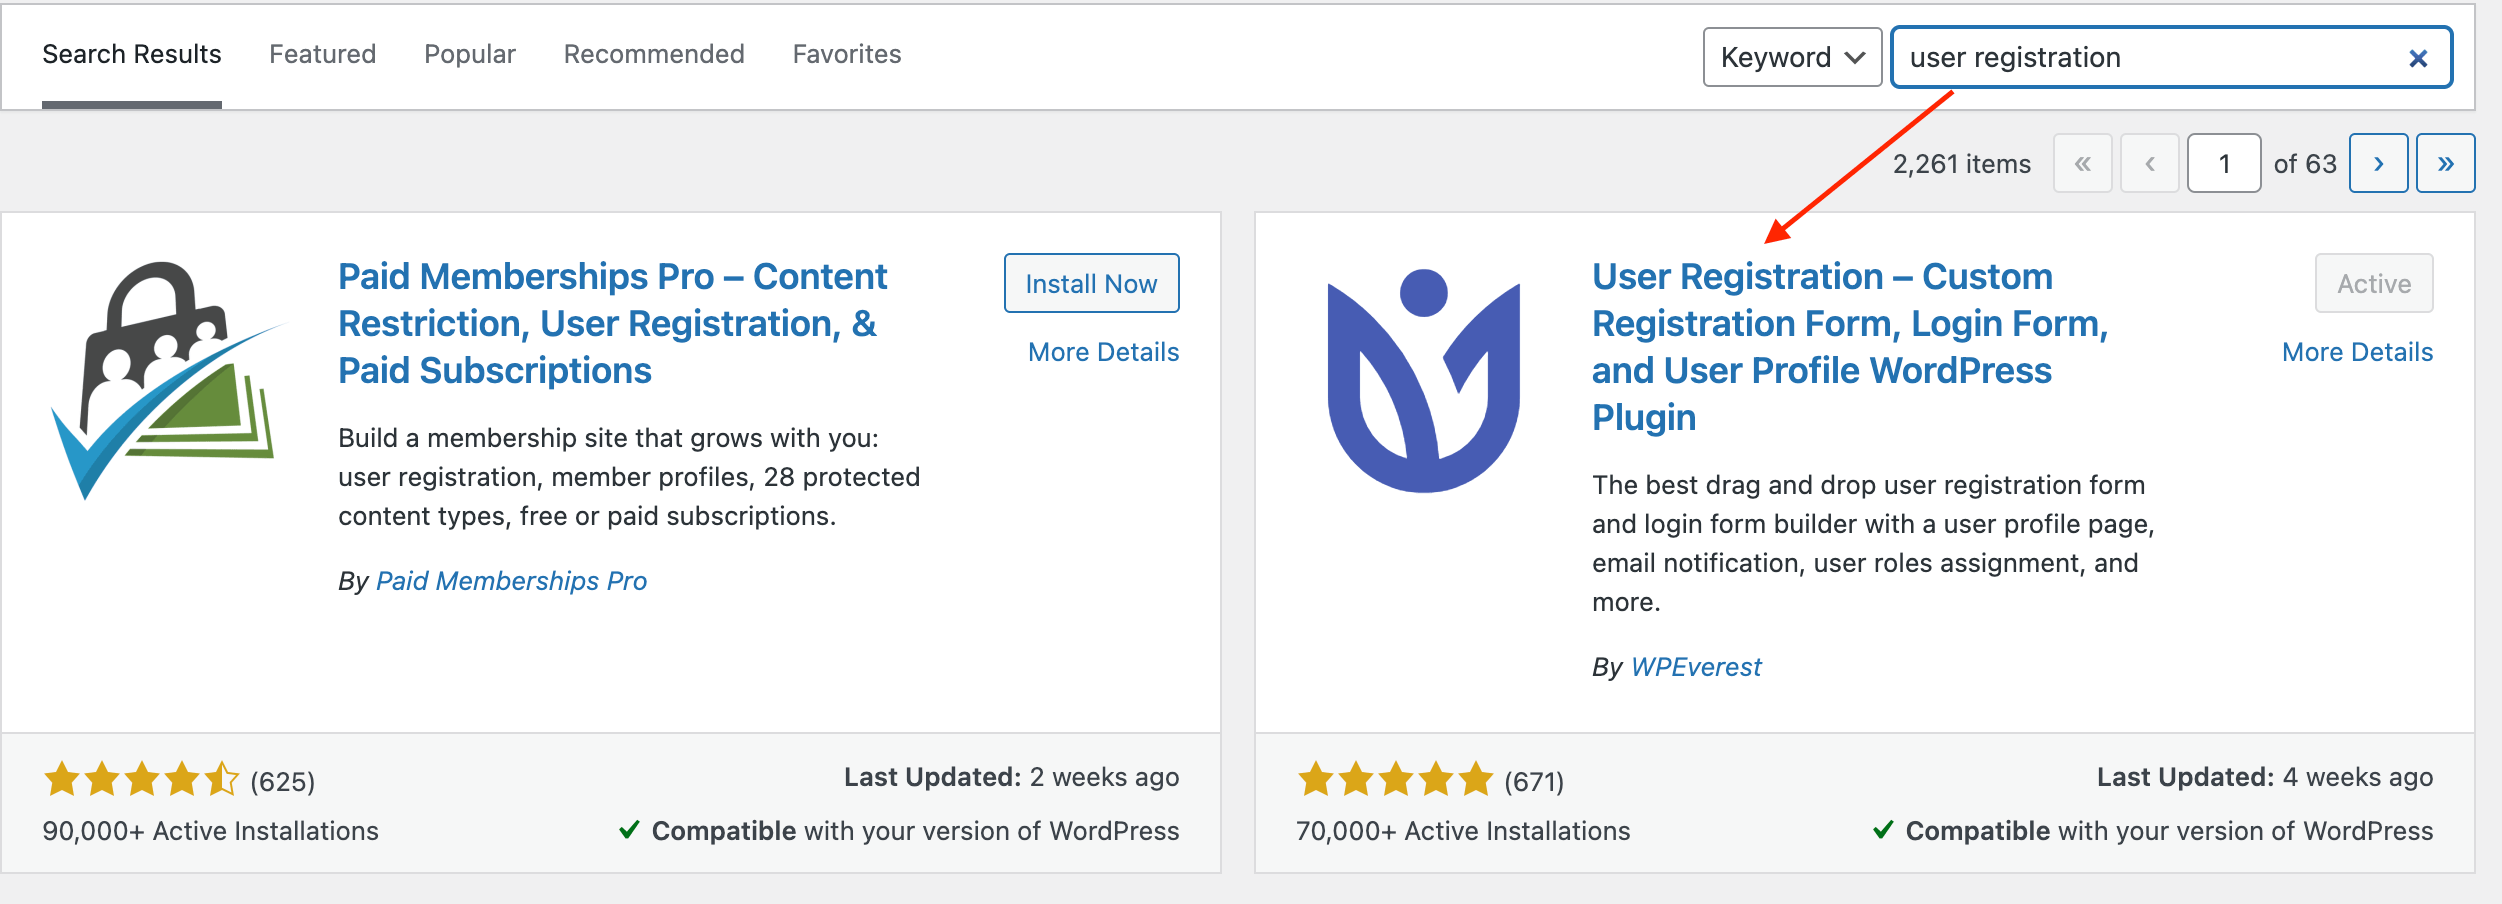
Login to your WordPress admin panel and go to Plugins —> Add New Plugin. Search for User Registration and install and activate this plugin. Make sure it is compatible with your WordPress version. If it isn’t, check if your WordPress is up-to-date.
Step 2: Create the Keys
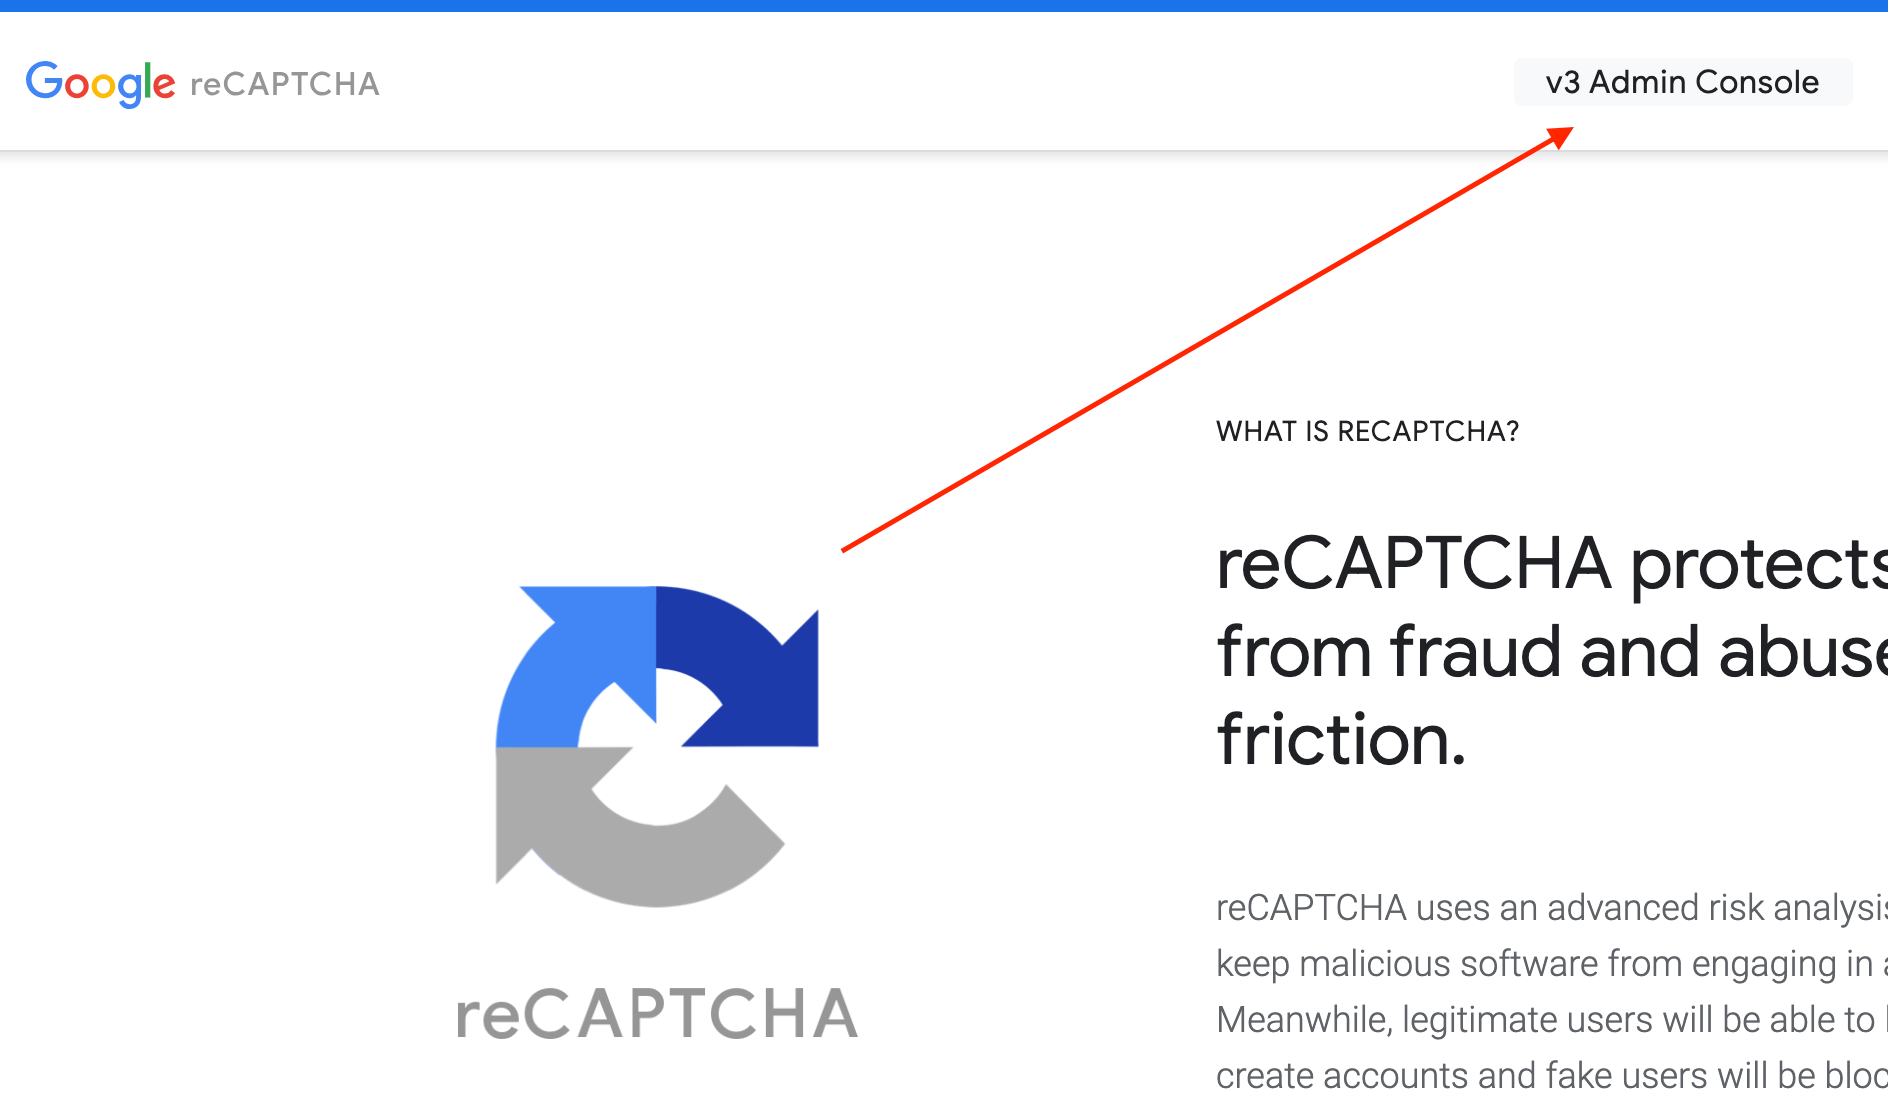
To create the keys, go to the Google reCaptcha website and sign in with your Google account.
Once signed in, click the V3 Admin Console link.
Click the create button (+ icon) to register for a new website. You will then be able to generate the site key and secret key needed for implementation.

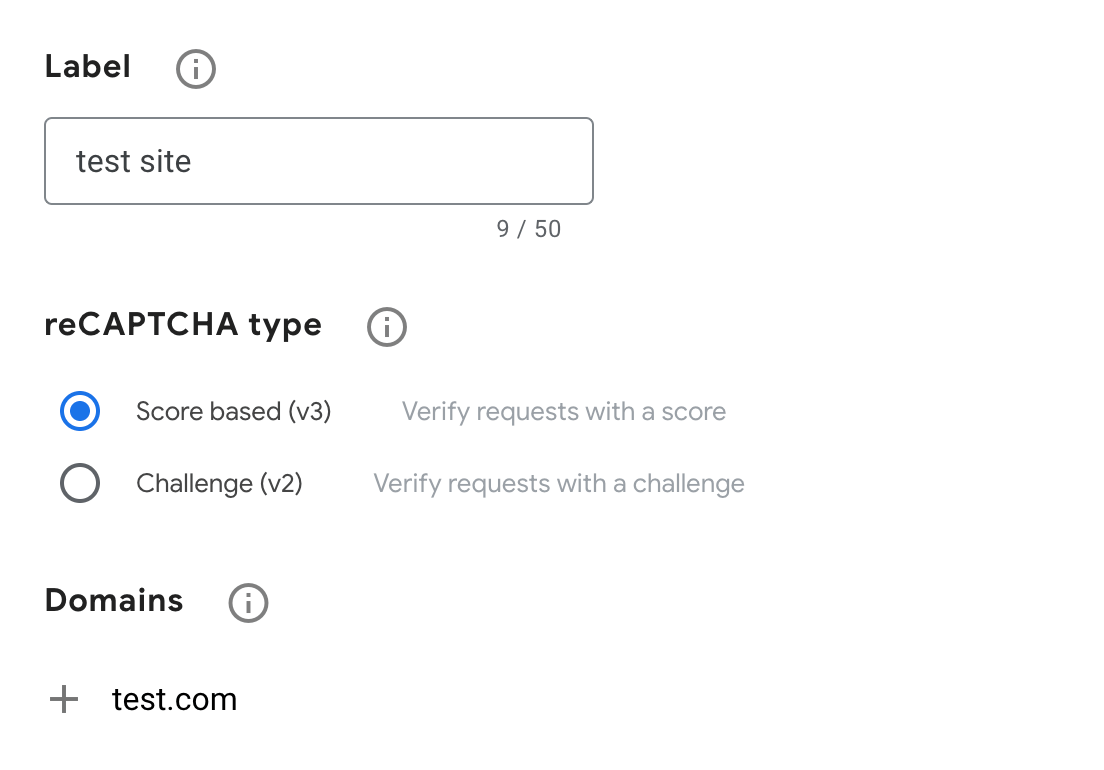
Write a label, select the Score bases (v3) reCaptcha type, enter the domain URL, and click submit to receive your keys.
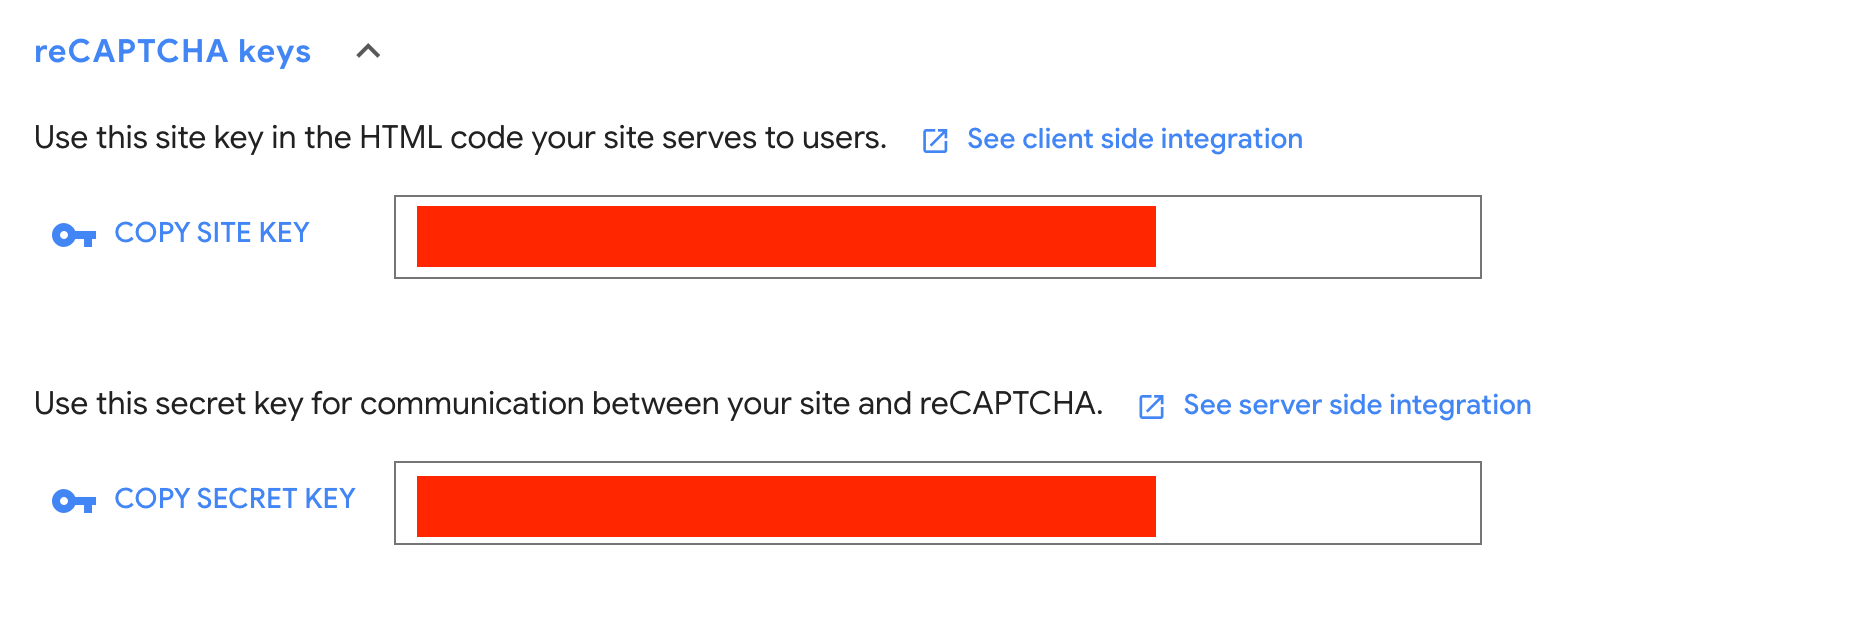
You will get two keys: the site key and the secret key.
Copy both of these keys. We will paste these keys in the User Registration settings to complete the Captcha setup.
Step 3: Add the Keys
We are now going to add the site and secret keys.
Head back to the website. Go to User Registration —> Settings and click on the captcha tab.
Select the captcha type, captcha v3, and paste the site and secret key.
Step 4: Add the Google reCaptcha to the Member Form
The last step is to create the member login form and check if the captcha is working.
With the help of a shortcode, we can use the plugin’s default login form. So, there is no need to create a form from scratch.
To copy the login form short code, go to User Registration —> All Forms —> Login Forms.
Copy the user registration login short code, which is [user_registration_login].
Open the page where you want the login form to appear and add the shortcode.
After adding the short code, head over to User Registration —> Settings and click on Login Options. Enable the captcha field in the General section.

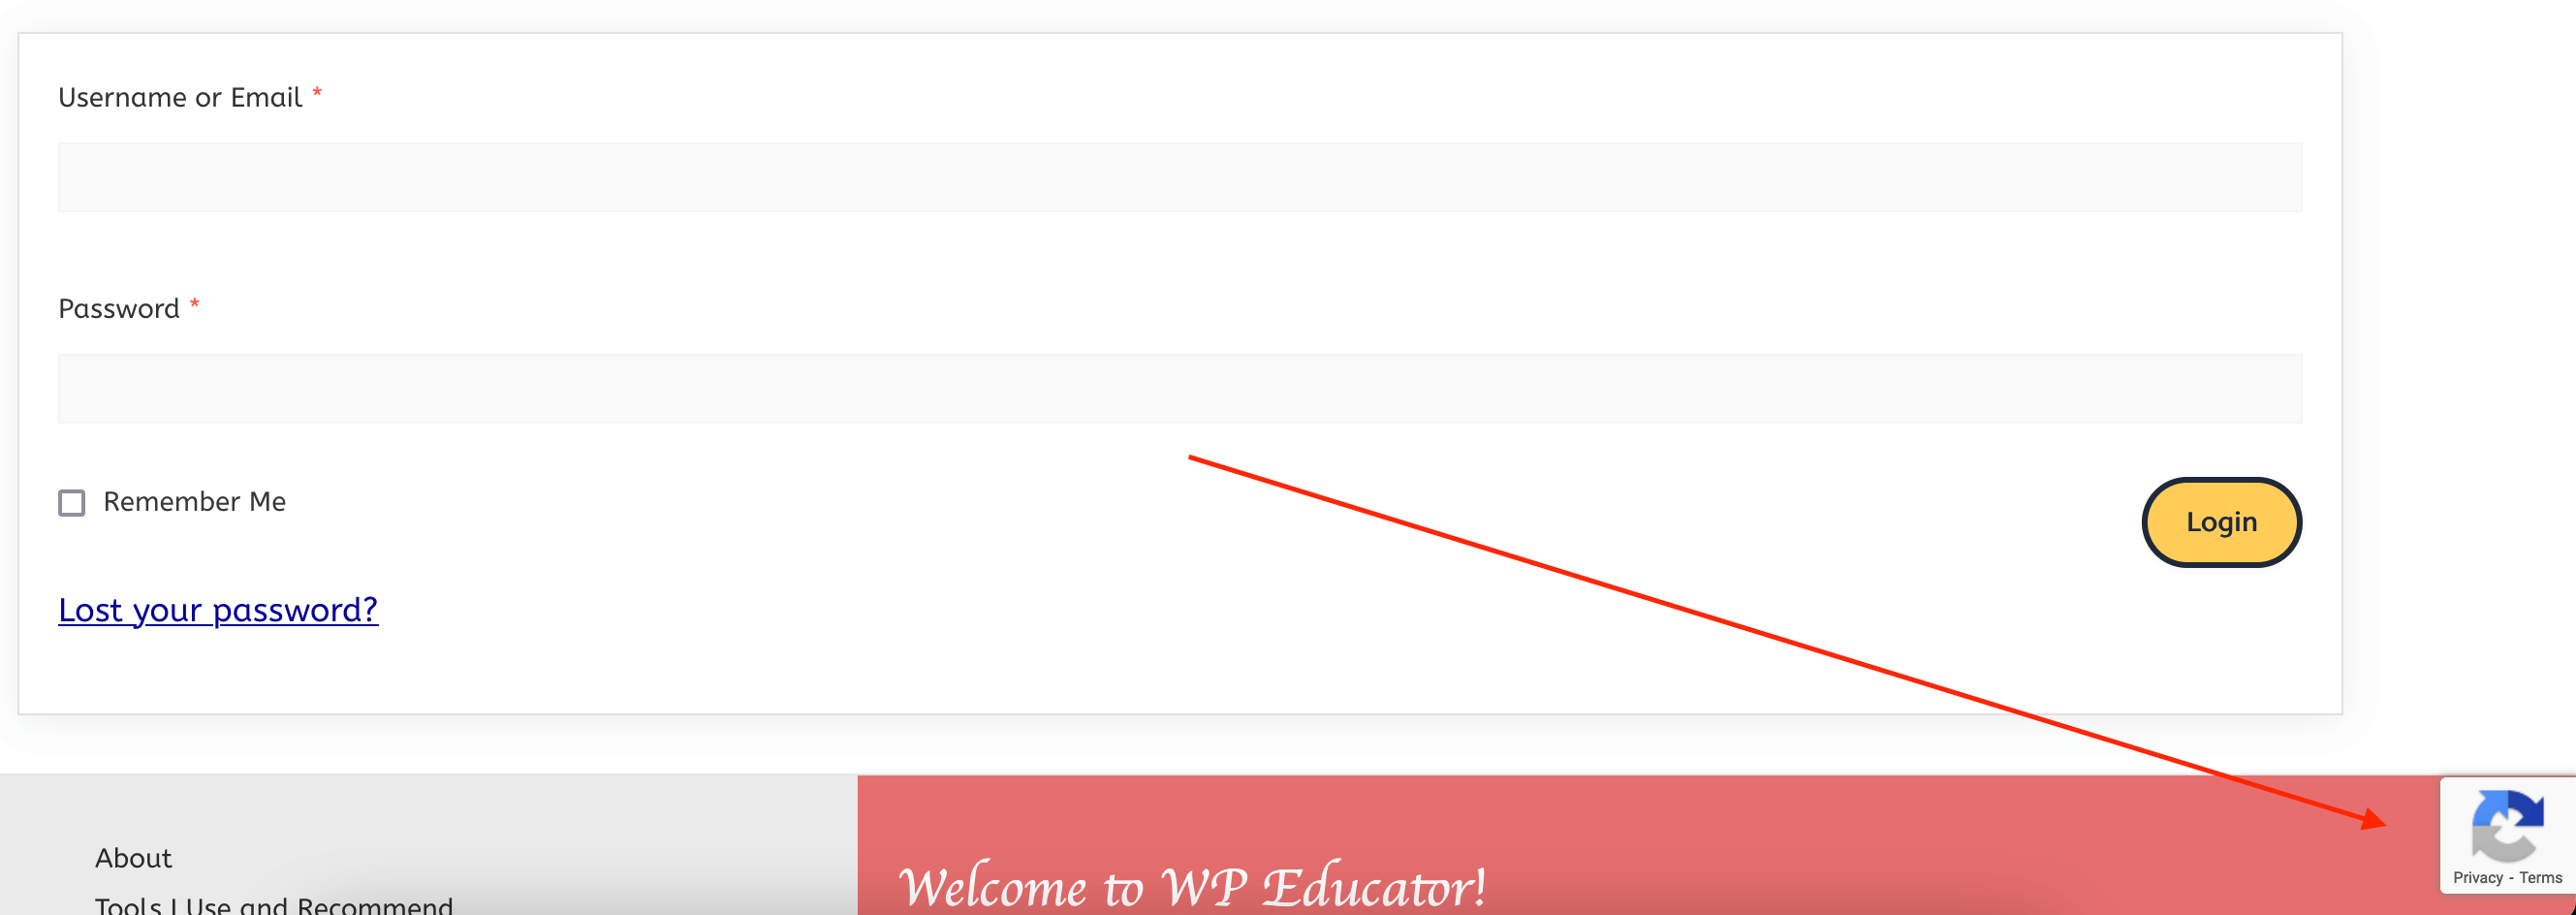
Publish the page and view the page to see the captcha in action.
Conclusion
Adding a reCaptcha to the member login form is quick and easy with the user registration plugin. It eliminates the need to create a custom login form or modify an existing plugin.
The extra layer of security will not only protect your users but will also help you gain their trust in regards to website security.

