Creating a customized maintenance page in WordPress is super simple, whether you do it manually or if you use a plugin.
Whatever method you choose, I will show you how to set it up in a few minutes. As a bonus, I will also show you how to customize it according to your liking.
It does not matter if you are a newbie, a pro web developer, or a web administrator with no technical skills. In this guide, I will provide a simple step by step process.
Difference Between WordPress Maintenance Mode and Maintenance Page
Before we begin, I want to explain the difference between WordPress maintenance mode and maintenance page. You will come across both of these terms. Even though they are slightly different, web developers will interchangeably use them.
Why is it used interchangeably? The reason is the purpose. The intent is to inform visitors that the site is temporarily down.
In this guide, I may use both terms, so do not get confused.
Maintenance Mode in WordPress
Definition
It is a state where the website will be offline and only accessible to administrators.
Key Features
- The maintenance mode in WordPress starts automatically. It happens during WordPress, plugins, and theme updates.
- Visitors see a simple message.
- WordPress comes out of maintenance mode once updates are complete or after removing the .maintenance file.
When Is It Used?
It appears during site updates. When users visit, it tells them about the temporary downtime.
Maintenance Page in WordPress
Definition
On the other hand, this is a customized page you have created yourself to inform site visitors that the website is undergoing some work. This work could be anything, ranging from simple updates to a complete new design.
Key Features
- Manually enable using a plugin or custom code.
- Add detailed information.
- Replace the default maintenance mode message with a customized design for a better user experience.
When Is It Used?
It is used when you want to change the design or content of your website. It is also a great way to show some extra information to the user. For example, many websites show a countdown timer indicating when the site will be back.
Comparison Table
If you are still confused about the difference between the maintenance mode and the maintenance page, here is a helpful comparison table.
| Maintenance Mode | Maintenance Page |
| Automatically triggered during updates | Manually enabled or created by admin |
| Appears temporarily during updates | Enabled for as long as required |
| Cannot be customized | Fully customizable |
| Generic message | Write a custom message to enhance user experience |
When and Why to Put Your Site in Maintenance Mode?
I have already answered the “When” above. It is when you need to update your WordPress website. This update could be one of two or both:
- WordPress core, plugin, and theme updates
- Web design content and design update
Let’s focus on the “Why” part.
Why should you put your site in maintenance mode?
WHY?
Why do you need a customized maintenance page?
These are a few questions you will read, hear, or think about. So, let me put your mind at ease.
Here are two reasons why you should put your site in maintenance mode with a customized message.
1.) Protect Your Reputation With a Customized Maintenance Page
Performing a website content and design update will take time to do.
Imagine visiting a website that is undergoing a design update and seeing broken links and images. What will be your first impression? You will likely think that the website is not well-maintained or professional.
Now ask yourself, what will your site visitors think when they visit your website during the redesign phase? Naturally, it will leave a negative impression.
So, by creating a maintenance page, you can avoid giving visitors a bad first impression.
2.) Surprise Your Visitors with New Features
It can be a great way to build anticipation and excitement among your site visitors.
By teasing the upcoming changes, you can generate interest and keep users engaged even during downtime. This can lead to a more positive reception of the new features.
Remember to add a countdown timer, engage with your visitors on social media, and send an email blast once your site is up and running.
How to Manually Create a Customized Maintenance Page in WordPress?
There are two ways to create a customized maintenance page in WordPress. You can do it quickly by installing a plugin, or you can put your coding skills to the test and develop a page yourself.
Developing a maintenance page from scratch requires work, and you need basic coding skills.
If you are not a web developer, I would suggest jumping straight to the second option.
But if you want to loosen those rusty coding fingers or challenge yourself, follow along to create a the page yourself.
Here is a guide on the requirements, pros and cons, and a basic boilerplate for the page.
Requirements
- Visual Studio Code or any code editor
- HTML
- CSS
- JavaScript (optional)
- FTP or hosting control panel access (hPanel if you have Hostinger)
Advantages of a Customized Maintenance Page
- Create it once and reuse it on other sites by updating the site name and logo.
- Add custom functionality using JavaScript that may not be available in the plugin or the page builder.
- It is only a single file and does not take up any space.
- Avoids the use of additional plugins, which may slow the website.
Disadvantages of a Customized Maintenance Page
- Time-consuming.
- It is not beginner-friendly if you lack technical knowledge.
Basic Maintenance Page Boilerplate
<!DOCTYPE html>
<html lang="en">

<head>
    <meta charset="UTF-8">
    <meta name="viewport" content="width=device-width, initial-scale=1.0">
    <meta name="robots" content="noindex, nofollow">
    <title>Site Under Maintenance</title>
    <style>
        body {
            margin: 0;
            font-family: Arial, sans-serif;
            background-color: #f4f4f4;
            color: #333;
            display: flex;
            justify-content: center;
            align-items: center;
            height: 100vh;
            text-align: center;
            padding: 20px;
        }
        .container {
            max-width: 600px;
            background: #fff;
            padding: 30px;
            border-radius: 10px;
            box-shadow: 0 4px 6px rgba(0, 0, 0, 0.1);
        }
        h1 {
            font-size: 2.5rem;
            color: #0073e6;
        }
        p {
            font-size: 1.2rem;
            line-height: 1.6;
        }
        .contact {
            margin-top: 20px;
        }
        .contact a {
            color: #0073e6;
            text-decoration: none;
        }
        .contact a:hover {
            text-decoration: underline;
        }
    </style>
</head>

<body>
    <div class="container">
        <h1>We'll Be Back Soon!</h1>
        <p>Our website is currently undergoing scheduled maintenance to improve your experience. Please check back later.</p>
        <div class="contact">
            <p>For urgent inquiries, contact us at:</p>
            <p>Email: <a href="mailto:support@example.com">support@example.com</a></p>
            <p>Follow us for updates: <a href="https://twitter.com/example" target="_blank">@example</a></p>
        </div>
    </div>
</body>

</html>
Other Things to Include
The boilerplate I provided is a basic page to help you get started. There is nothing fancy. Think of it as the page skeleton. It is up to you to customize and add more details according to your brand.
Here are a few things you can include:
- Add your logo. Otherwise, it will not be clear to visitors whose site they are on.
- Include a brief description of why the site is down.
- Add contact information or links to social media platforms to engage with your audience.
- Make it pretty. Add illustrations, animations, and images to make the page visually appealing.
- Add a countdown timer to inform visitors when the site will be online.
How To Use the Customized Maintenance Page?
- After you have created the page, save it as a html file.
- Log in to your hosting server or use an FTP.
- Navigate to the directory where the website files are stored.
- Upload the file to the root directory.
How To Use SeedProd Plugin To Create a Customized Maintenance Page in WordPress?
Some believe creating a custom maintenance mode page offers more control over the design and functionality. This was true, with emphasis on the was.
With the SeedProd plugin, creating a customized maintenance page is very straightforward
Why Use SeedProd?
Here are five reasons to use this plugin.
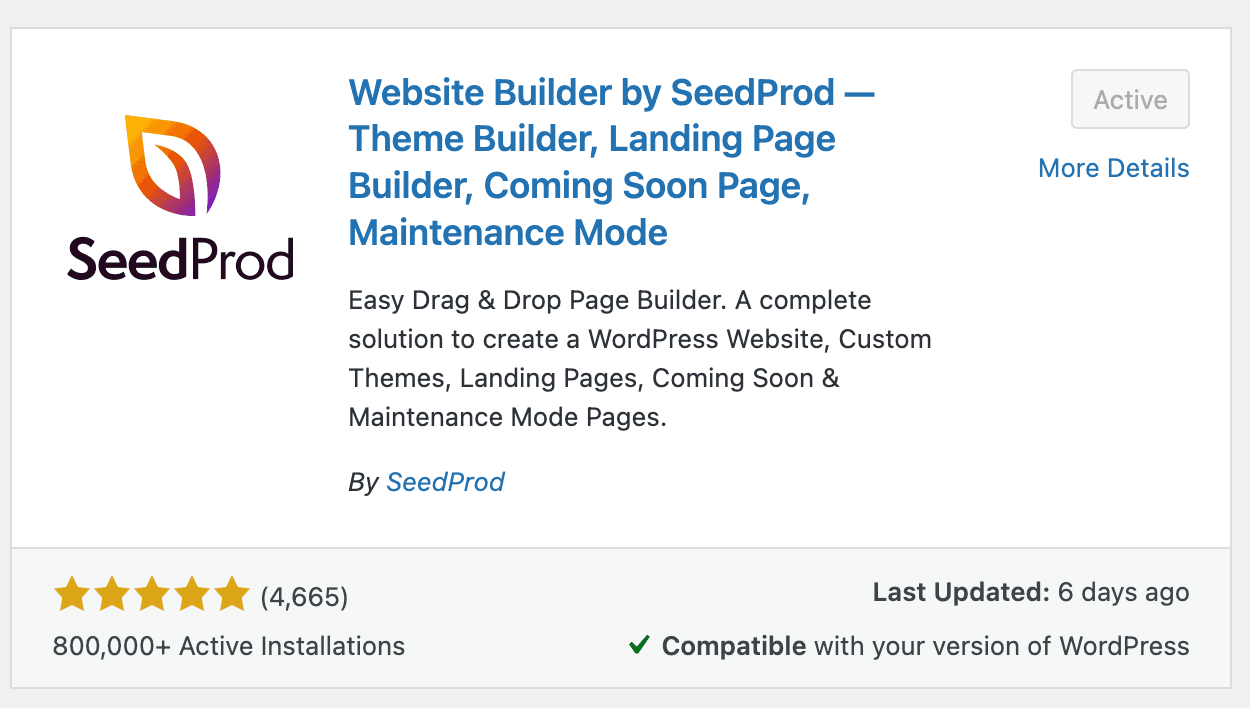
- It is a freemium plugin with more than 800,000 active installations.
- You can set it up within minutes.
- You can customize the design, include essential elements, and create a professional-looking page.
- The templates are mobile-friendly.
- It will notify search engines that the site is temporarily unavailable.
Here is a step-by-step guide to creating a maintenance page using the SeedProd plugin:
Step 1: Install and Activate SeedProd
- Log in to your WordPress dashboard.
- Go to Plugins → Add New.
- Search for SeedProd.
- Click Install Now and then Activate.

Step 2: Enable Maintenance Mode
- After activation, go to SeedProd → Landing Pages.
- Under the Maintenance Mode section, click the Set Up a Maintenance Mode Page or Edit Page button.

Step 3: Choose a Template
- SeedProd will display several pre-designed templates.
- Browse the templates and select one that fits your design preference by clicking on it.
- The template will load into the drag-and-drop page builder.

For this example, I am going with the Down Maintenance Mode (3rd option) page template
Step 4: Customize the Maintenance Page
When you select the page it will open in a page builder.
To customize it, use the drag-and-drop builder to add elements like text, images, forms, social media links, countdown timers, etc.
Custom Message
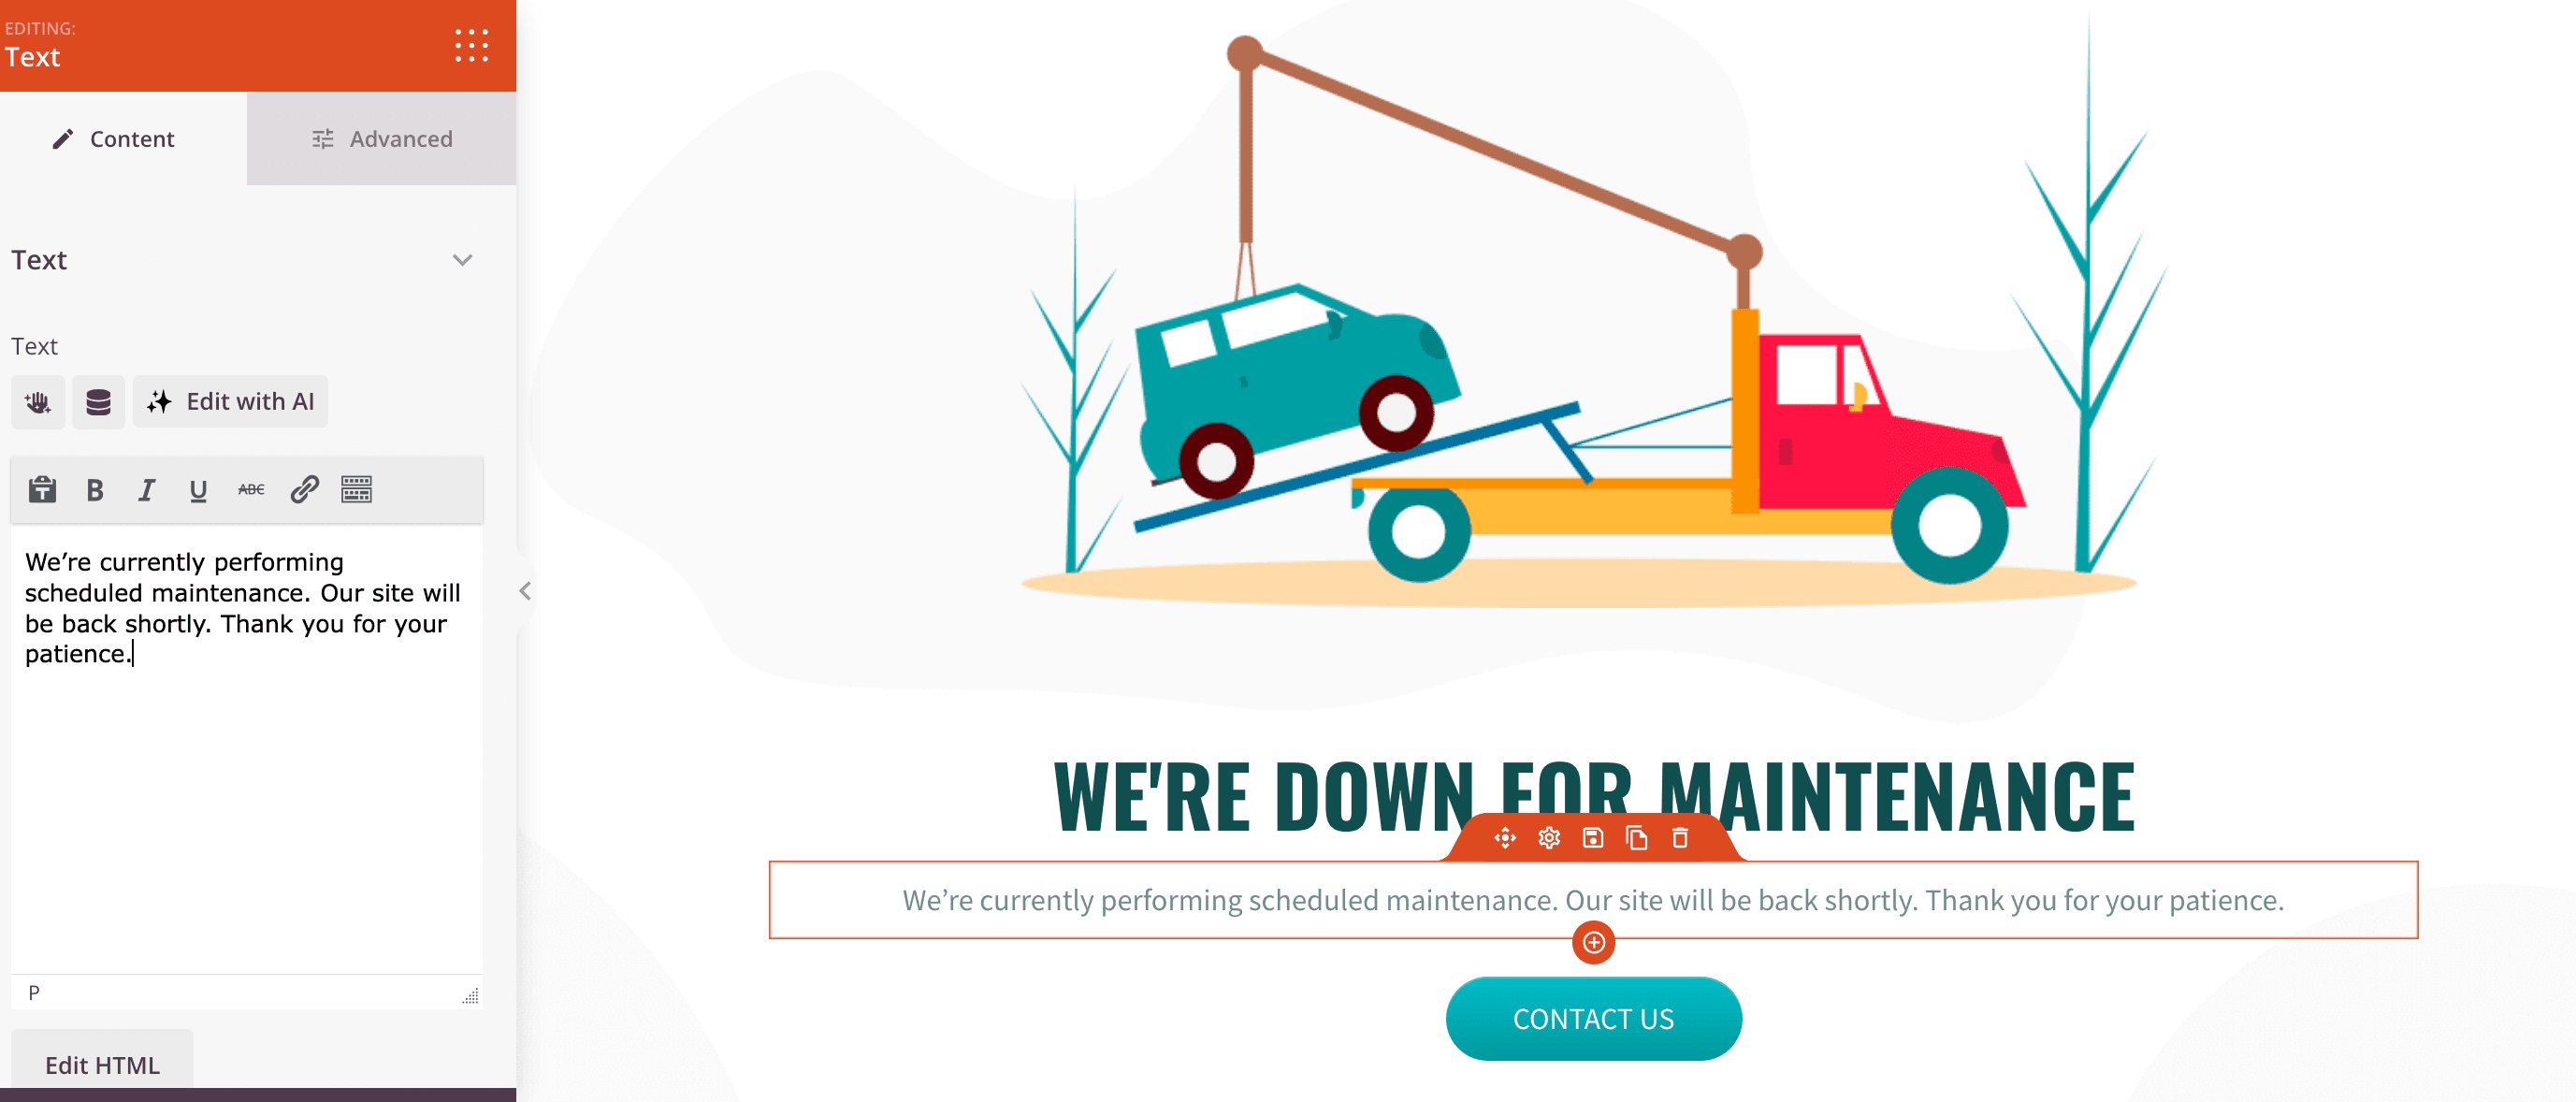
Let’s start by writing some custom message. Just select the text box to edit it.
Here are some site maintenance example messages you can use:
Professional and Direct
- Our website is under maintenance. Please check back soon.
- We’re currently performing scheduled maintenance. Our site will be back shortly. Thank you for your patience.
Friendly
- We’re making some updates to improve your experience. We’ll be back up and running shortly!
- We will be back soon with new and exciting features!
- Hang tight! We’re performing some maintenance to bring you a better experience.

Allowing Your Visitors to Reach Out
If you wish for your site visitors to get in touch, you can update the contact us button and write your email address.
Change the email address after the mailto: in the link field to your contact email address.

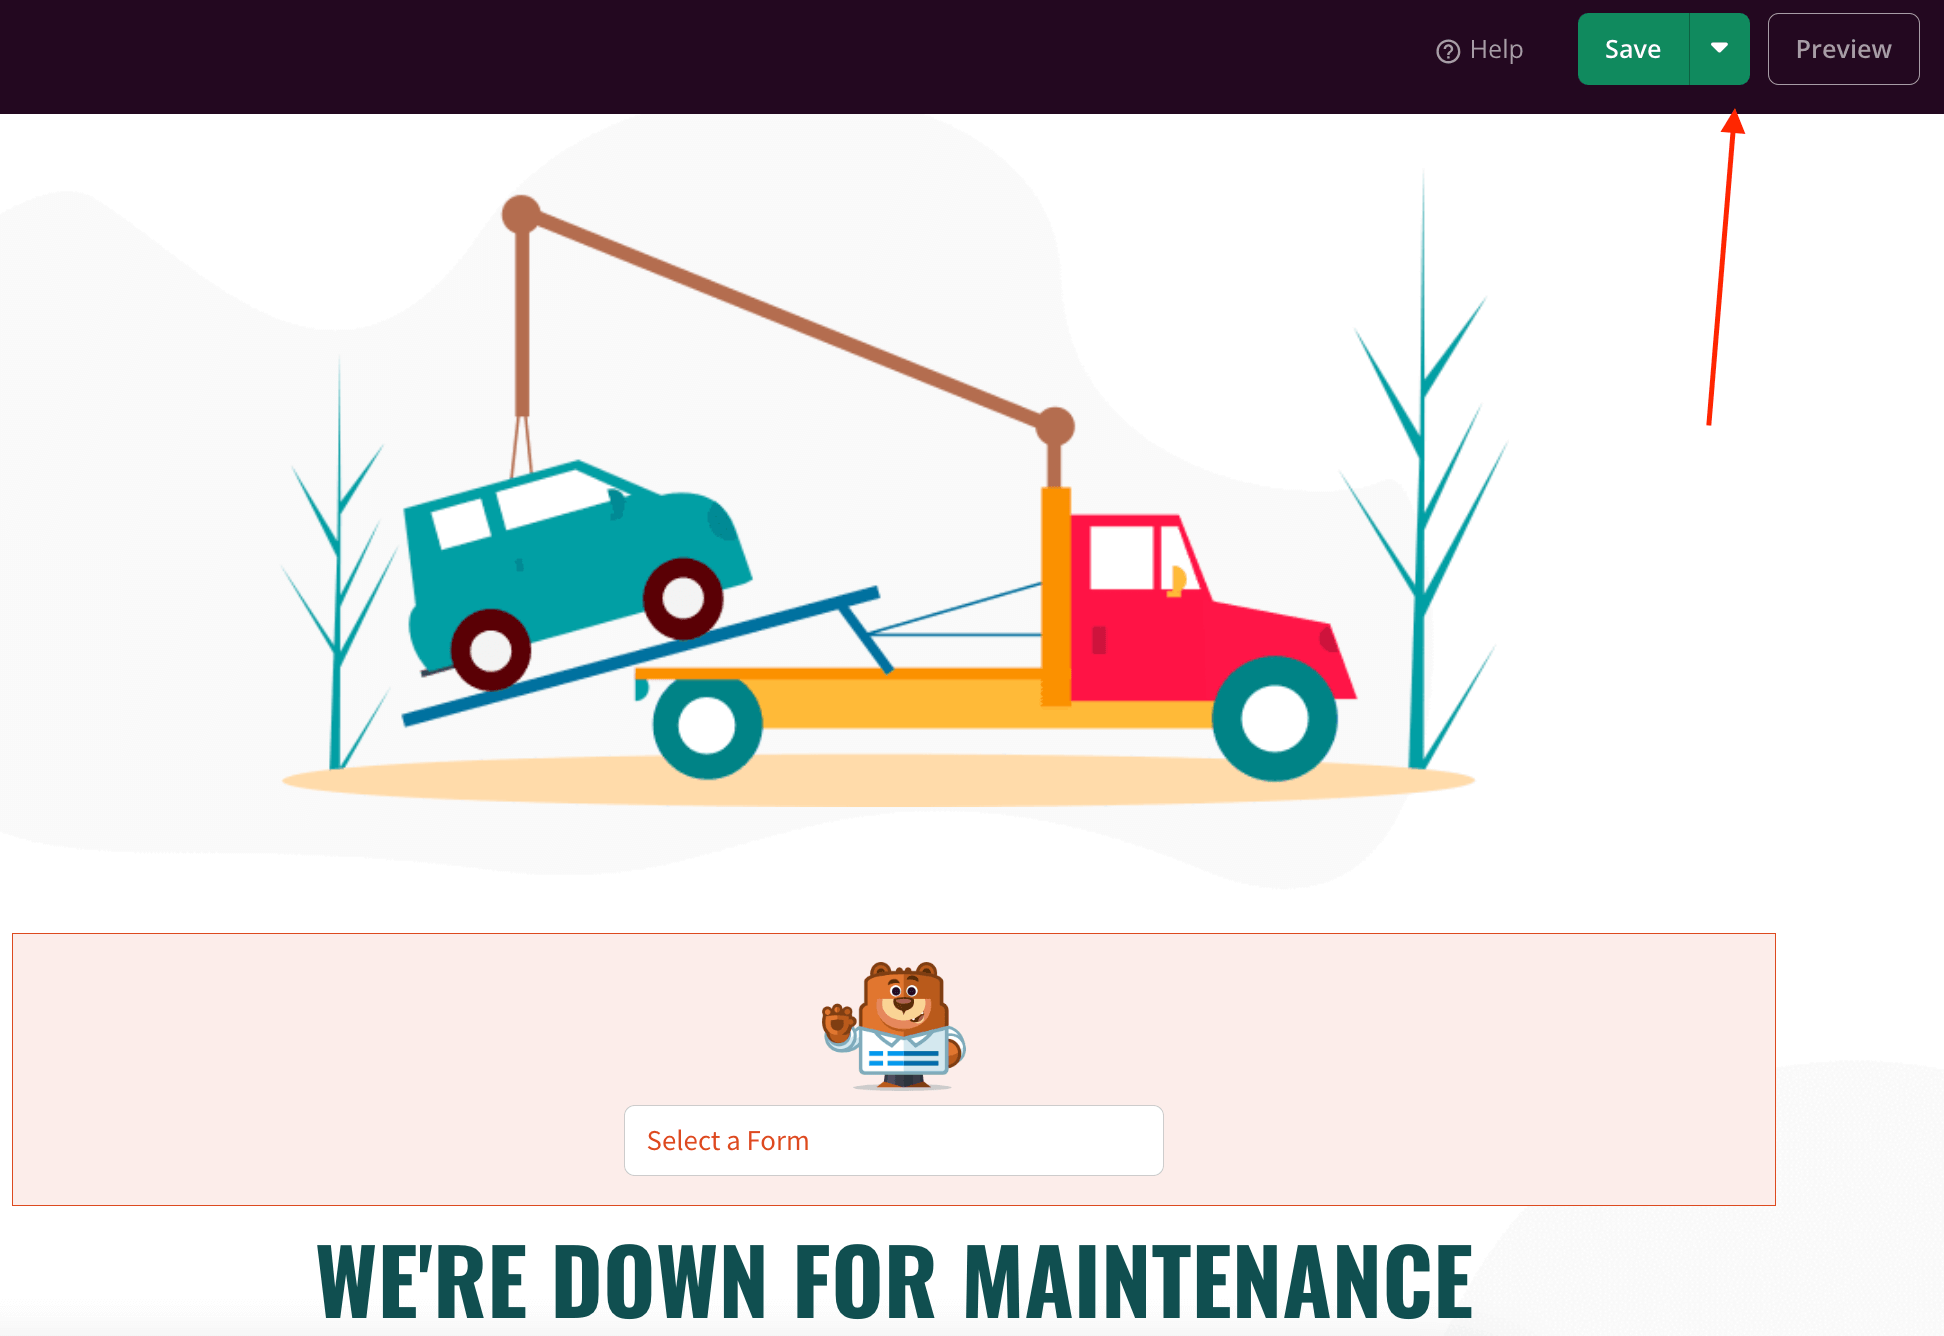
Other way to let visitors contact you is by using a form. Drag-and-drop the contact form to the page.

I am using WPForms, that is why there is a WPForms message, prompting me to build a form. Click on this message to select an existing form or create a new one.

Step 5: Preview and Publish
- Click the Preview button to see how the page looks.
- If satisfied, click Save and then Publish.

Step 6: Activate Maintenance Mode
- Go back to SeedProd → Landing Pages.
- Toggle the switch for Maintenance Mode to activate it.
Users visiting your site will now see the custom maintenance page. Administrators (while logged in) will still have full access to the backend.

How to Disable the Customized Maintenance Page in WordPress?
You can disable the customized maintenance page by logging into your hosting account and deleting the HTML file. Remember to clear your cache to ensure changes take effect immediately.
If you are using the SeedProd plugin, you can disable the maintenance mode by toggling the switch for maintenance mode to deactivate it.
Conclusion
Creating a customized maintenance page is crucial. Do not show your visitors a boring message.
Always customize the page whether you choose the manual method or use a plugin. It will provide a professional and informative look while the site is undergoing transformation.

